
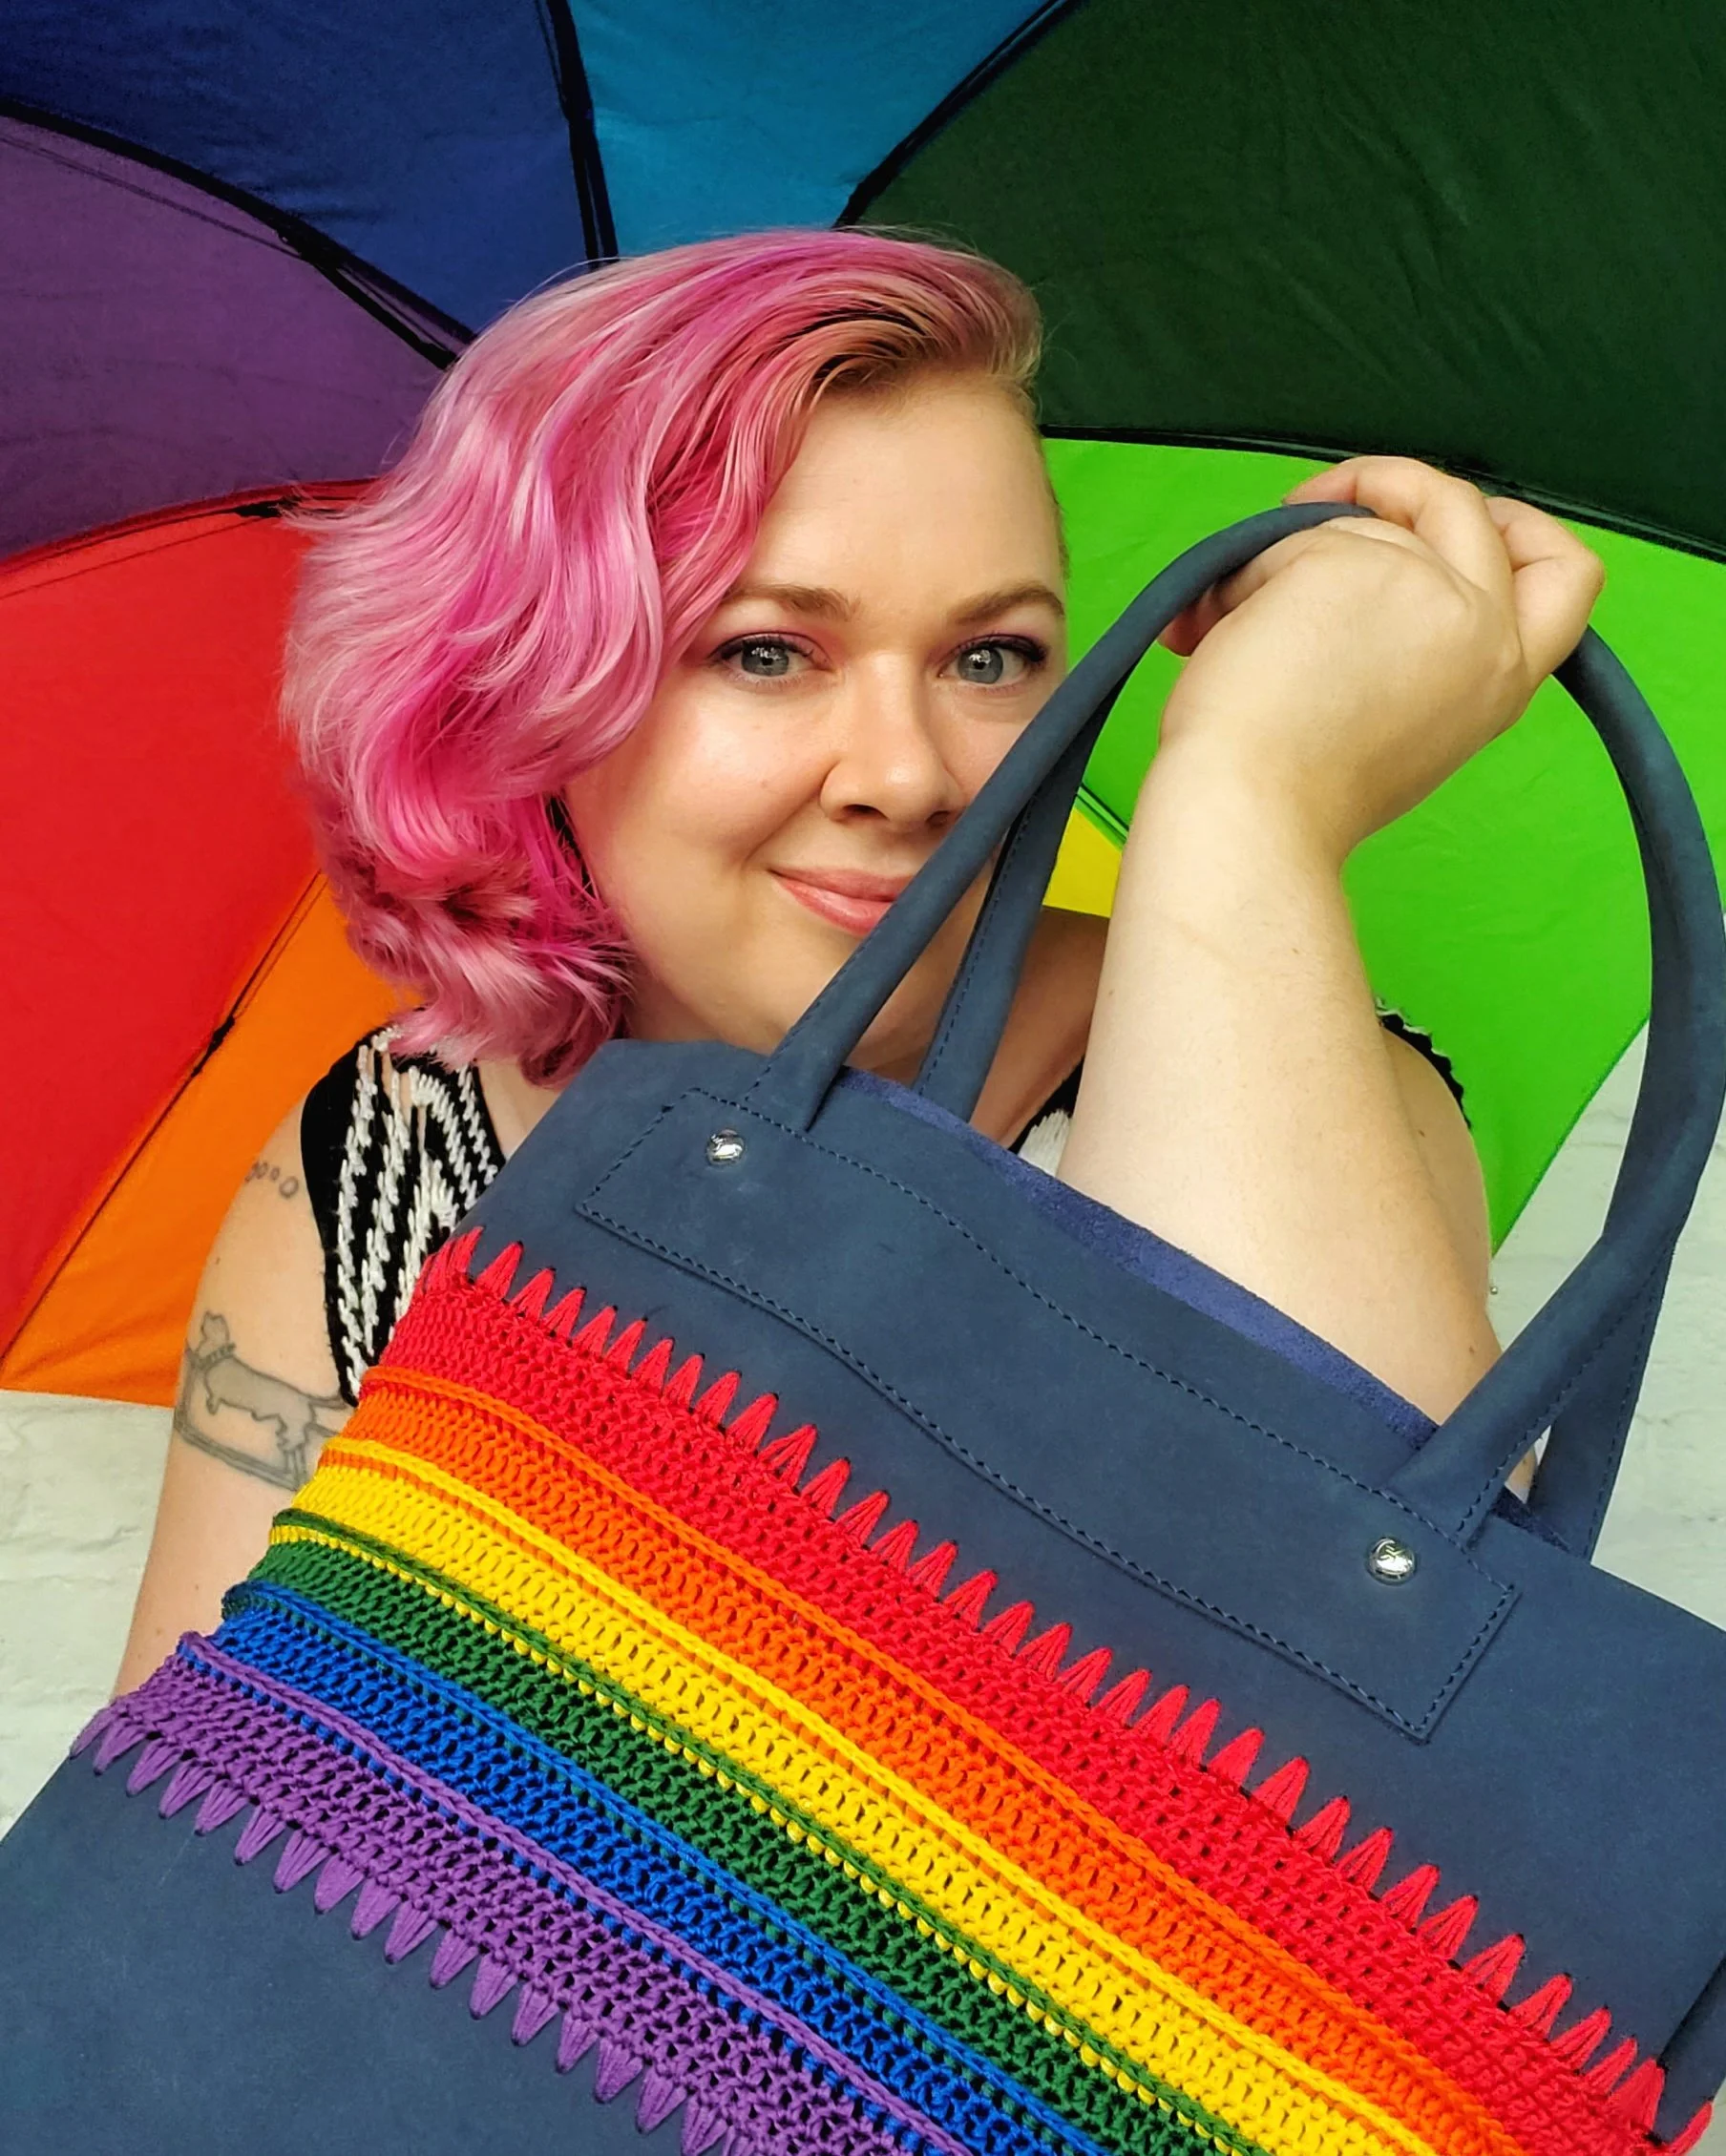
Rainbow Bag
Disclaimer: This tutorial was sponsored by Hobium Yarns, who provided the materials free of cost. Any opinion of Hobium Yarns or the materials shown are my own. I did not receive monetary compensation for this tutorial and I do not receive any monetary compensation for purchases made from Hobium Yarns.
I love, love, LOVE crocheted bags. I have so many that my daughter has inherited quite a few and now even her collection might be getting a little out of hand. But, I do occasionally need to carry some heavy stuff, and crocheted bags do not shine their best when overfilled. Straps can stretch, bottoms can sag, and sometimes your smaller belongings can find a way to escape between stitches.
I had a rainbow bag in my idea notebook for a while, and had been planning on making one this summer when Hobium Yarns contacted me about trying out of their yarns in my upcoming projects. When I saw the colors from their La Mia Mercerized Cotton line, I knew that they would be perfect to make a project like this shine. Then I also discovered the Loren bag handle & sole set, and the project began to take on a different look.
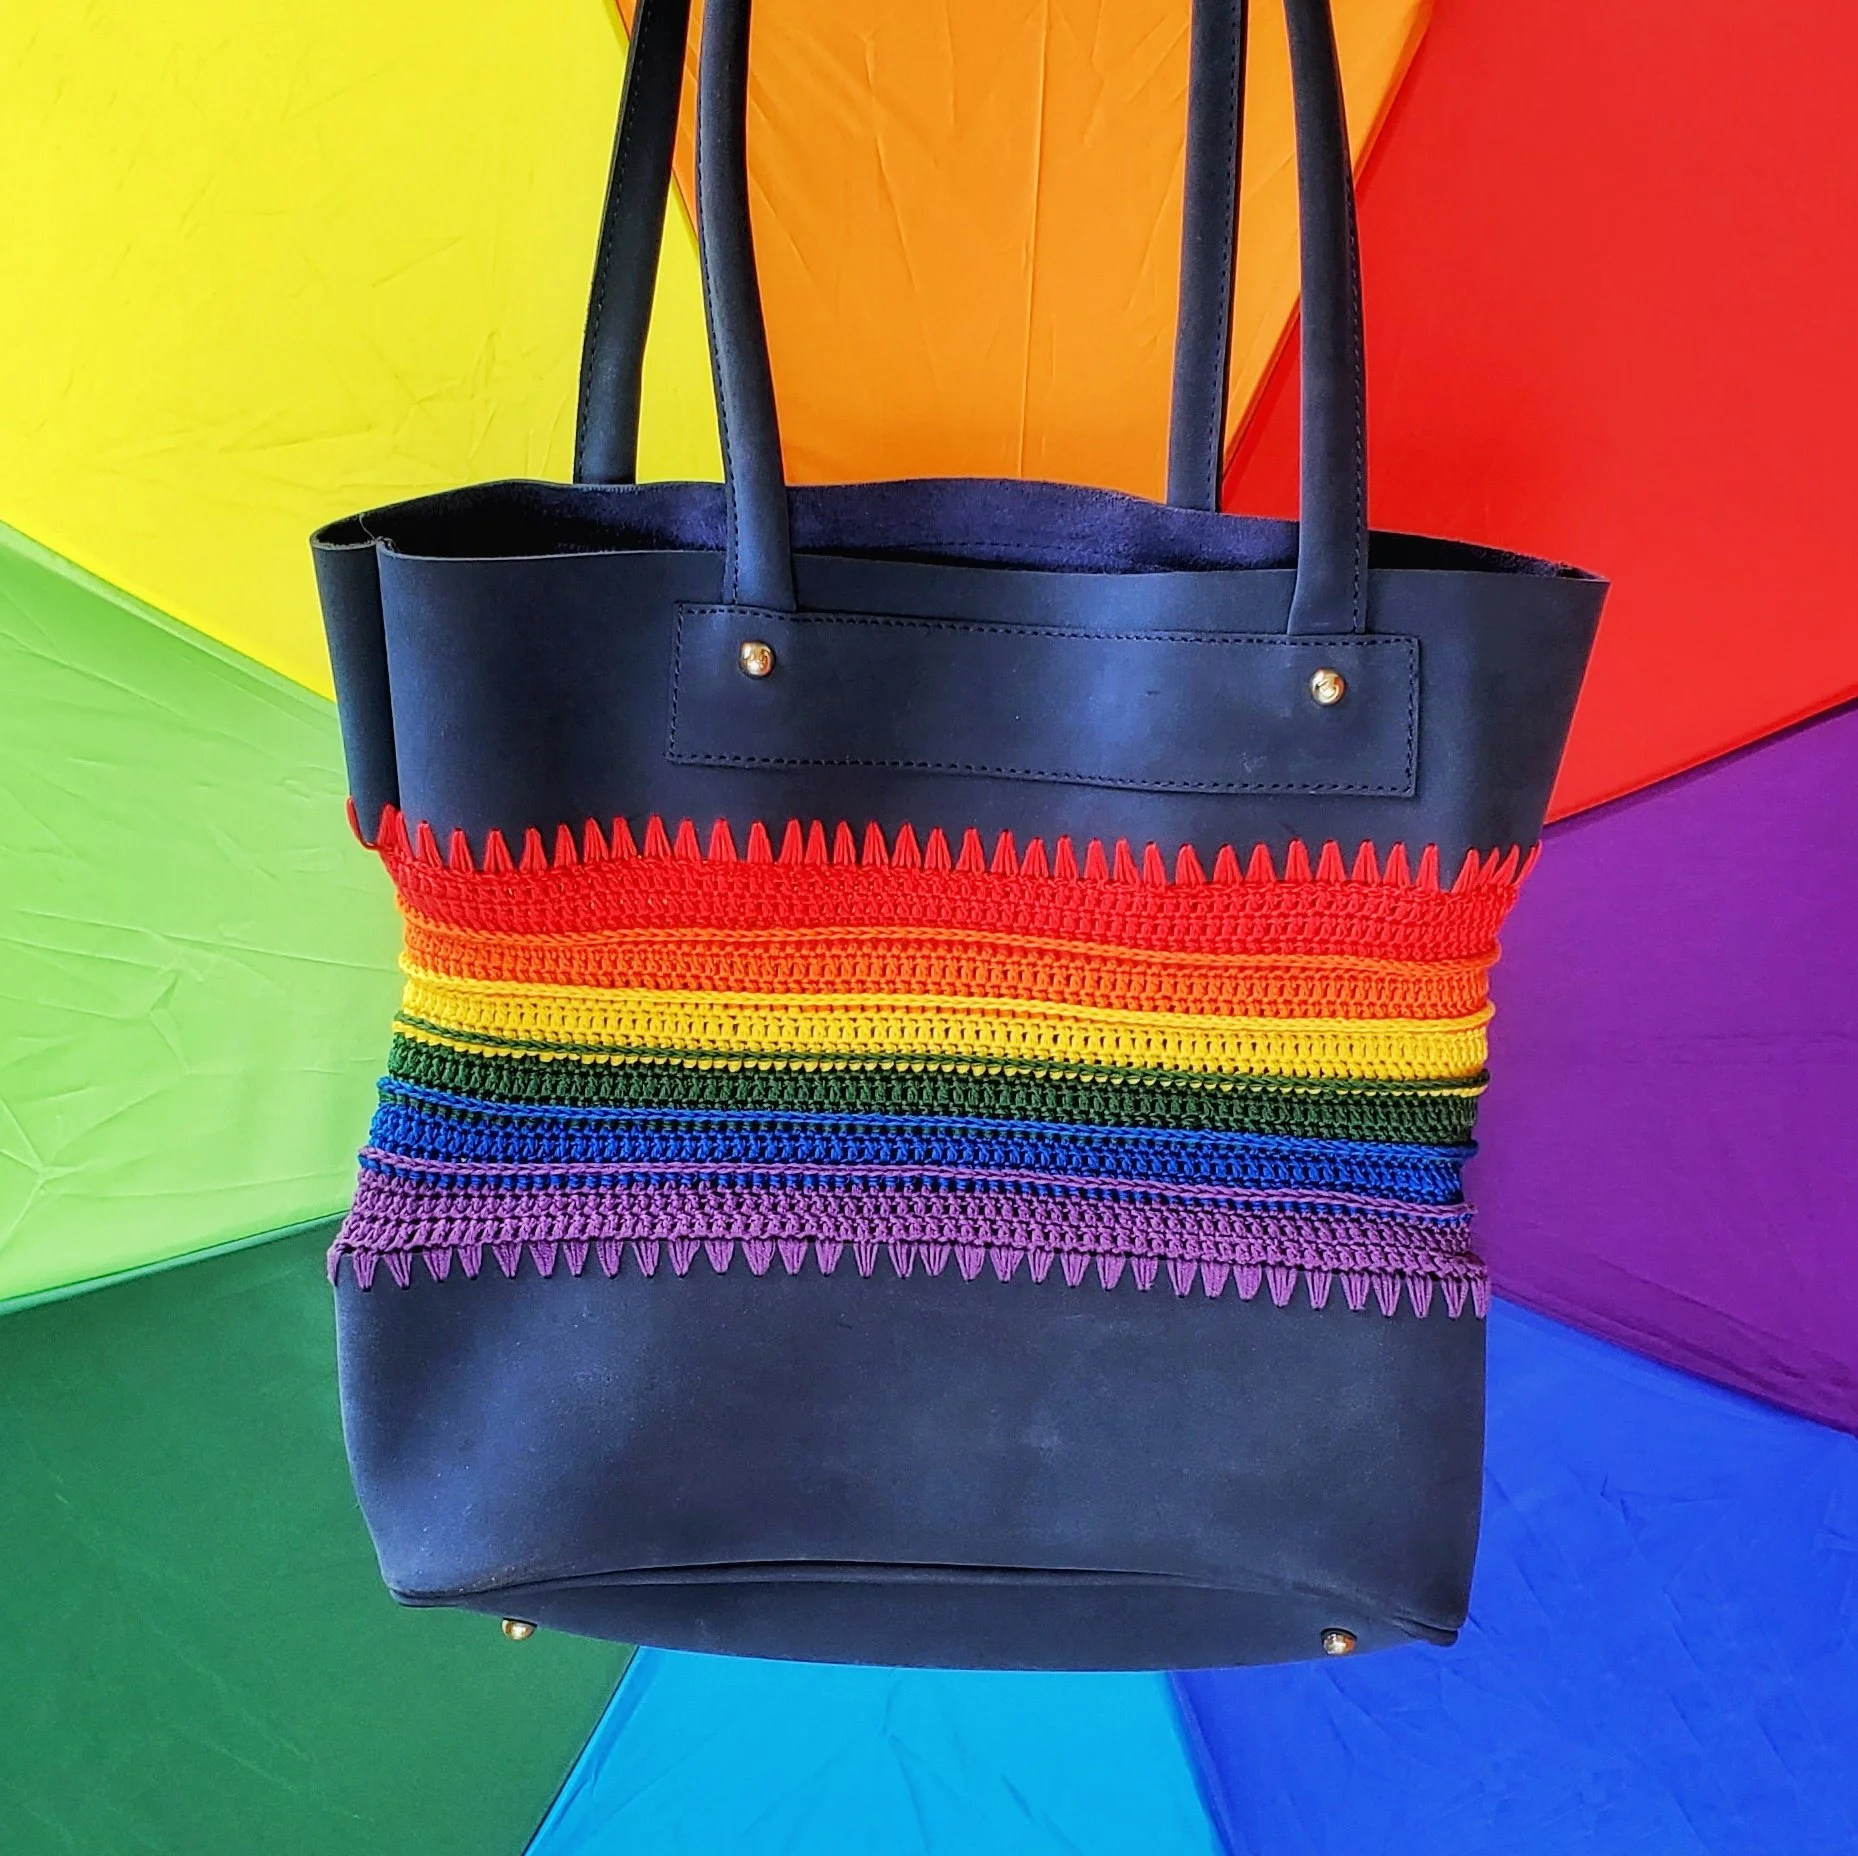
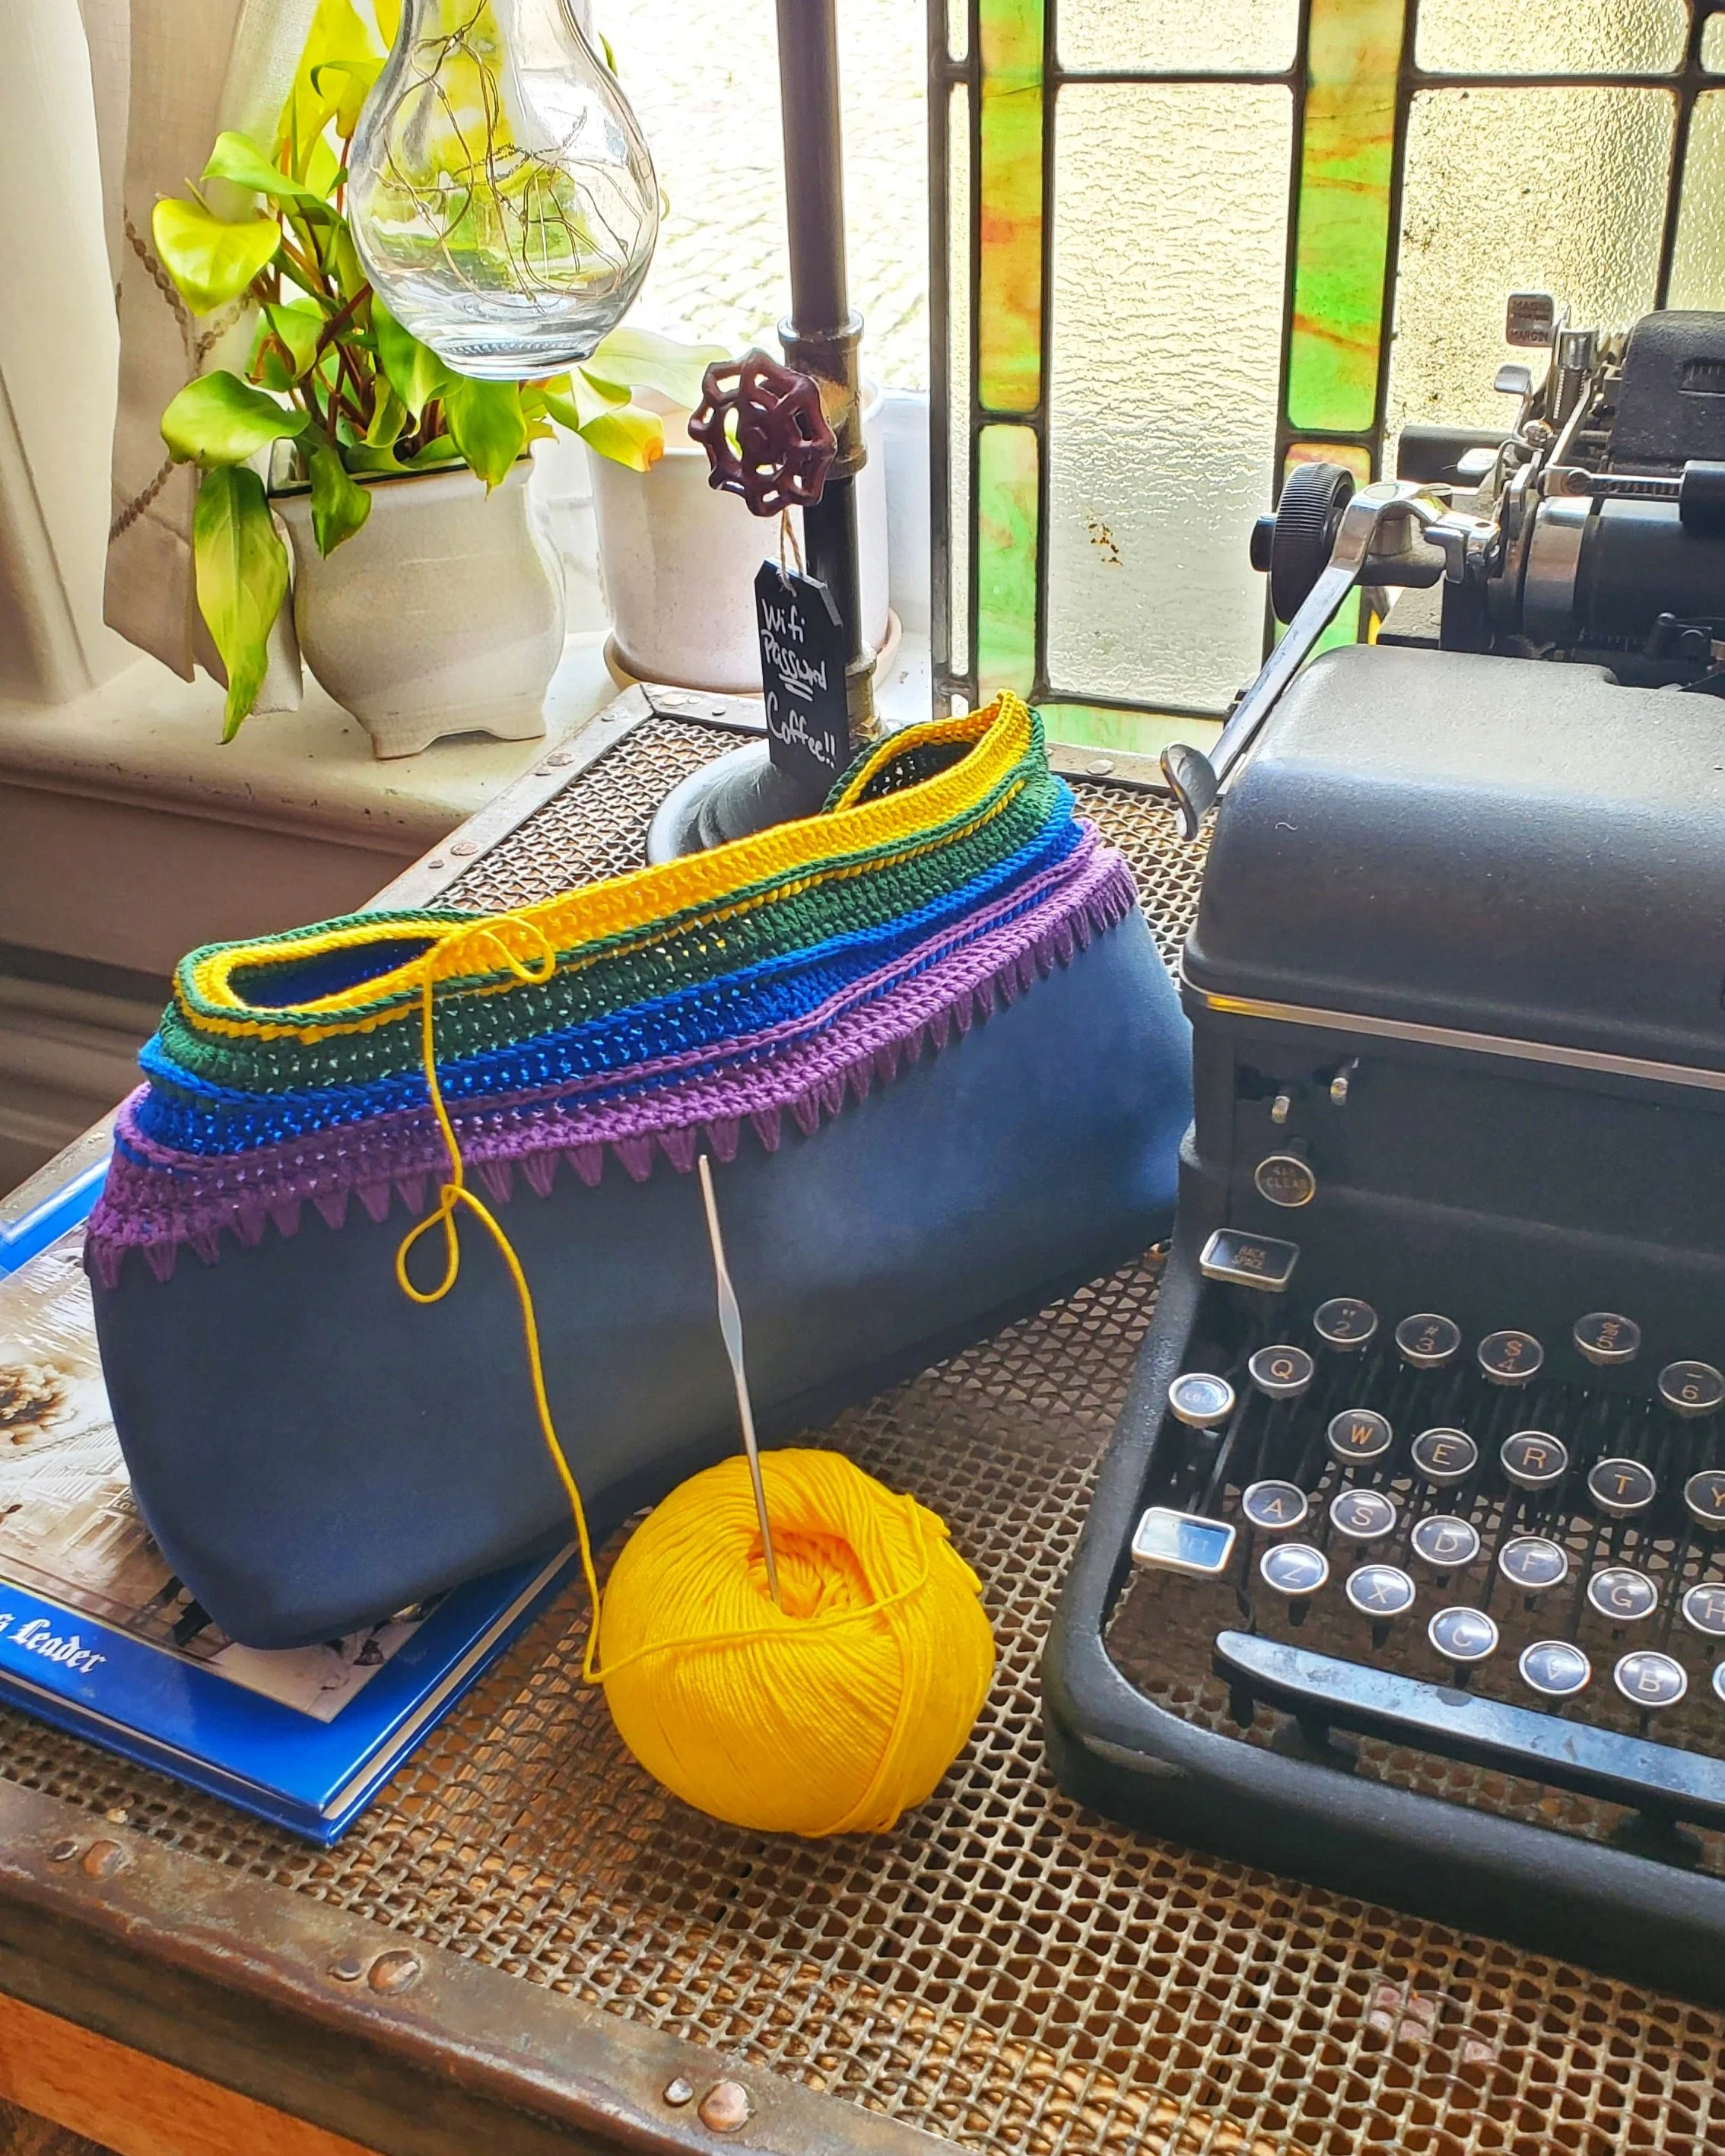
These premade bag pieces are perfectly made for customizing a bag with a more upscale look. The nubuck leather is beautiful quality, and is similar to suede, but stronger. Each piece has 80 perfectly spaced holes to sew a piece into place, or to crochet directly into. How could I resist the chance to play with something like that?!
While I was playing with a mitered square design, the look just wasn’t doing it for me. The more I played, the more I knew it needed to be striped. While there’s definitely plans for a mitered square project, this just isn’t it. Sometimes a project tells you what it wants to be, and you’re obliged to comply!
Materials
Loren nubuck bag handle and sole set - bags should have 80 precut holes around each piece. A different number of holes will affect your stitch count.
1/2 ball La Mia Mercerized Cotton (size 3) in the following colors:
Red - 19
Orange - 194
Mustard - 181
Dark Green - 157
Blue - 103
Dark Purple - 59
1.8mm crochet hook (size 5)
2.25mm crochet hook (size 1 or b)
Gauge
After blocking, the width of 23 dc stitches with a 2.25mm hook should measure 4” across. This will ensure that 2 stitches per pre-cut hole in each bag piece will be of a sufficient width for the bag.
The gauge for height is less important than the width. Each color should measure 1” tall, from the bottom of the bpdc stitch row to the top of the second dc row. As the colors overlap slightly, 4 sections of different colors (12 rows) will measure 3” tall.
Stitches/Abbreviations
sl st slip stitch
st/sts stitch
ch chain
sc single crochet
dc double crochet
bpdc back post double crochet
Special Notes
Ch 2 at the beginning of rows does not count as a stitch.
The mattress stitch (sometimes referred to as the ladder stitch) is used to connect the top and bottom pieces of the bag.
Rainbow Bag
Bottom and Body
Begin with the sole (bottom) of the bag and a 1.80mm crochet hook and La Mia mercerized cotton in purple.
Row 1: In the rightmost hole on the desired side, insert your hook, pull up a loop to the top edge of the sole, y/o, and pull through. This is your first sc. Repeat in the same hole. Working around the edge of the sole in it’s entirety, make 2 sc stitches into each hole, with the top of your stitches aligning with the open edge of the bag piece. Sl st to the first sc to join. (160 - stitch count should remain at 160 for each row.)
Row 2: Switch to a 2.25mm hook. Ch 2. Make 1 dc in each sc around the edge of the sole. Sl st to the top of the first dc to join.
Row 3: repeat row 2.
Row 4: Change color to blue. ch 2 and bpdc around each st of the prior row. Sl st to the top of the first bpdc to join.
Row 5: Ch 2. Make 1 dc in each sc around the edge of the sole. Sl st to the top of the first dc to join.
Row 6: Ch 2. Make 1 dc in each sc around the edge of the sole. Sl st to the top of the first dc to join.
Repeat rows 4-6 in green, yellow, orange, and red. You should have 18 rows total, including the initial sc row. Finish off and set aside.
Top
Switch to the handle piece (top) of the bag. Using a 1.80mm crochet hook and La Mia mercerized cotton in red, repeat Row 1. Leave a long tail, approximately 40” for assembly.
Assembly
Line up the top of the bag with the top of the body, with the seams together. Make sure that the sides of the handle piece line up correctly with the sides of the the sole to avoid any twisting of the body. Using the tail from the top piece, use a mattress stitch to join the two pieces together. Secure all ends and weave them in.
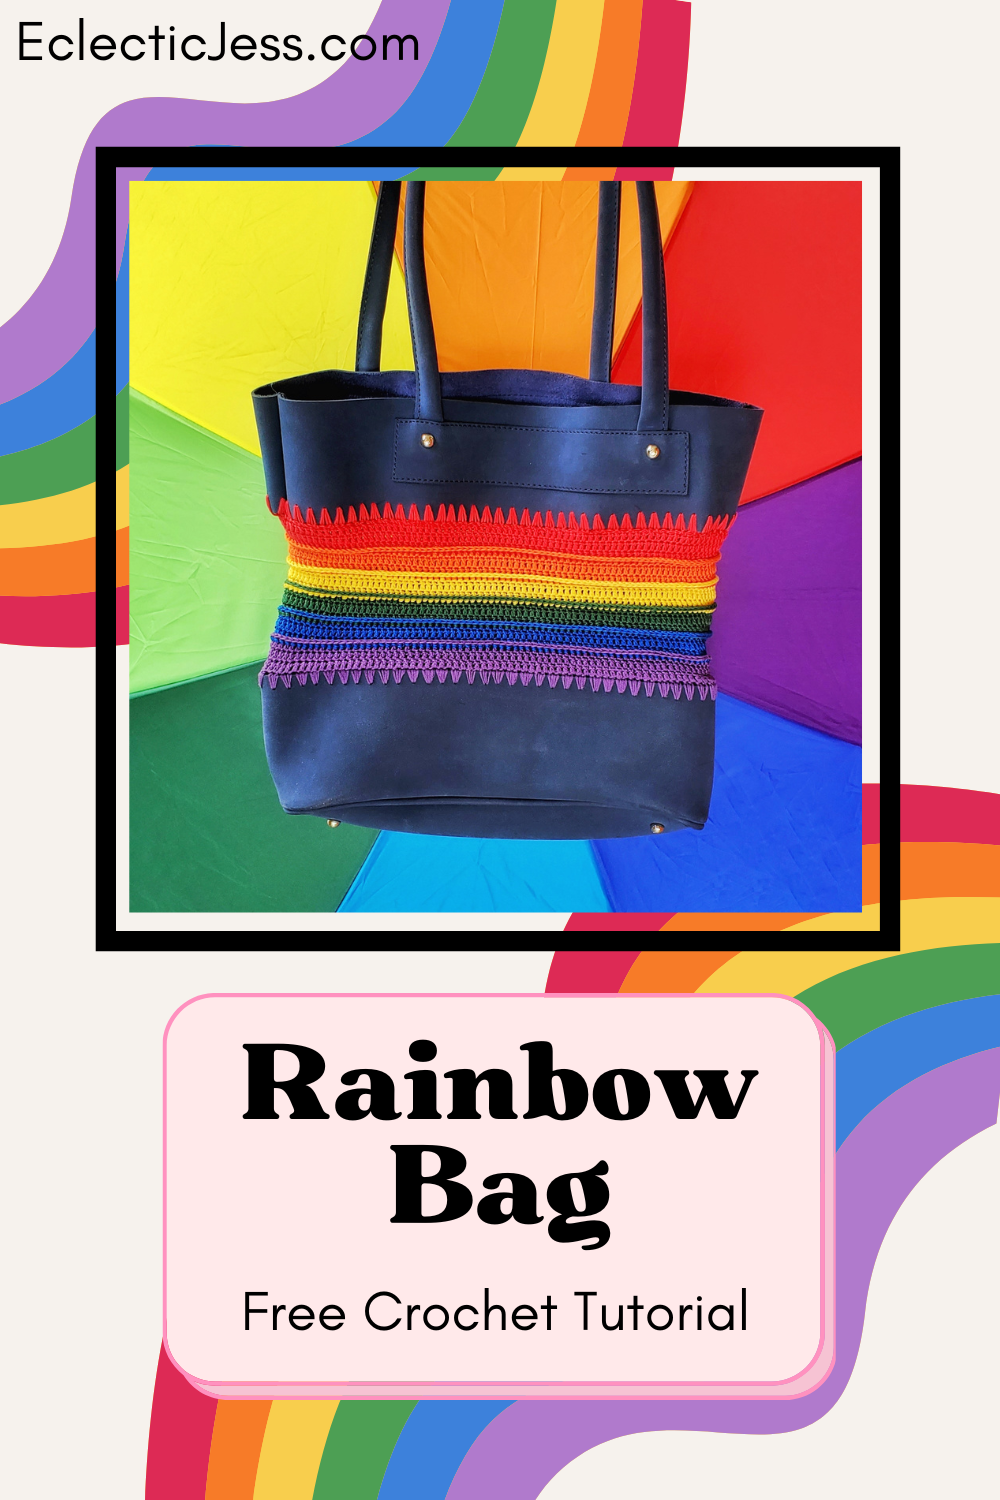
Click to Pin!