Pride Flag Pole Wrap (tall)
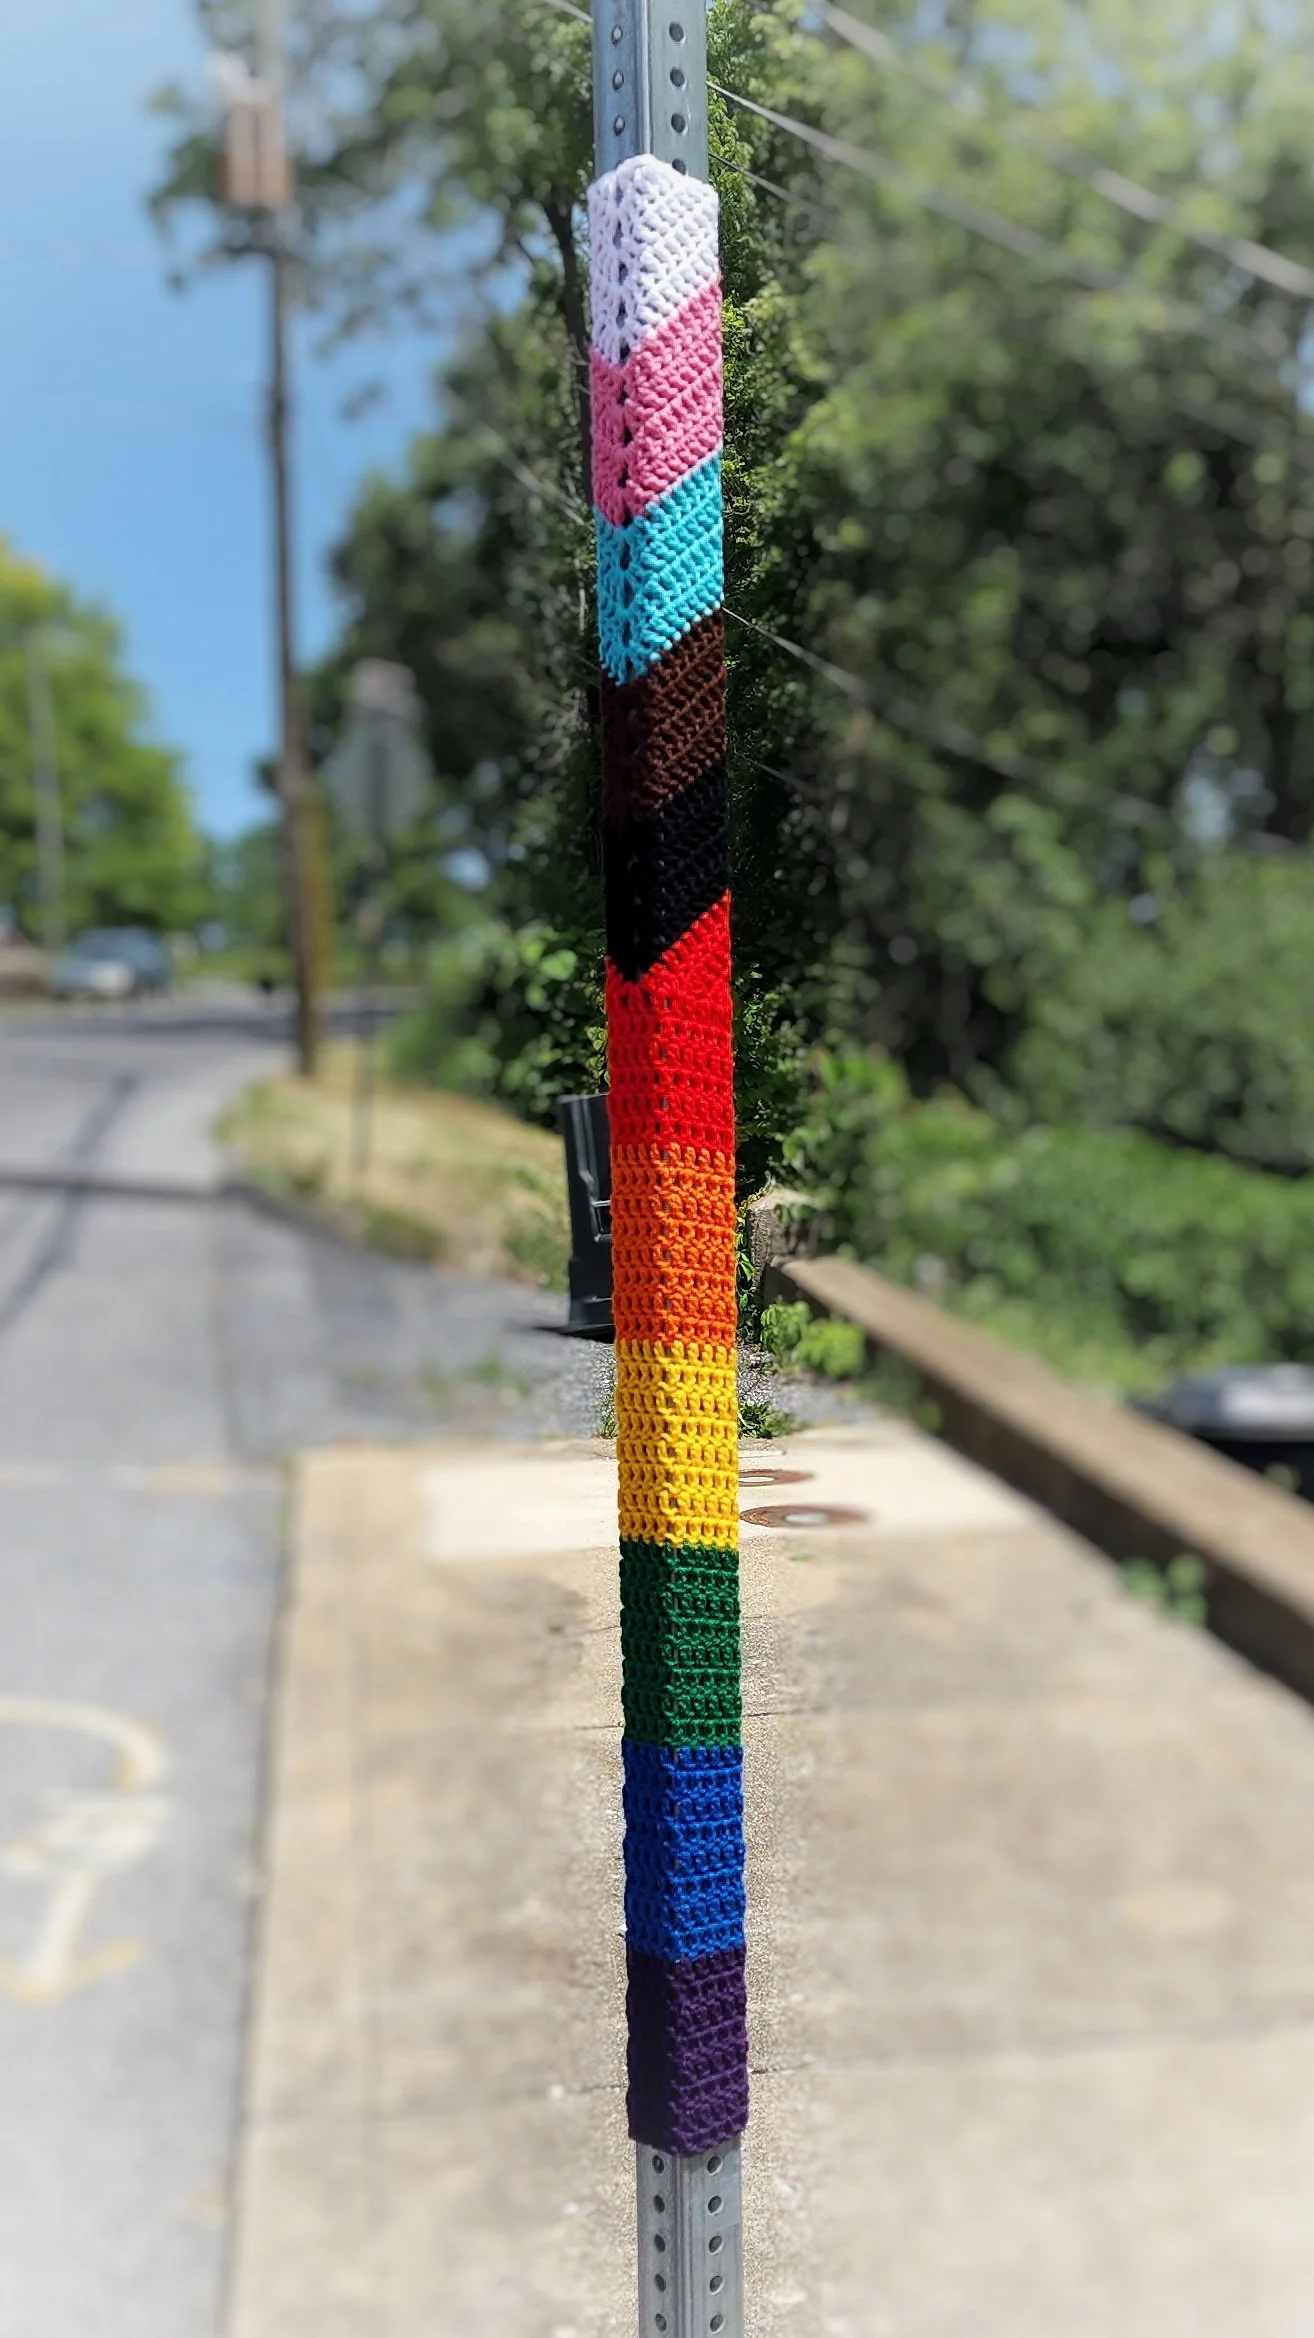
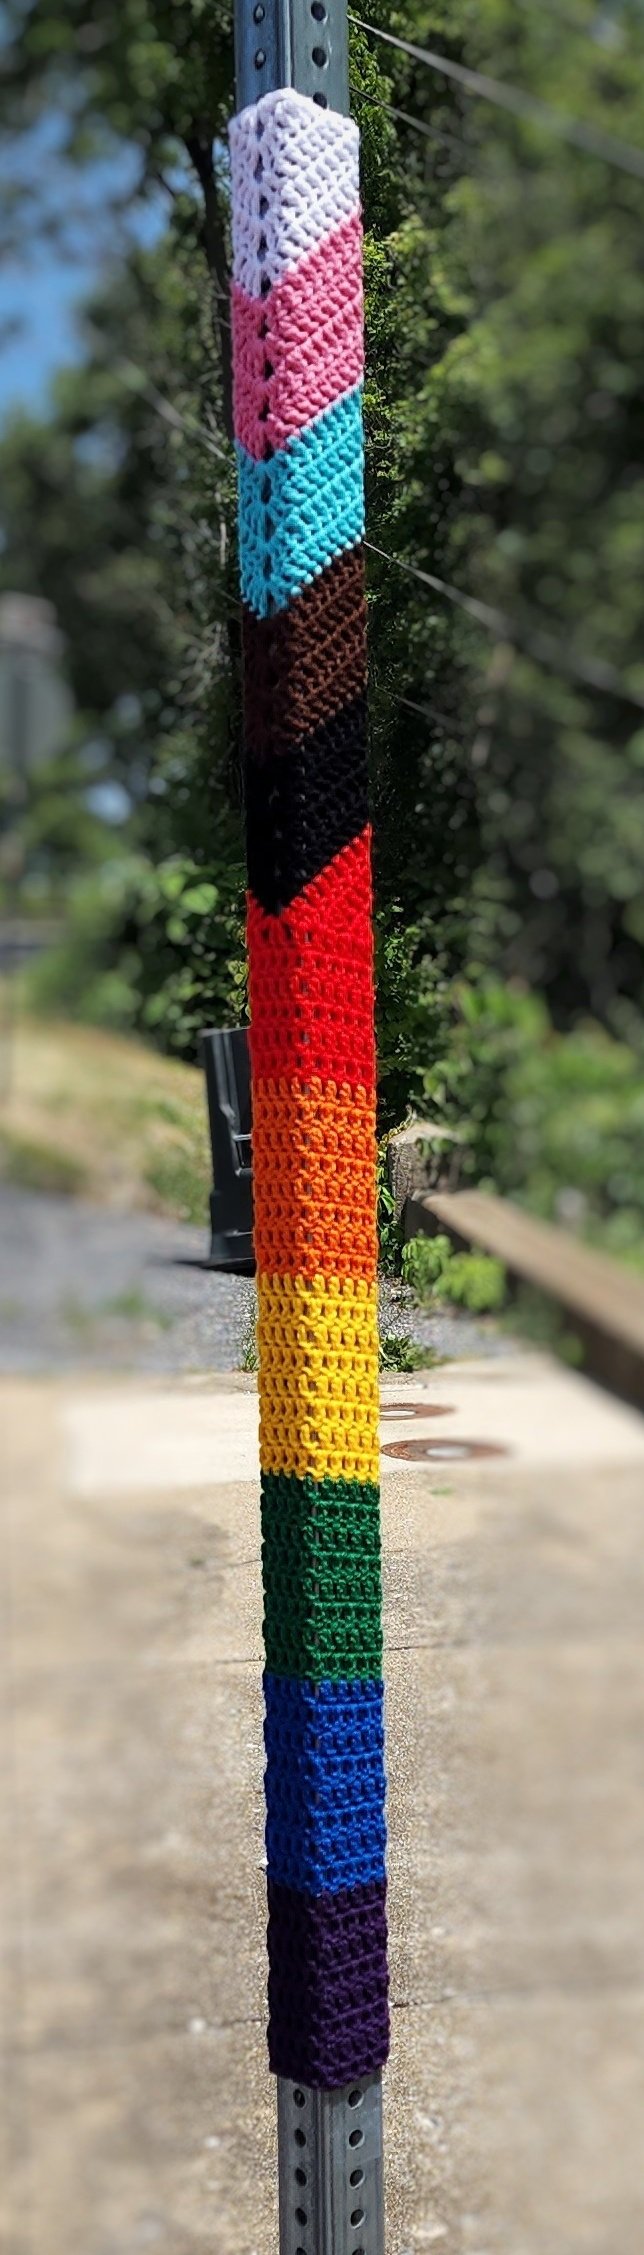

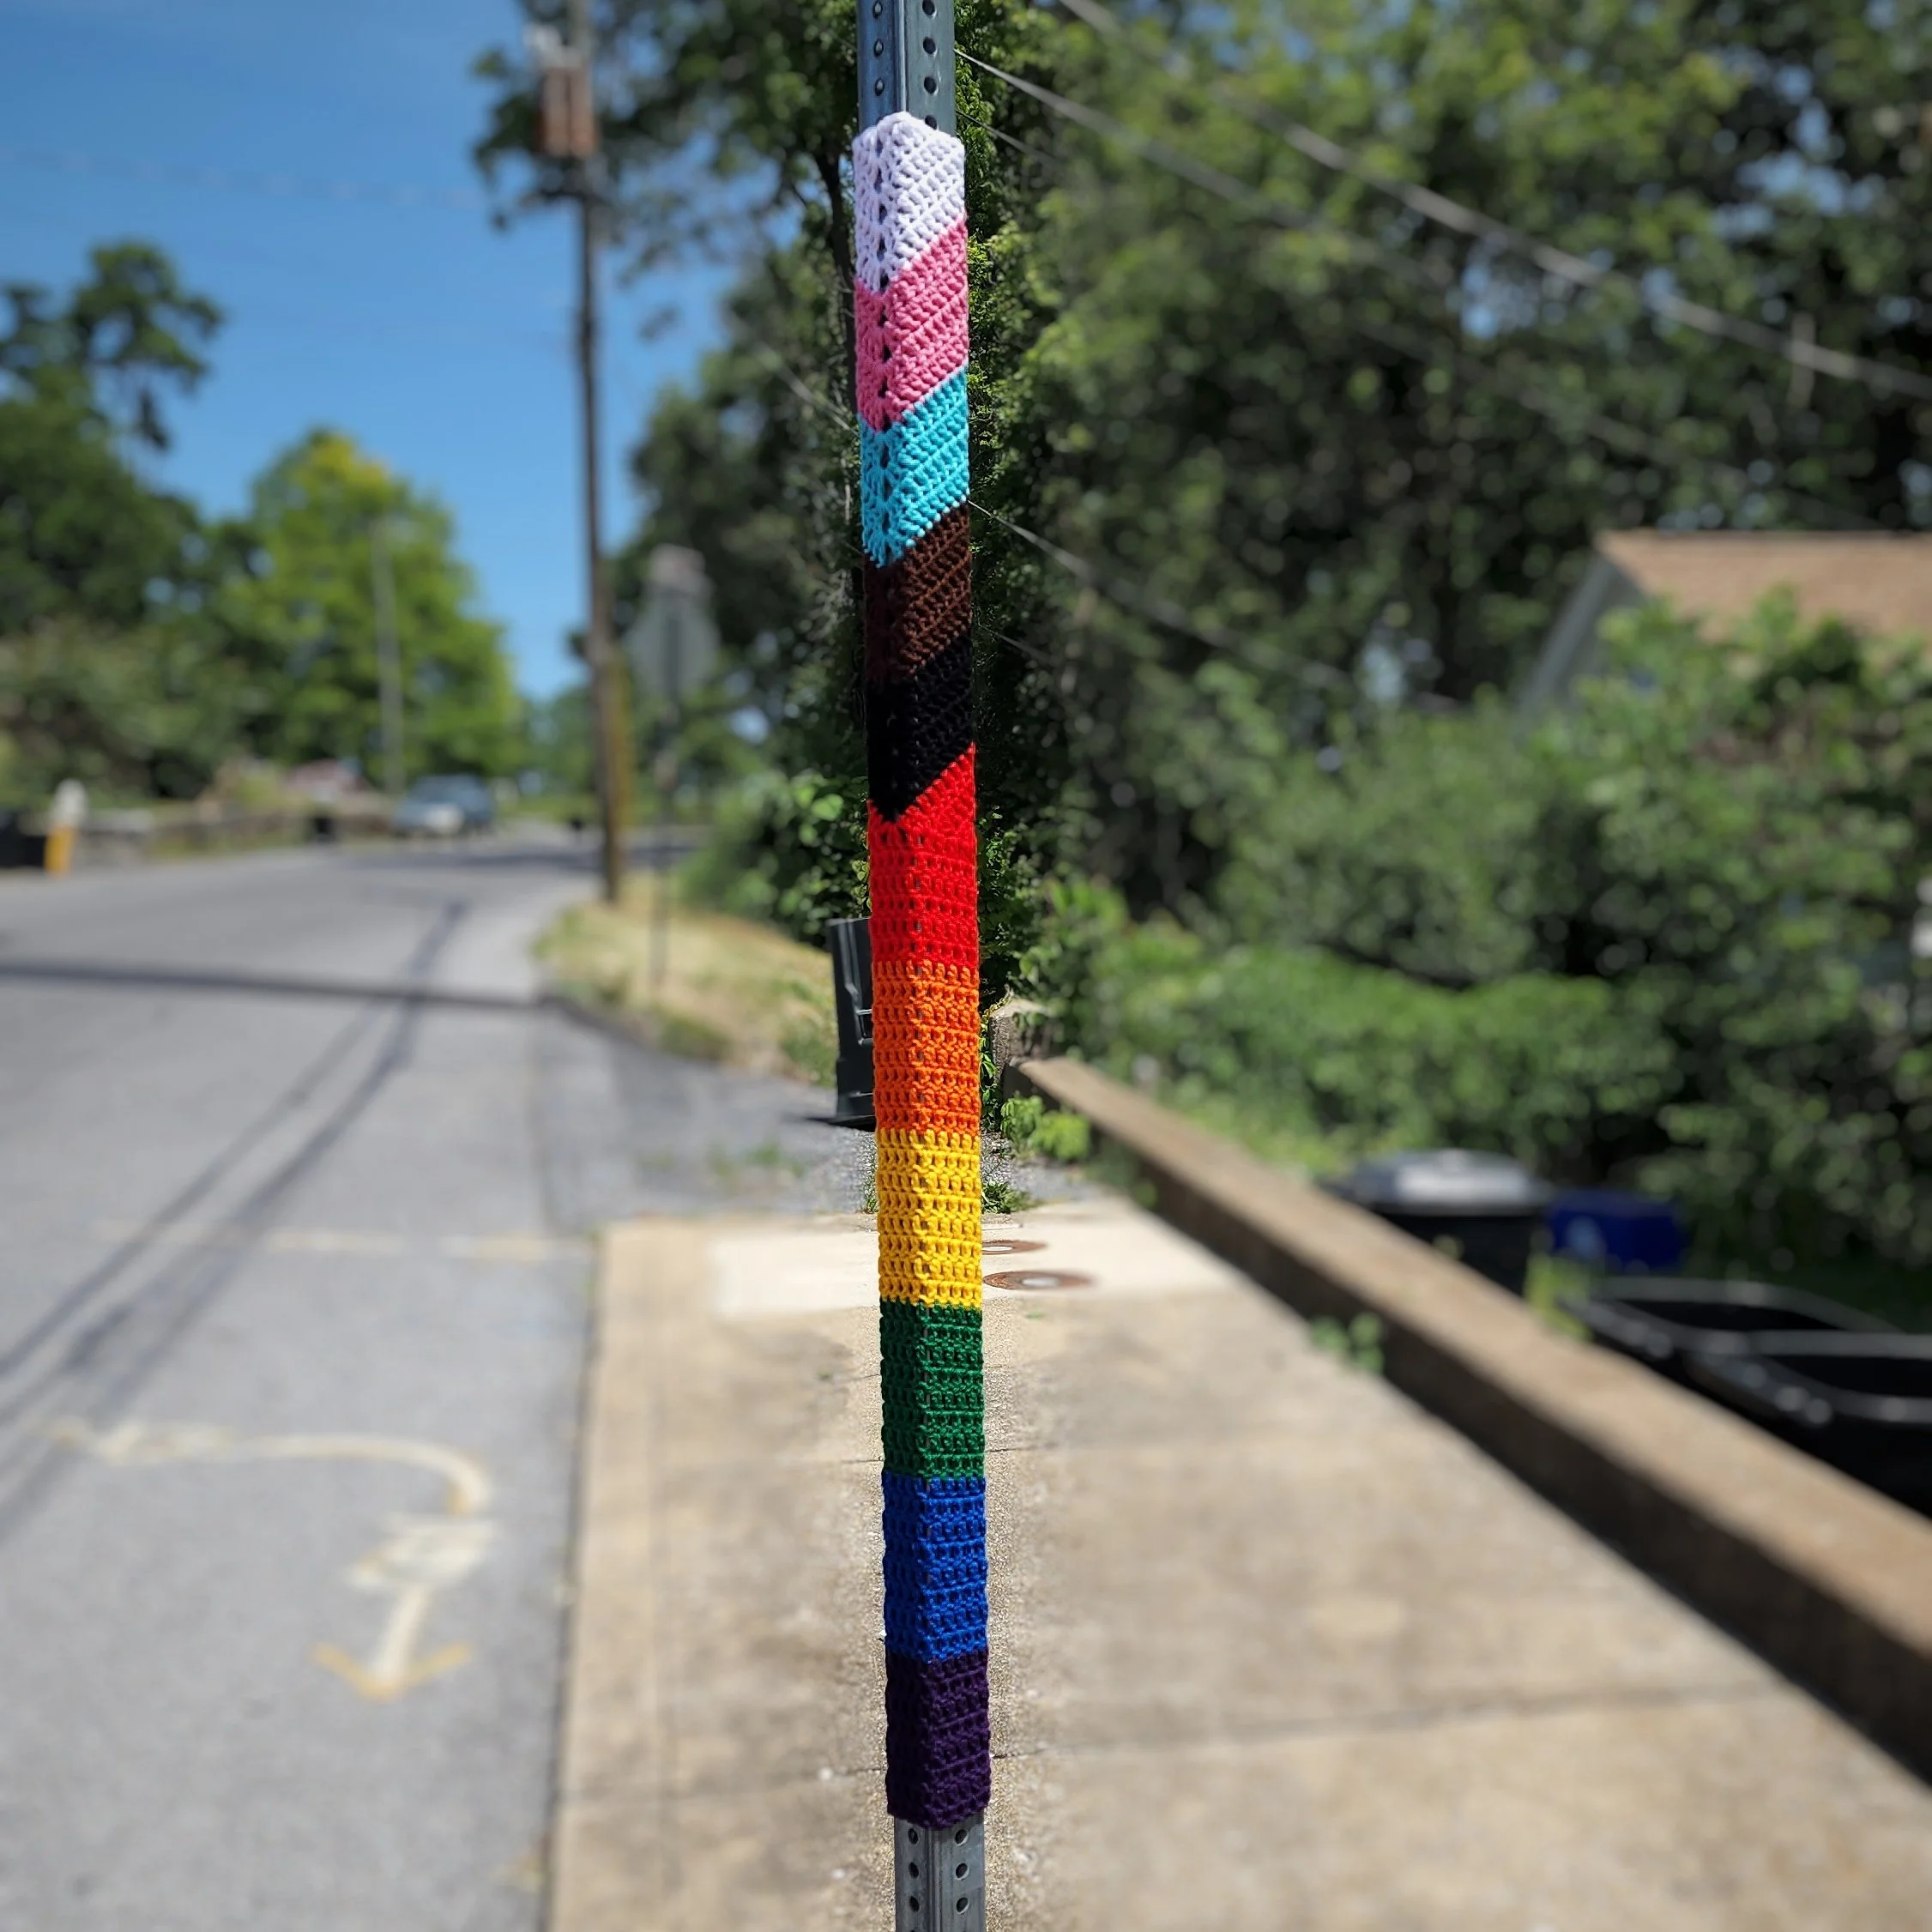
Support the LGBTQIA+ community with a crocheted take on the progress pride flag! This flag works up quickly and easily for any crocheter. With a bit of a twist, the progress pride flag has been altered so that all colors can be visible when wrapped around a pole, adding a pop of color and a message of inclusivity to your community. It is designed to best wrap around an 8” pole and measures approximately 47” tall.
Disclosure: Review your local laws before considering a yarn bomb on public property. Always ask the property owner before installing a yarn bomb on private property. Check in on your yarn bombs to ensure that they are in good condition and not at risk of coming apart and/or becoming litter. Eclectic Jess holds no liability for violations incurred by the creation and/or placement of yarn bombs created using this pattern.
Skill Level: Easy
US Terms
Tools/Materials:
J hook (6.00mm)
Yarn needle for weaving ends and installation
Worsted weight acrylic yarn in the following amounts:
15 yards: white, pink, light blue, brown, black
35 yards: red
25 yards: orange, yellow, green, blue, purple
extra length of color of your choice to sew in place during installation
Stitches/Abbreviations
st/sts Stitch(es)
ch Chain
dc Double Crochet
2dc Double Crochet Increase
dc#tog Double Crochet # Together
Gauge
Following the first 5 rows, the piece should measure 6” across from 1st to last st, and 4.5” tall in the center. After row 6, the piece should measure 7” across from 1st to last st. This will best fit a pole that measures 8” around. This version will measure 47” tall.
Loose tension is recommended since you’ll want the piece to stretch for installation. If you have tight tension or if your pole is slightly larger than 8”, you may wish to size up a hook size for a better fit.
Special Notes
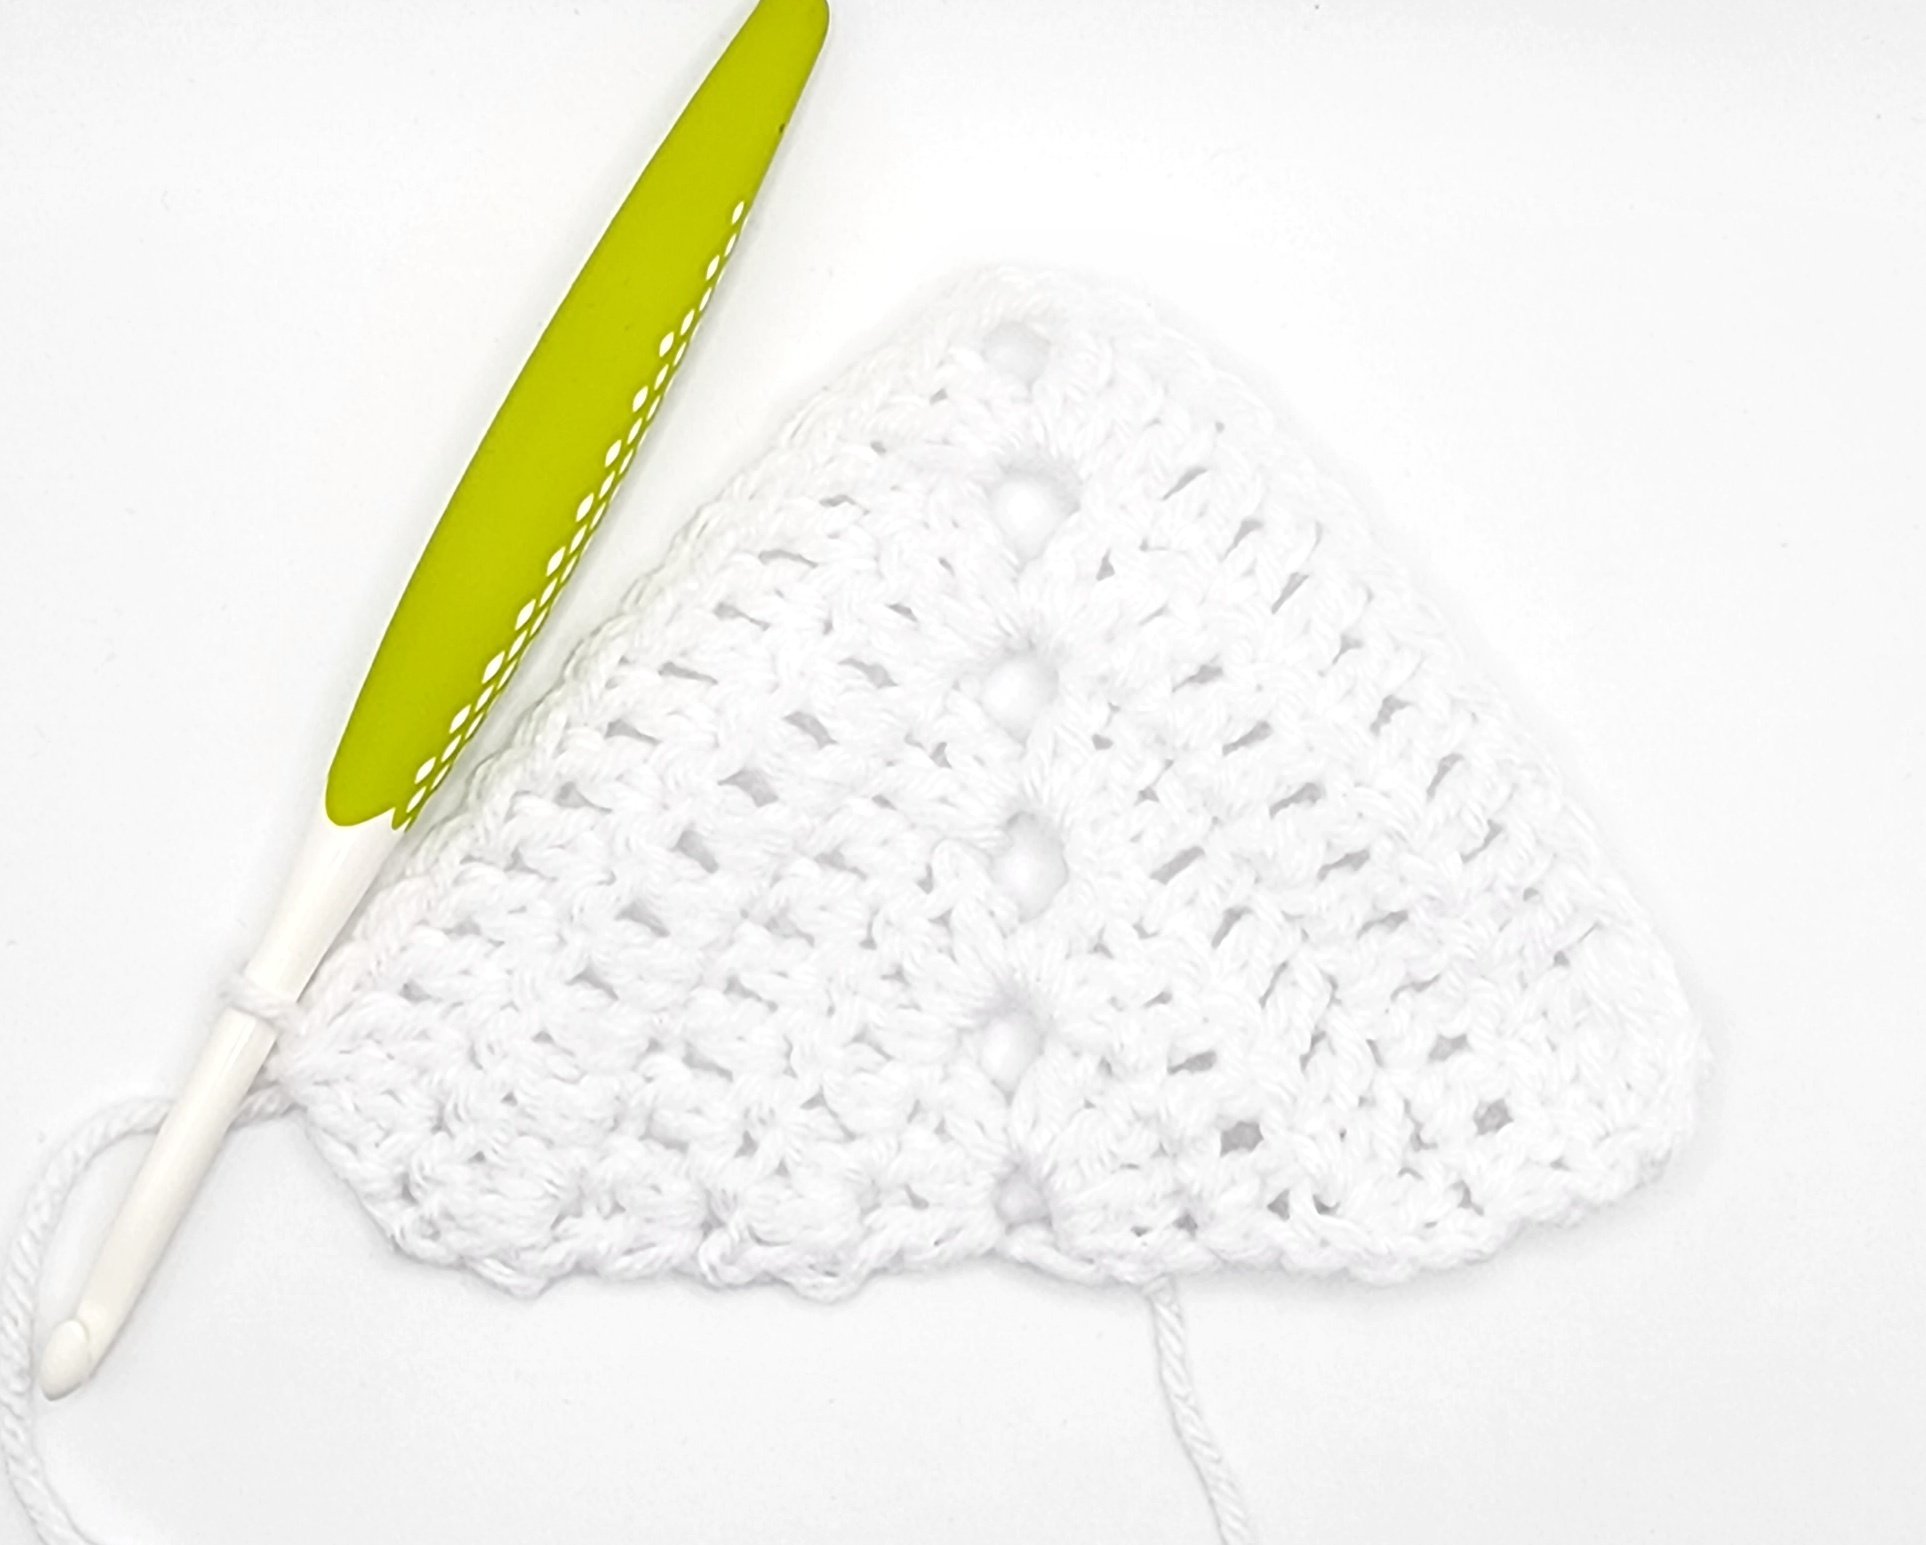
This piece is worked top down, beginning with a triangle shape and transitioning into chevrons, and later, rectangular stripes.
Ch 2 at the beginning of each row does not count as a stitch.
Stitches denoted within parentheses ( ) will be made into the same chain space of the prior row.
Numbers written before a stitch abbreviation indicate multiple stitches into a single stitch of the prior row/round (i.e. 2dc would mean to make 2 dc stitches into a single stitch.)
Numbers written after the stitch indicate repeating the indicated stitch(es) into the next # of stitches of the prior row/round (i.e. dc 2 would mean to make a single dc stitch into the next 2 stitches.)
Installation Notes:
Plan installation before beginning. Be sure to measure the intended pole - these pieces are meant to fit a pole that measures 8” around when stretched. The length of pieces will stretch slightly over time, due to weight (especially when wet). It is best to attach to a pole that has holes spaced near the top of where your piece will sit, so that you may sew through the holes and attach the top of the piece securely to the pole. This will prevent it from falling or drooping. Since the piece is secured to the pole only at the top, the piece is free to stretch and grow longer over time; this is most likely to occur after rain due to the weight of the water. Be sure to leave space at the bottom of the pole for stretching.
To Install:
Wrap your piece around the intended pole, with the white section at the top. Using a long length of yarn and a yarn needle, sew the top corners together and secure tightly. Sew through a hole in the pole (if applicable) to keep your piece in position. Continue to sew the long sides together along the length of the pole, ensuring to line up each color change. Secure your yarn at the bottom and finish off.
Let’s get started!
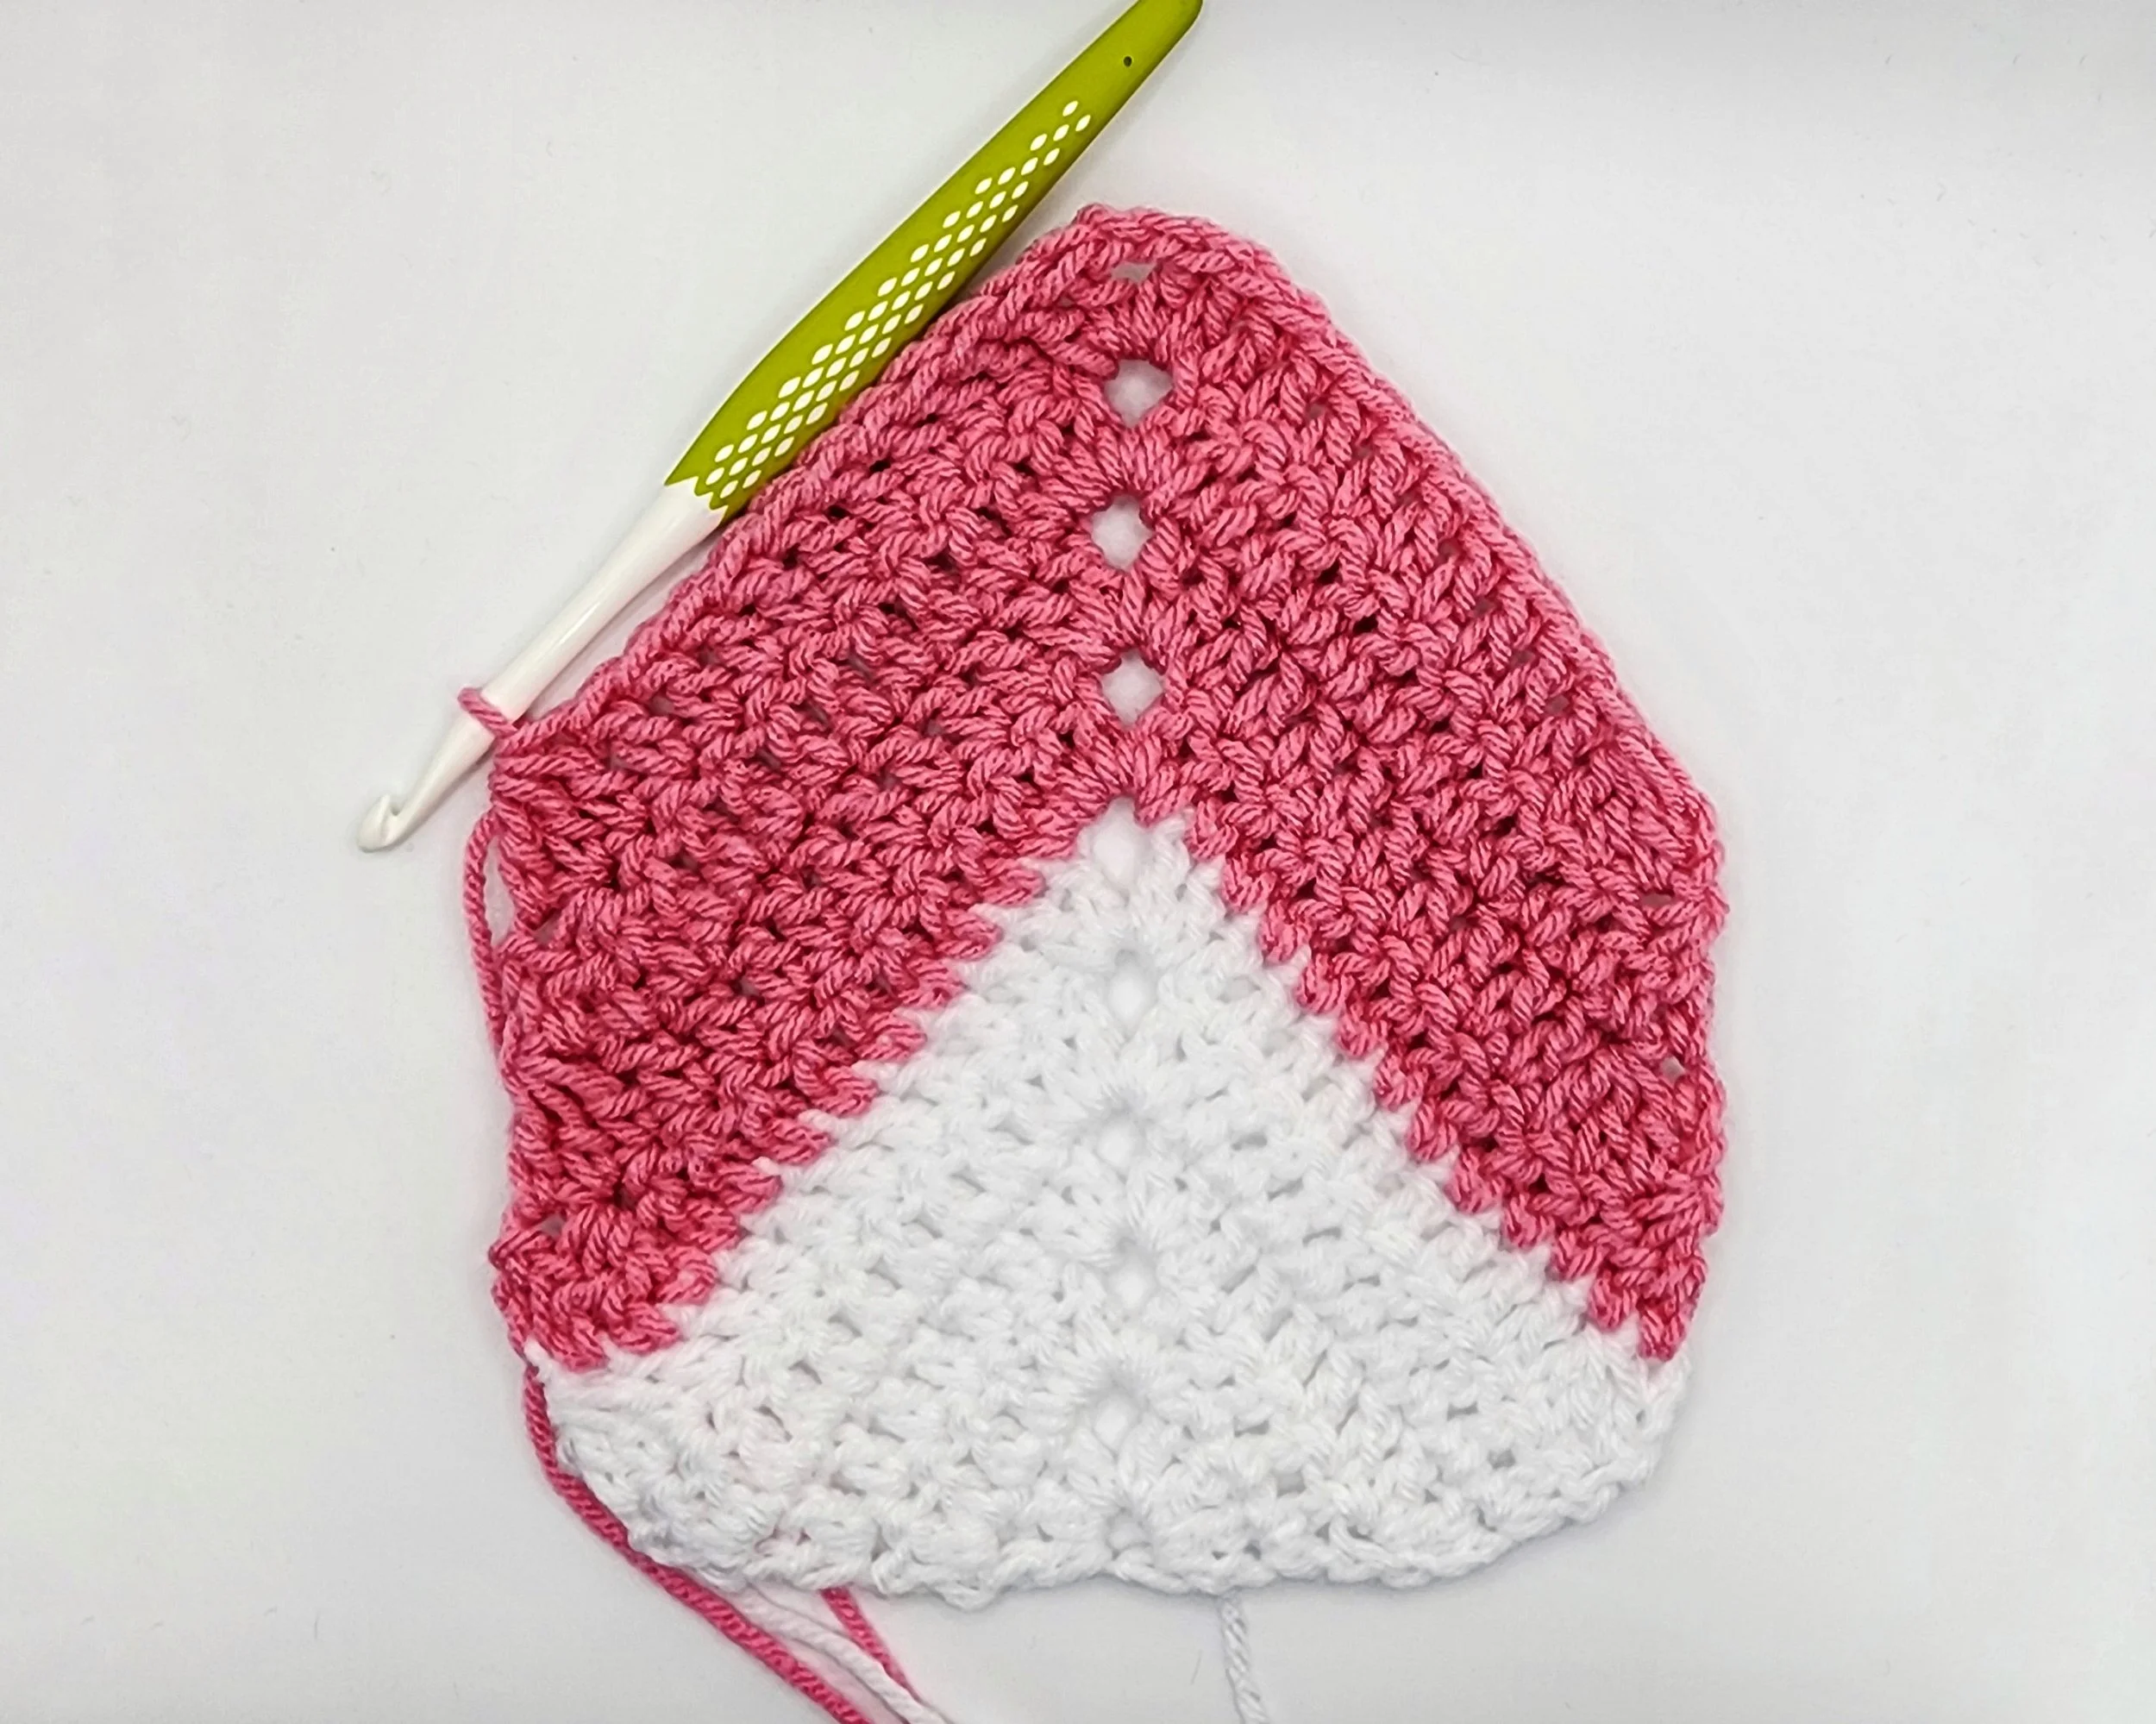
Top Chevrons
Beginning with white:
Row 1: Ch 3. In first chain, (3dc, ch 2, 3dc). (6)
Row 2: Ch 2 & turn. 2dc, dc 2. (2dc, ch 2, 2dc). dc 2, 2dc. (12)
Row 3: Ch 2 & turn. 2dc, dc 5. (2dc, ch 2, 2dc). dc 5, 2dc. (18)
Row 4: Ch 2 & turn. 2dc, dc 8. (2dc, ch 2, 2dc). dc 8, 2dc. (24)
Going forward, you will no longer increase at the beginning and end of each row, but will decrease at the edges while increasing at the center to maintain an even width.
Row 5: Ch 2 & turn. Dc3tog, dc 9. (2dc, ch 2, 2dc). dc 9, dc3tog. (24)
Change to pink.
Row 6: Ch 2 & turn. Dc3tog, dc 9. (2dc, ch 2, 2dc). dc 9, dc3tog. (24)
Measuring straight across from the beginning to end of Row 6, the piece should measure 7” across without stretching. This is ideal for a pole that measures 8” around, as you will be stretching the piece slightly for a snug fit when sewn into place.
Rows 7-9: Ch 2 & turn. Dc3tog, dc 9. (2dc, ch 2, 2dc). dc 9, dc3tog. (24)
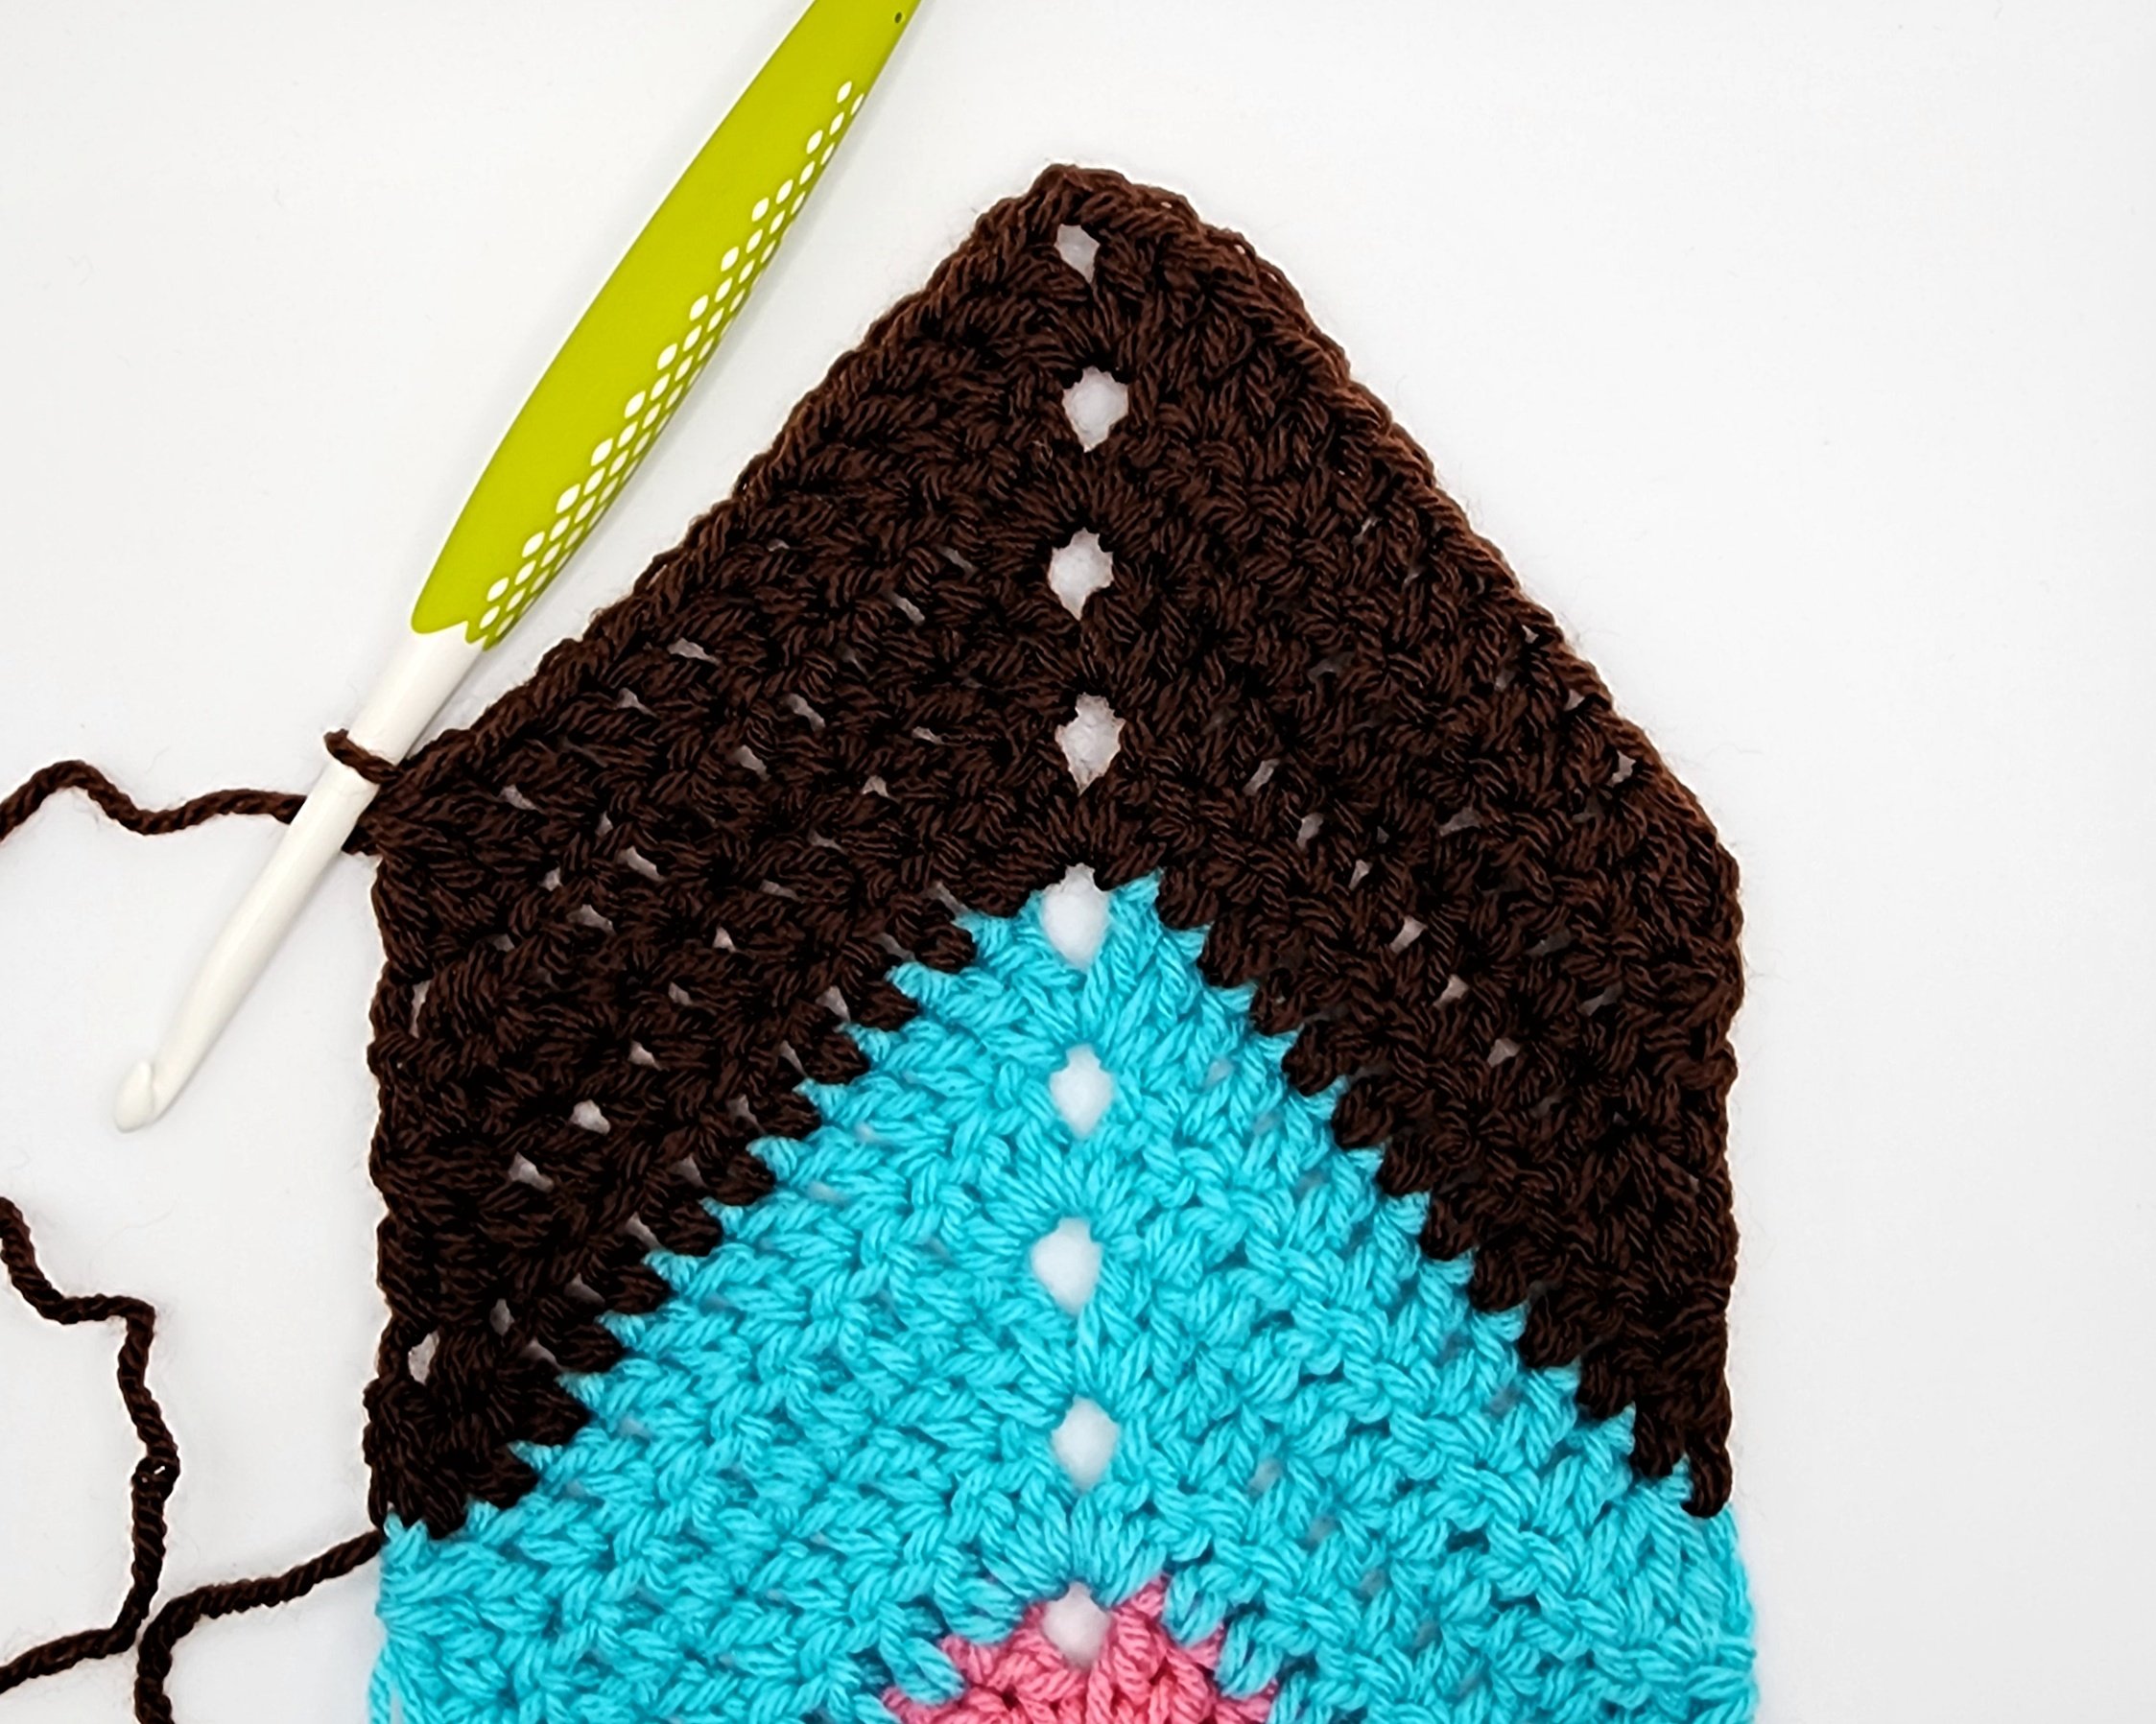
Change to light blue.
Rows 10-13: Ch 2 & turn. Dc3tog, dc 9. (2dc, ch 2, 2dc). dc 9, dc3tog. (24)
Change to brown.
Rows 14-17: Ch 2 & turn. Dc3tog, dc 9. (2dc, ch 2, 2dc). dc 9, dc3tog. (24)
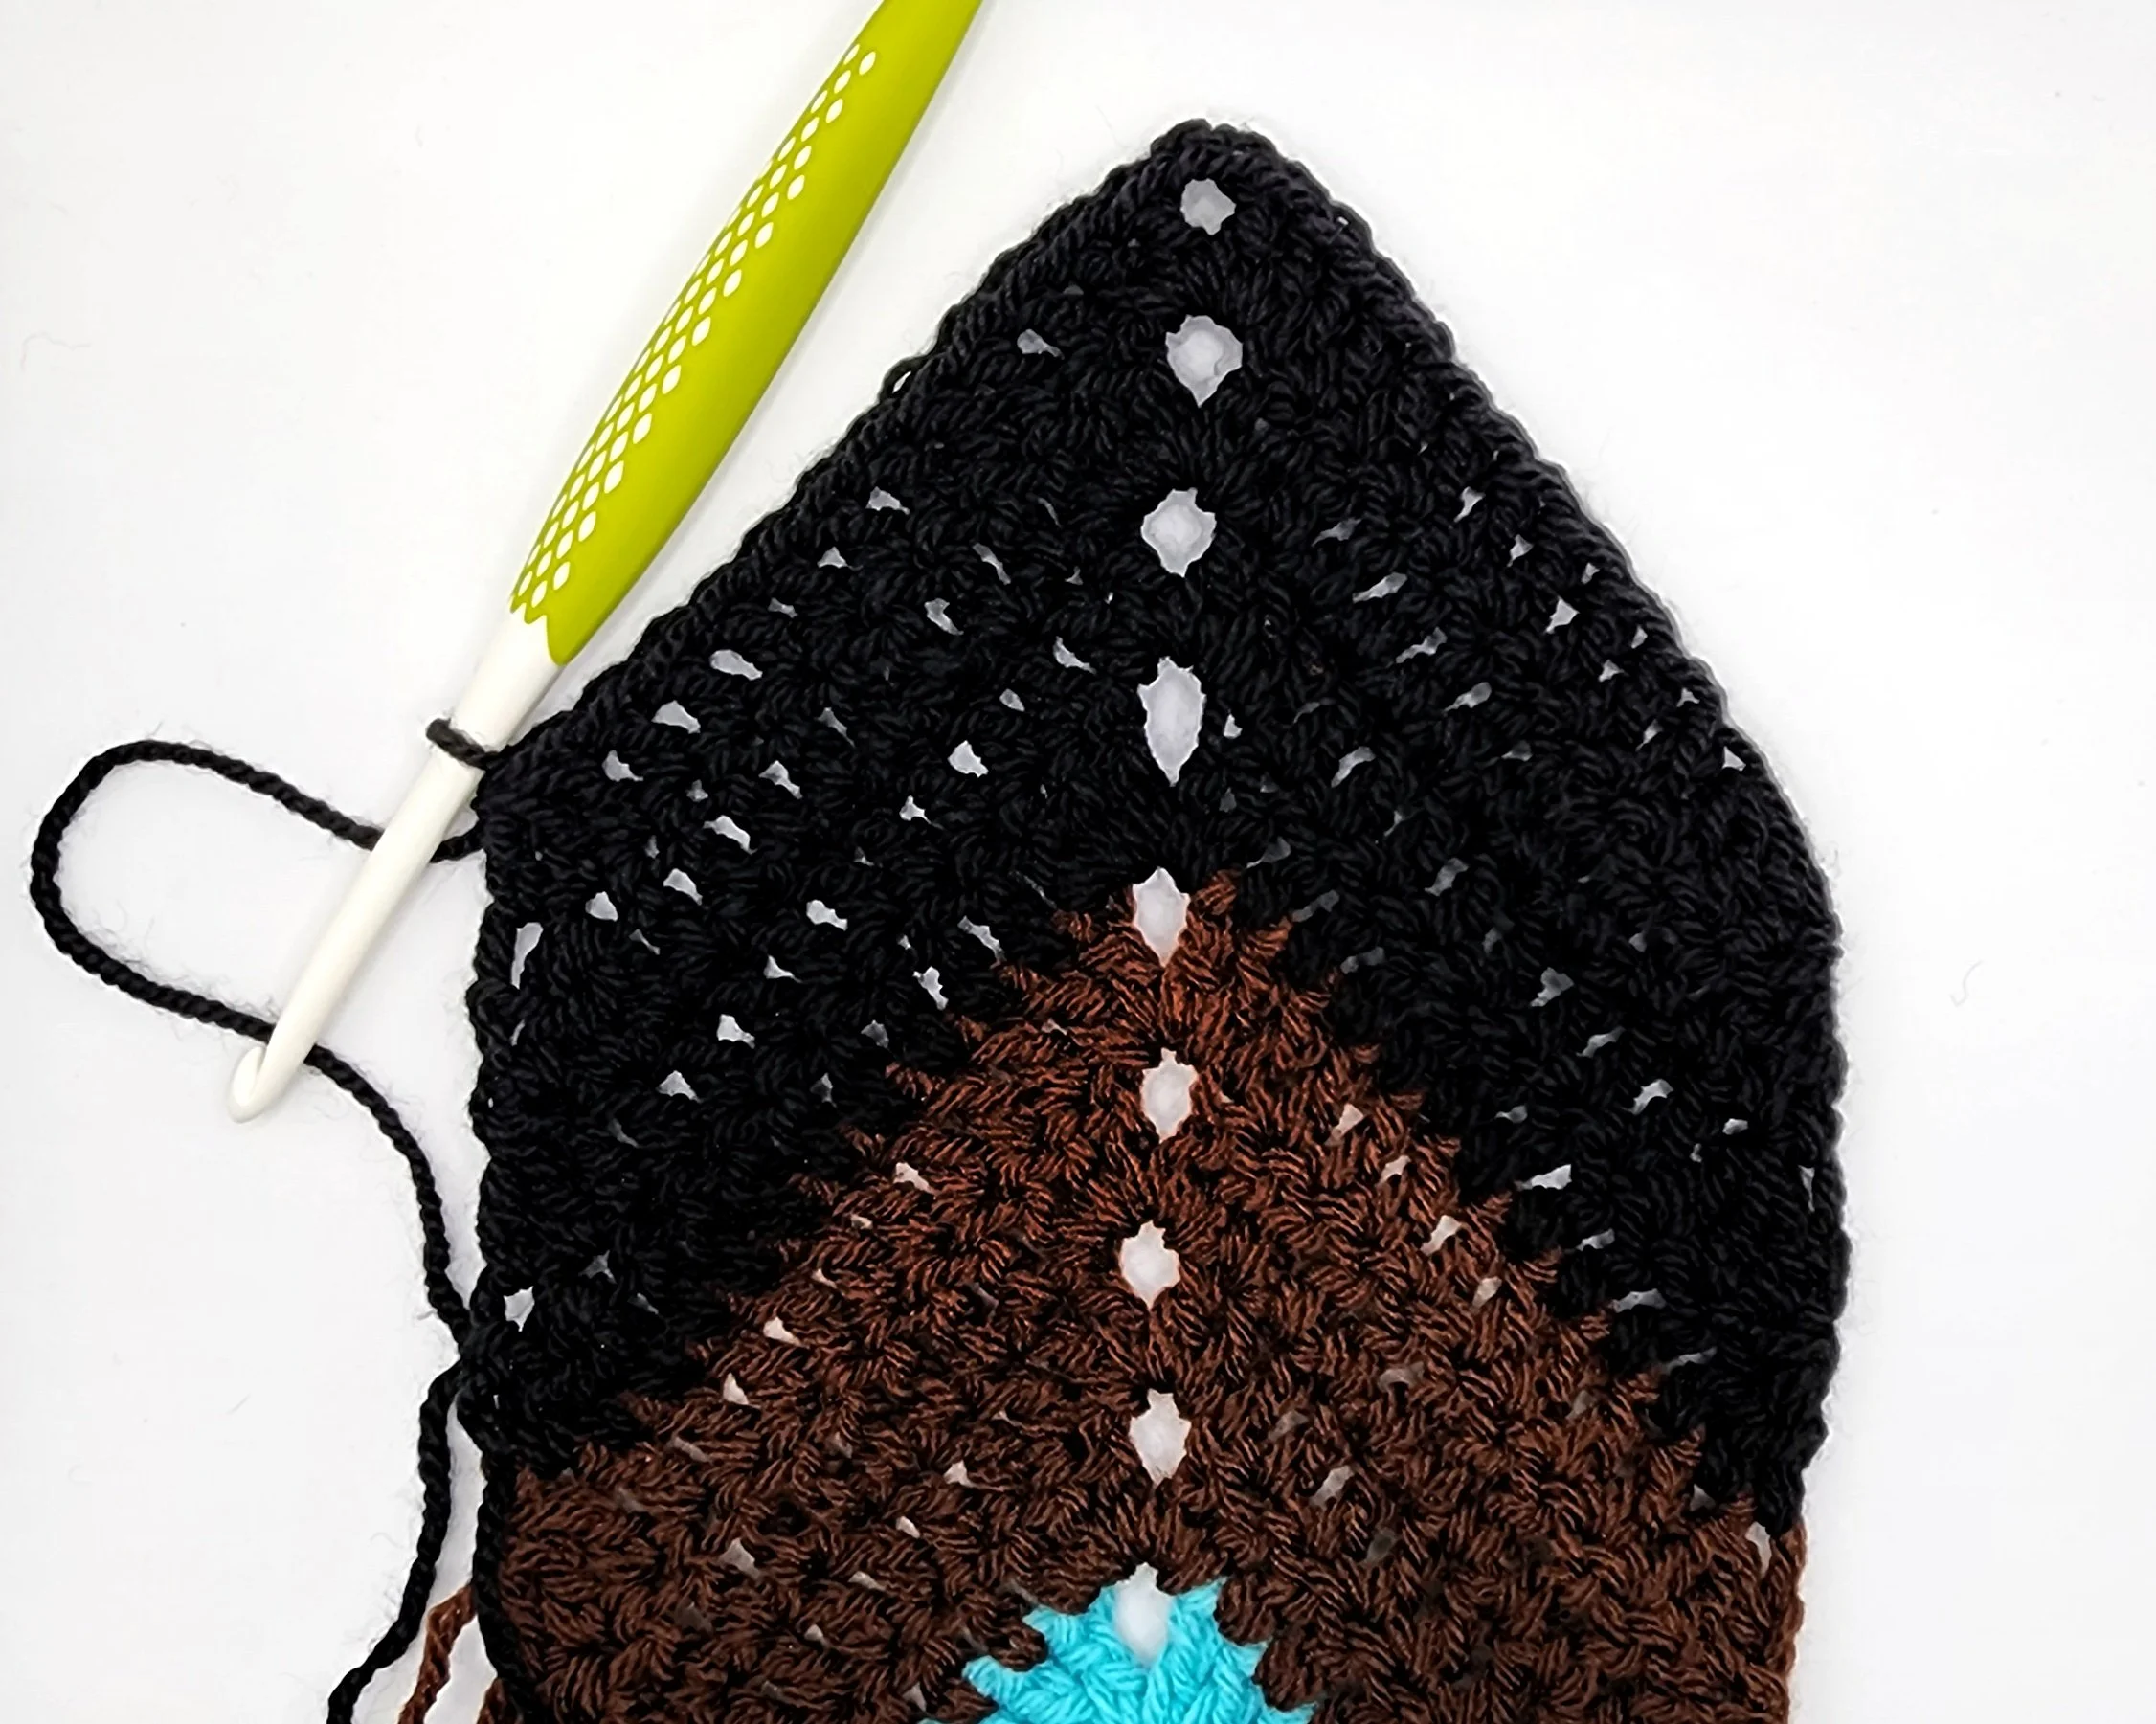
Change to black.
Rows 18-21: Ch 2 & turn. Dc3tog, dc 9. (2dc, ch 2, 2dc). dc 9, dc3tog. (24)

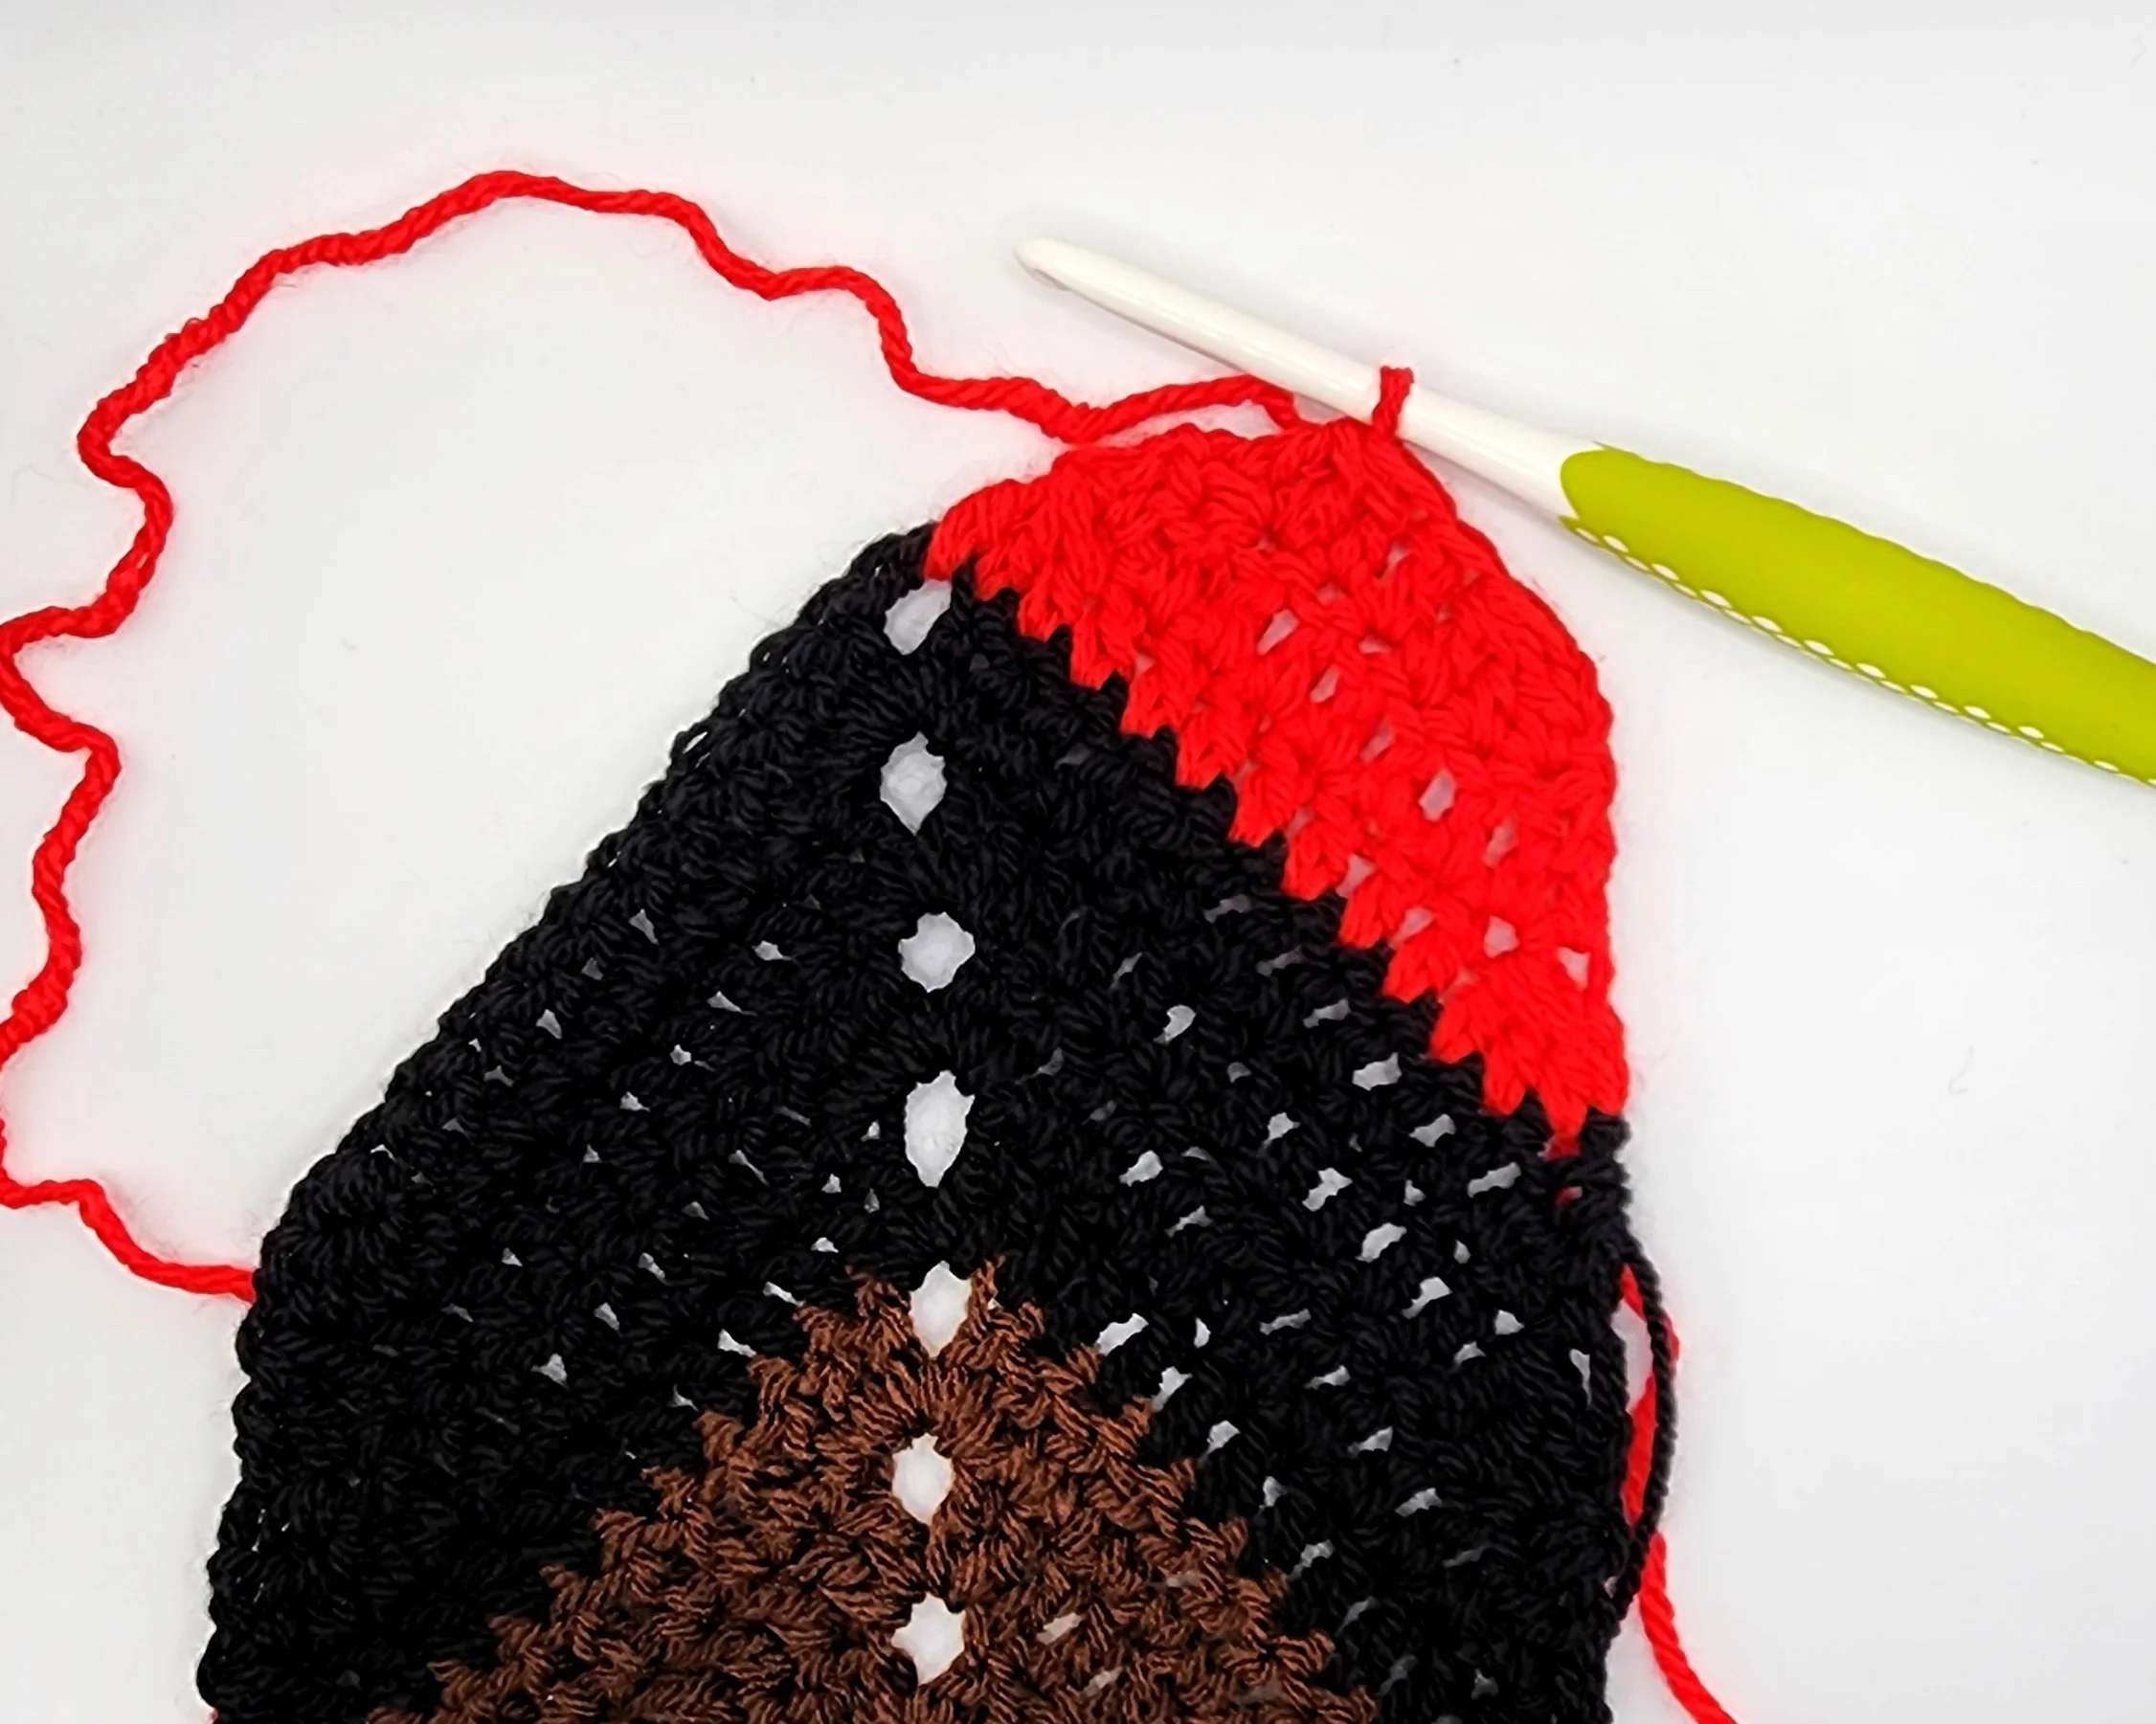
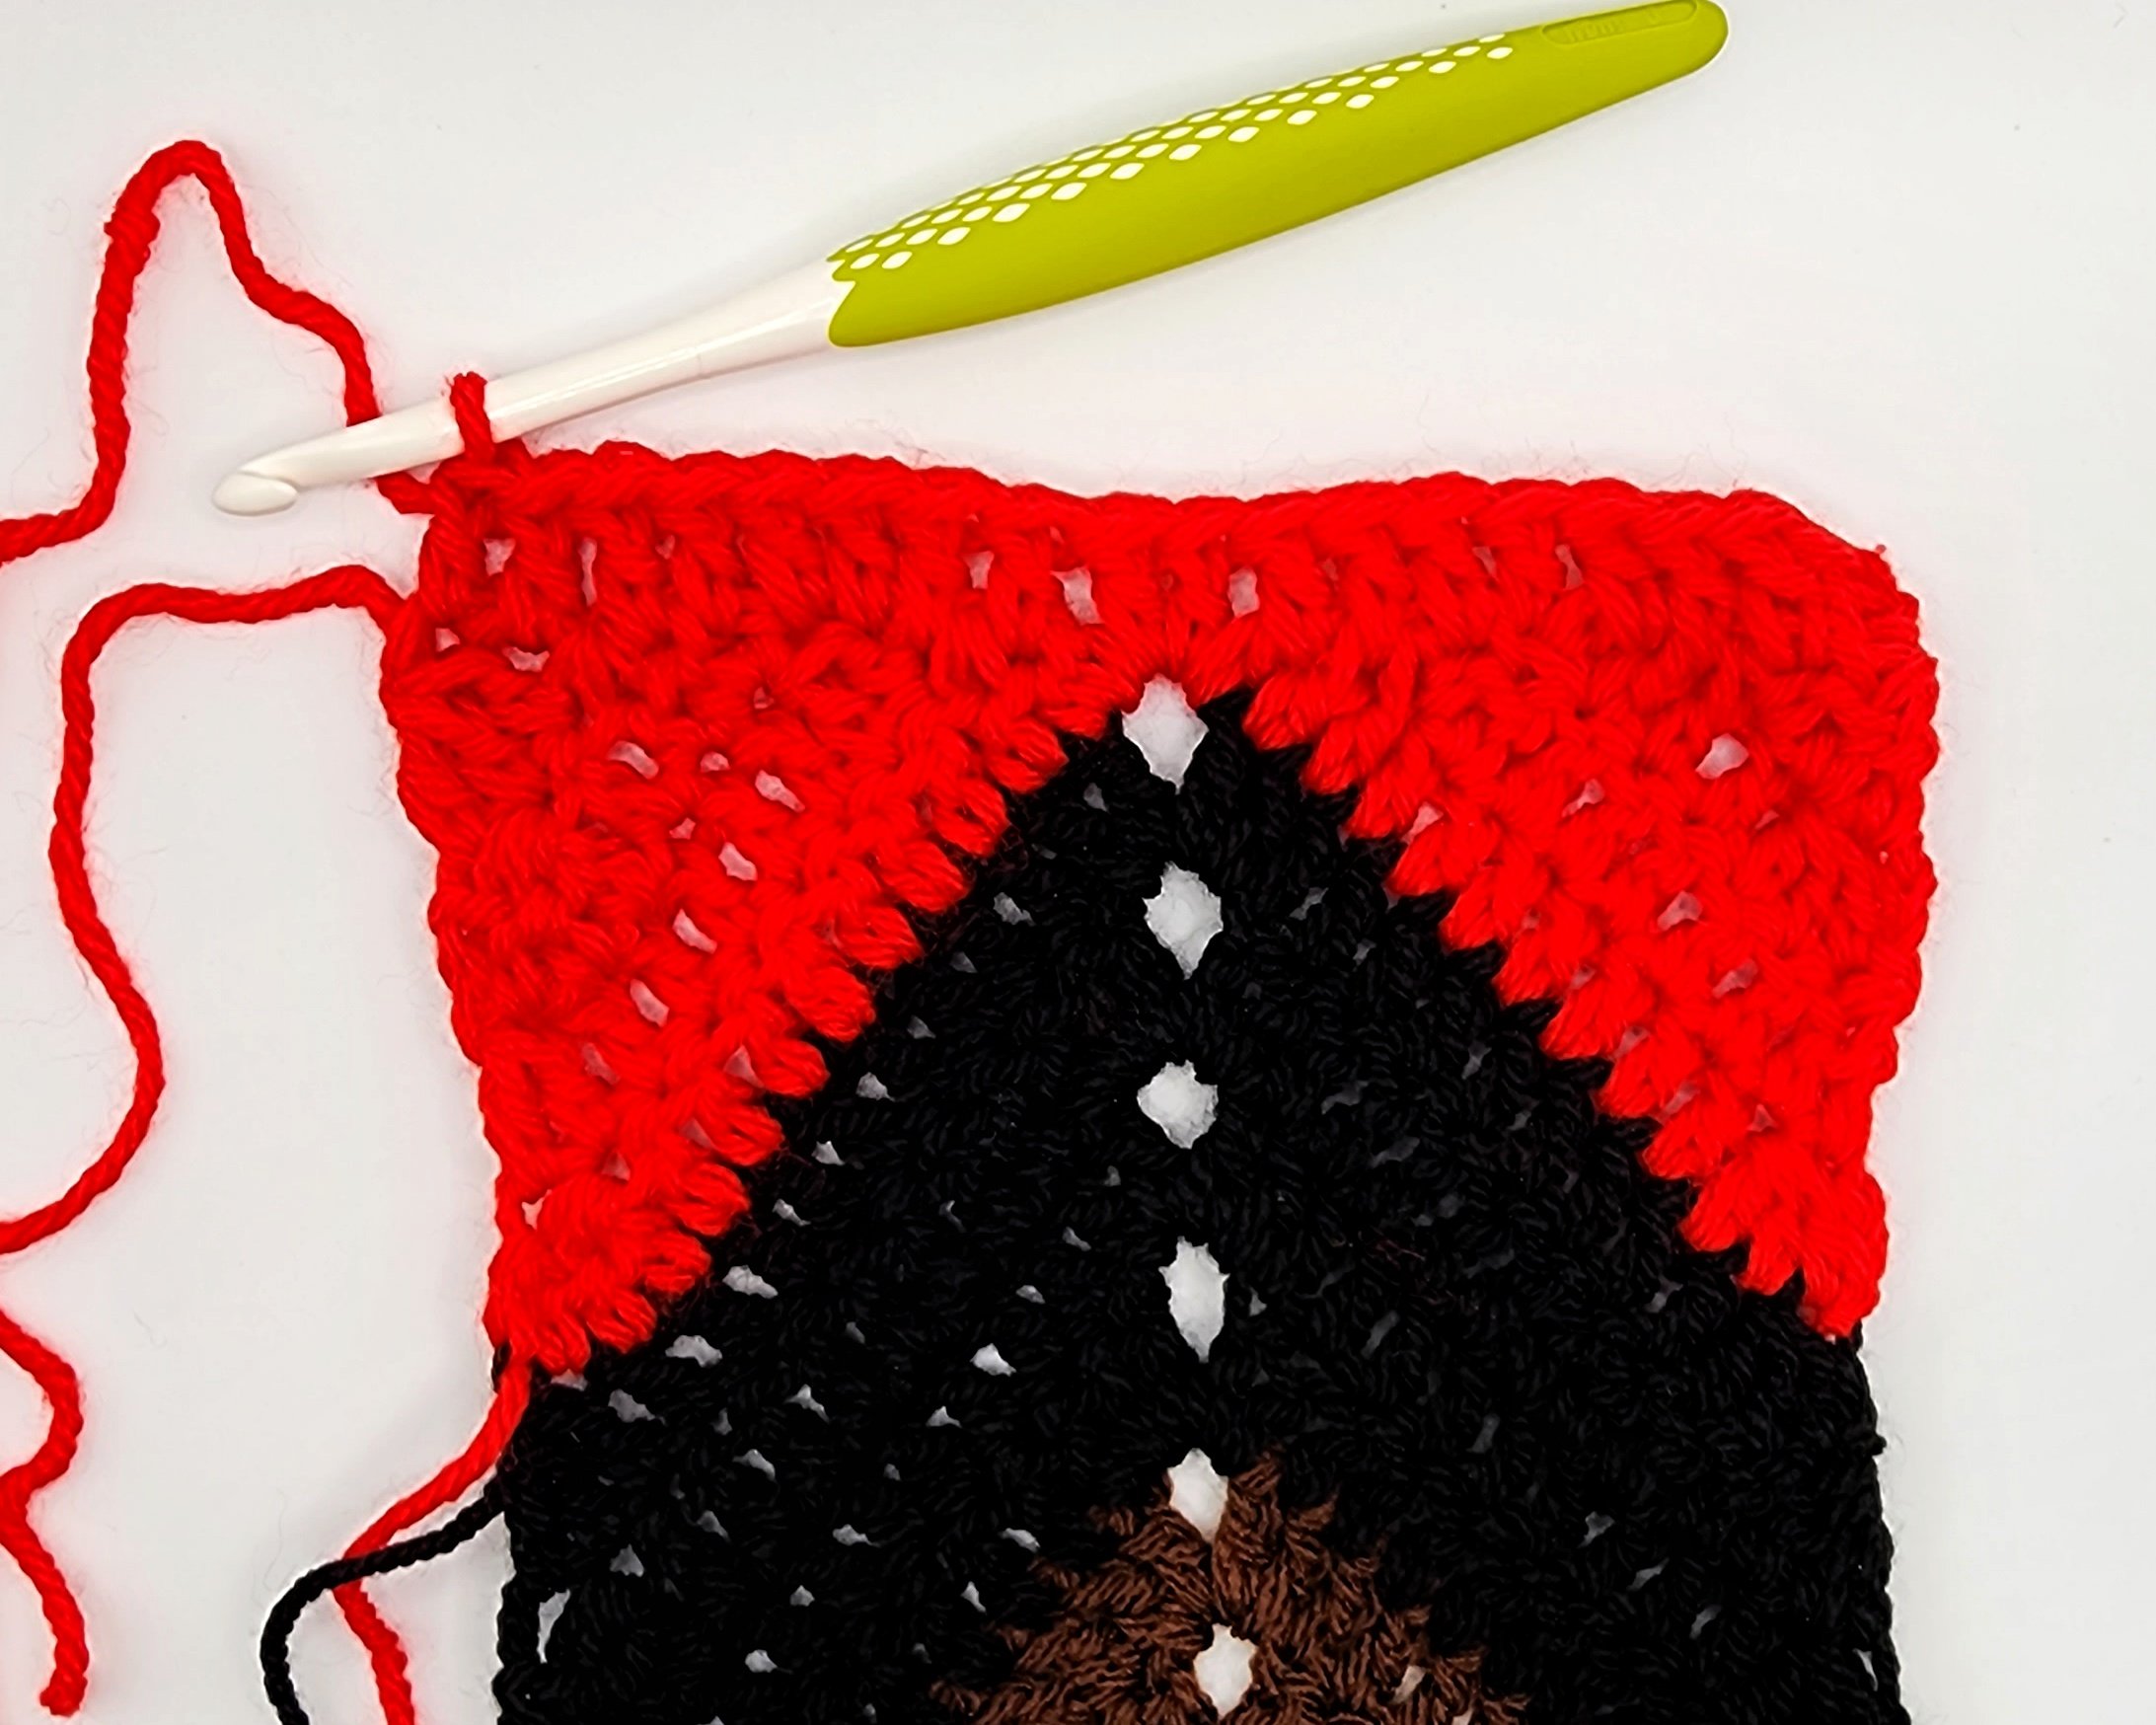
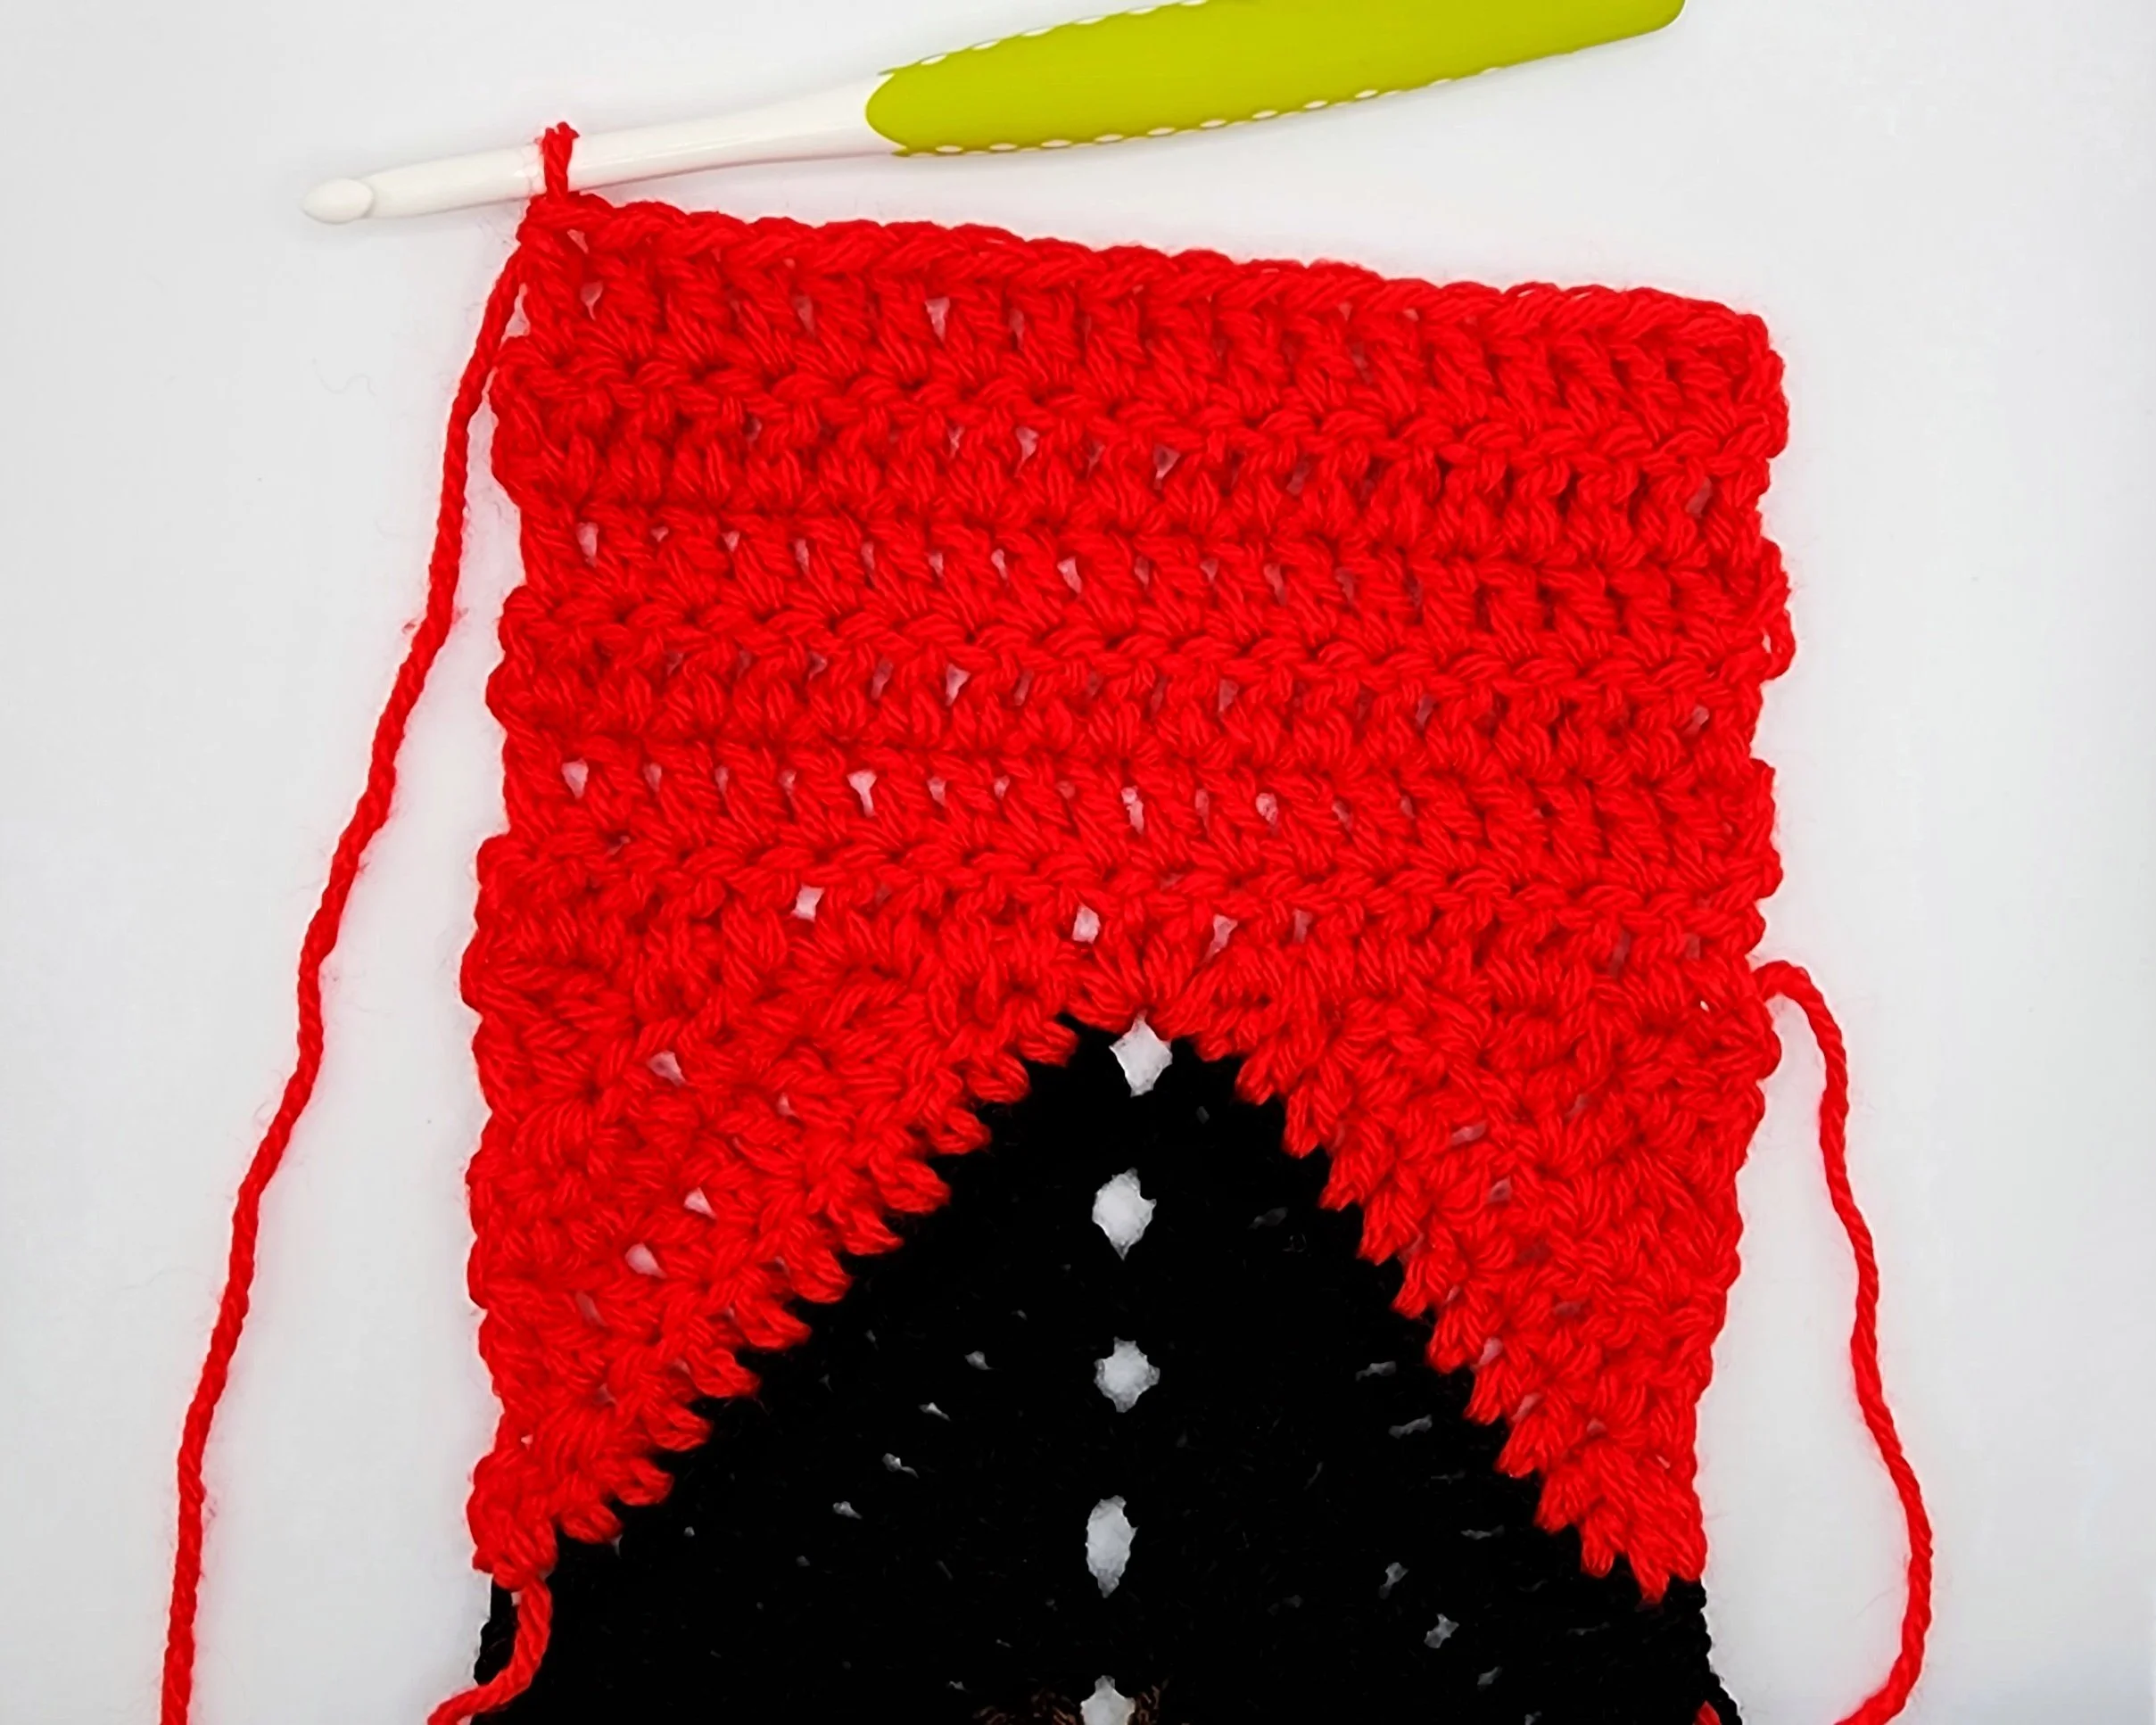
Transition Triangles
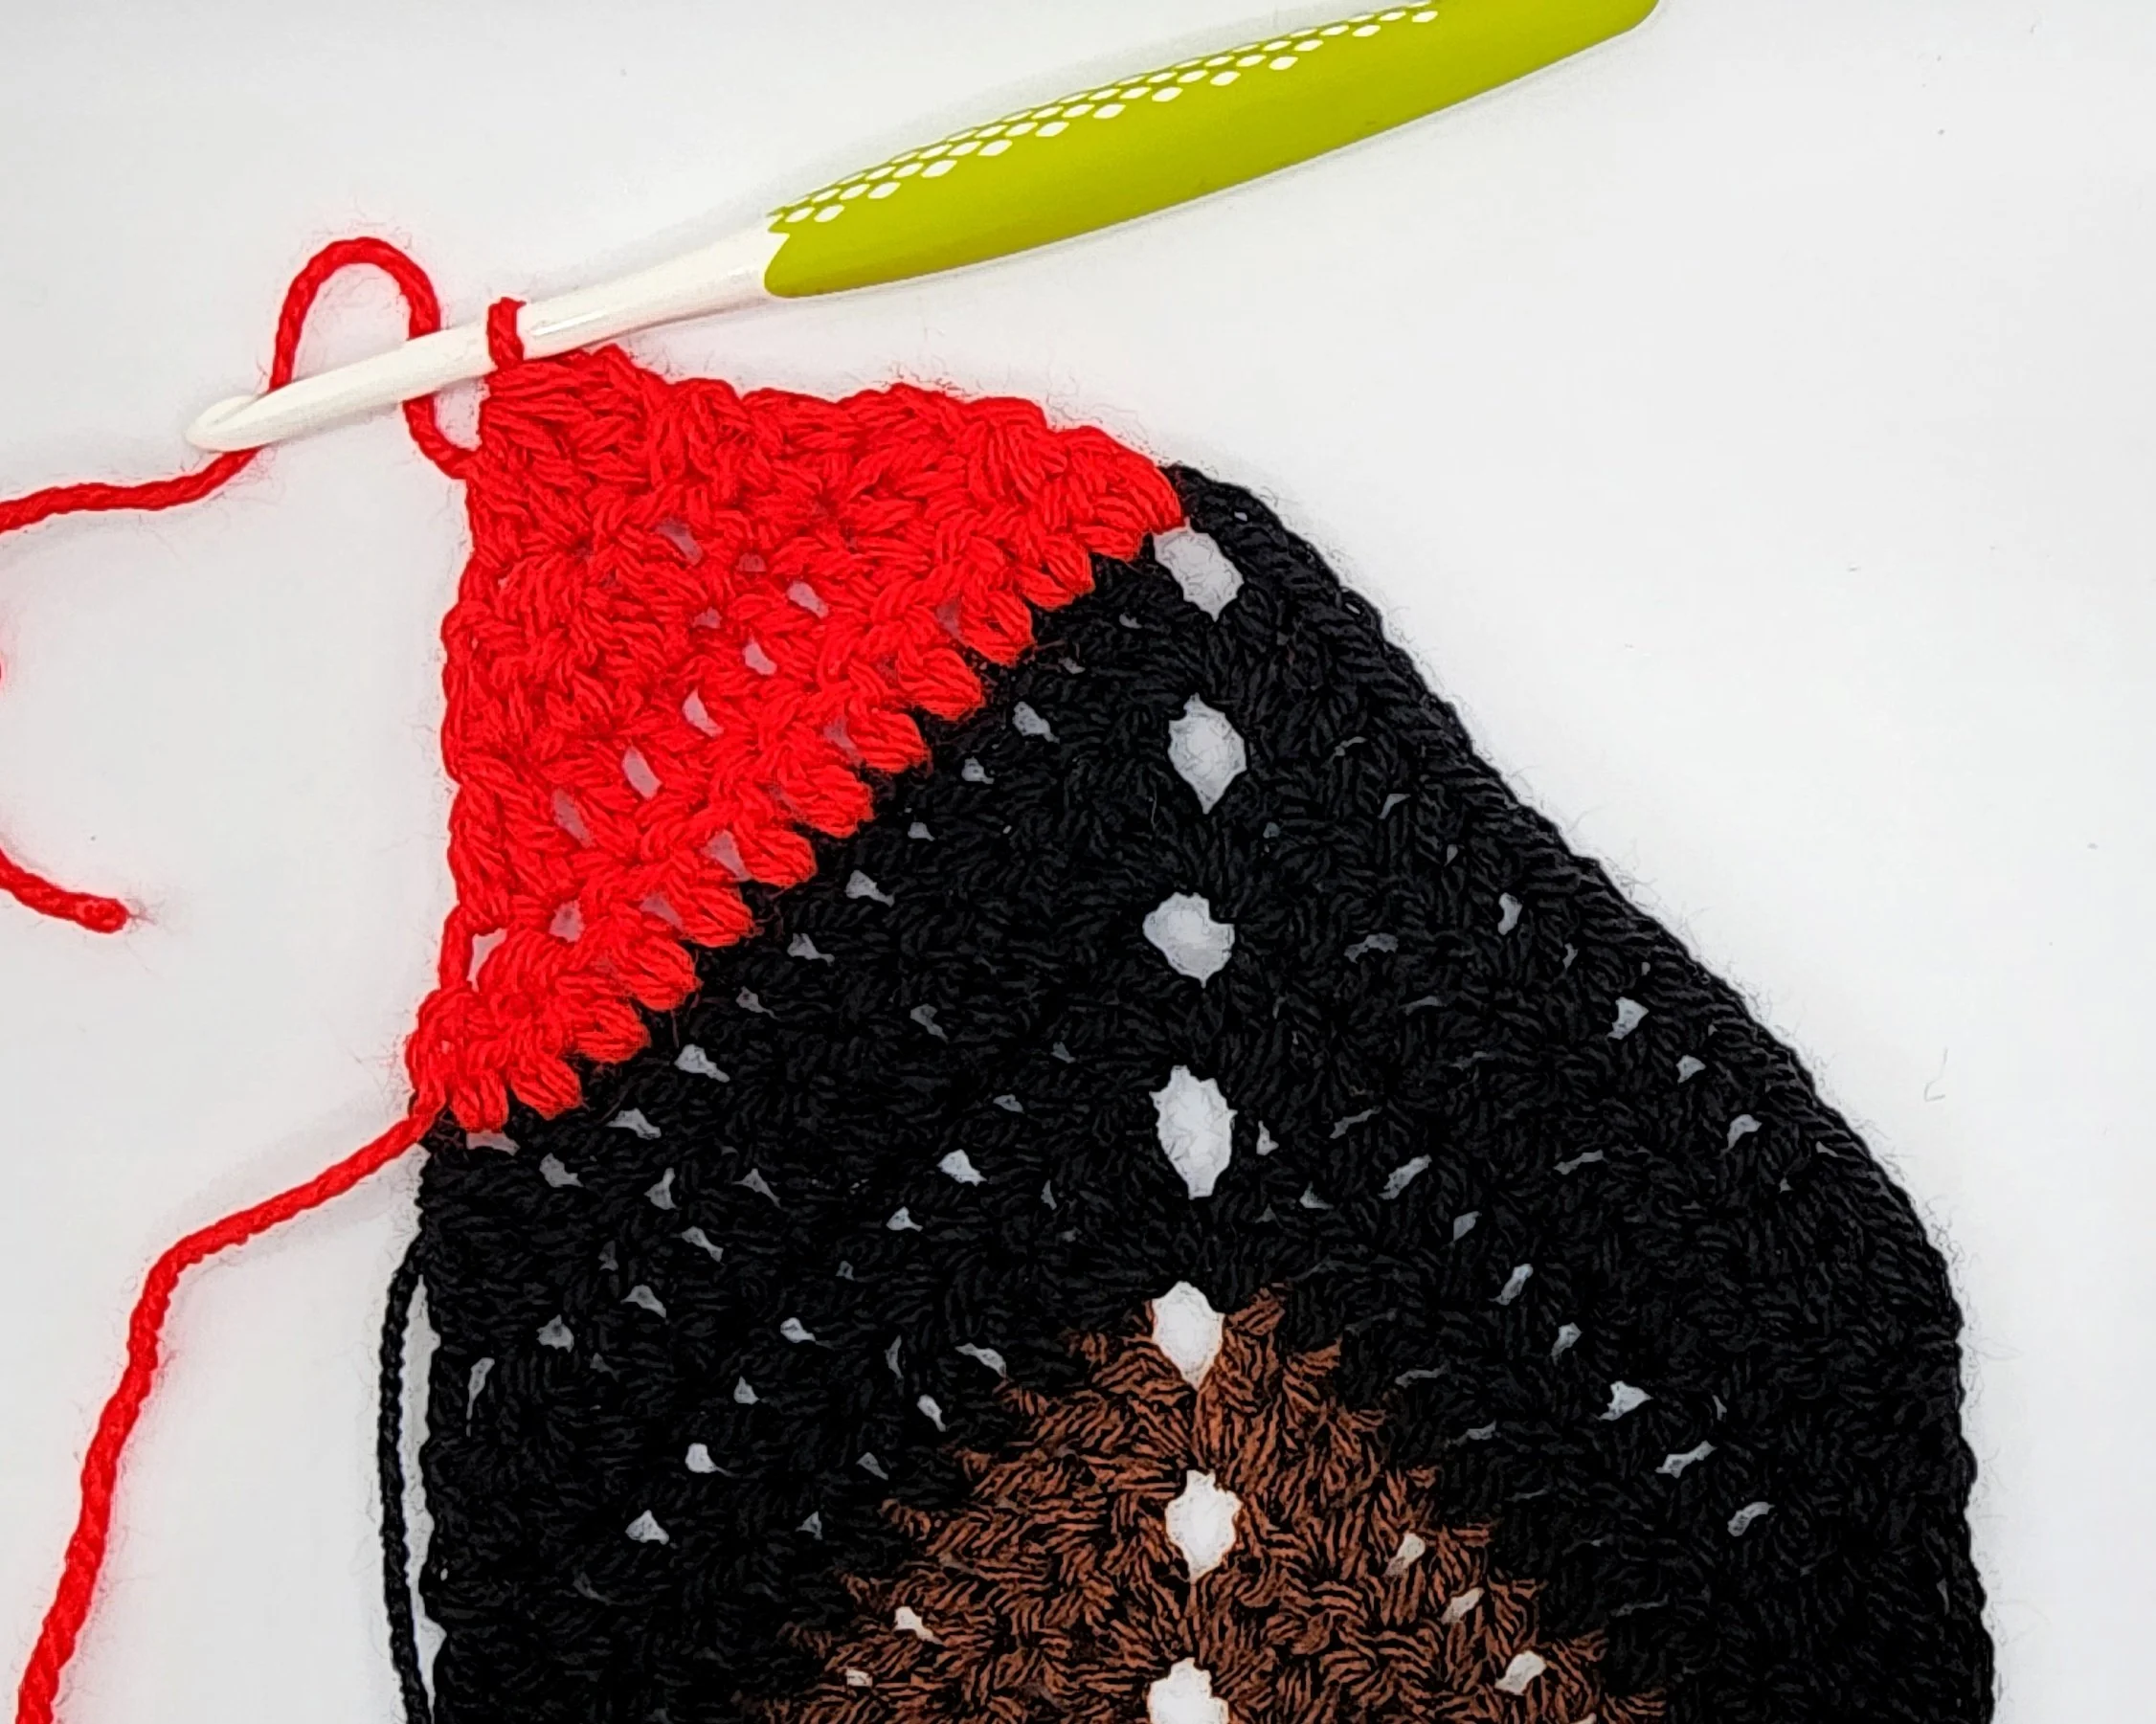
Change to red. You will now work 2 separate triangles on each side of the chevron point. This will create a flat edge to transition into the stripes. These are labeled as rows 22a-25a and 22b-25b.
Row 22a: Ch 2 & turn. Dc3tog, dc 7. Dc3tog (the last leg of the dc3tog will be in the center ch sp.) (9)
Row 23a: Ch 2 & turn. Dc2tog, dc 5, dc2tog. (7)
Row 24a: Ch 2 & turn. Dc3tog, dc, dc3tog. (3)
Row 25a: Ch 2 & turn. Dc3tog. (1)

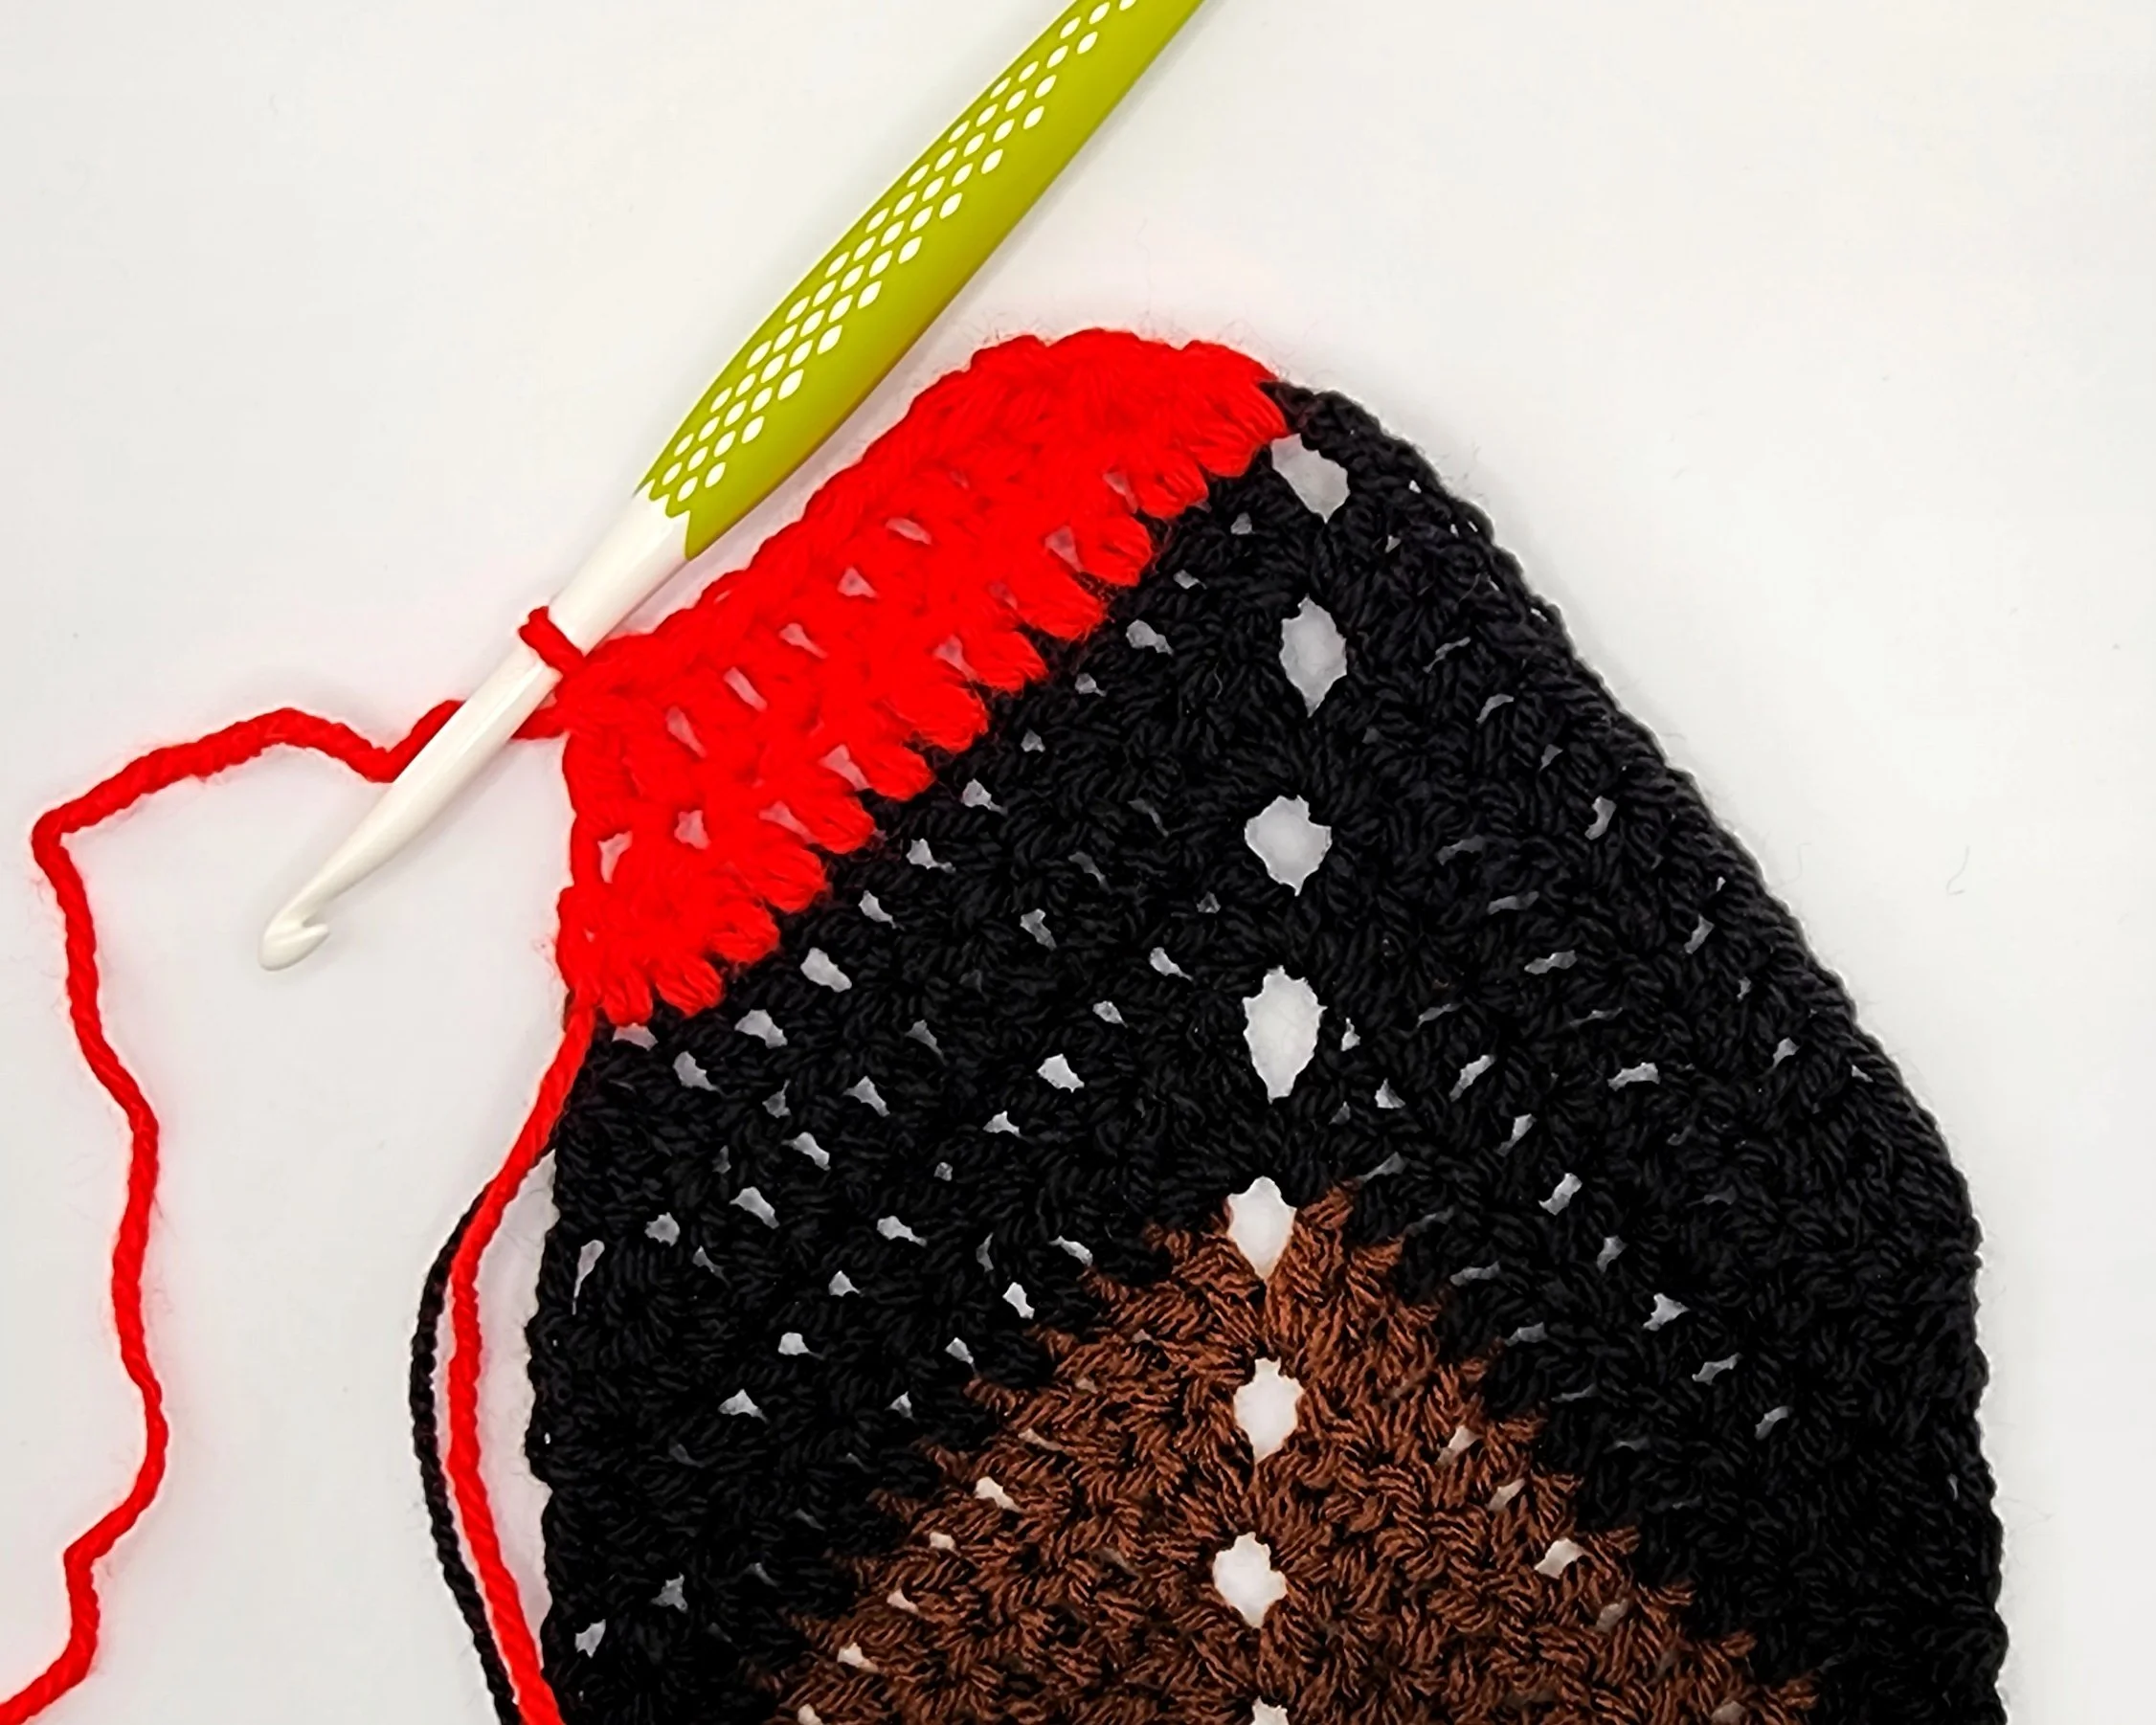
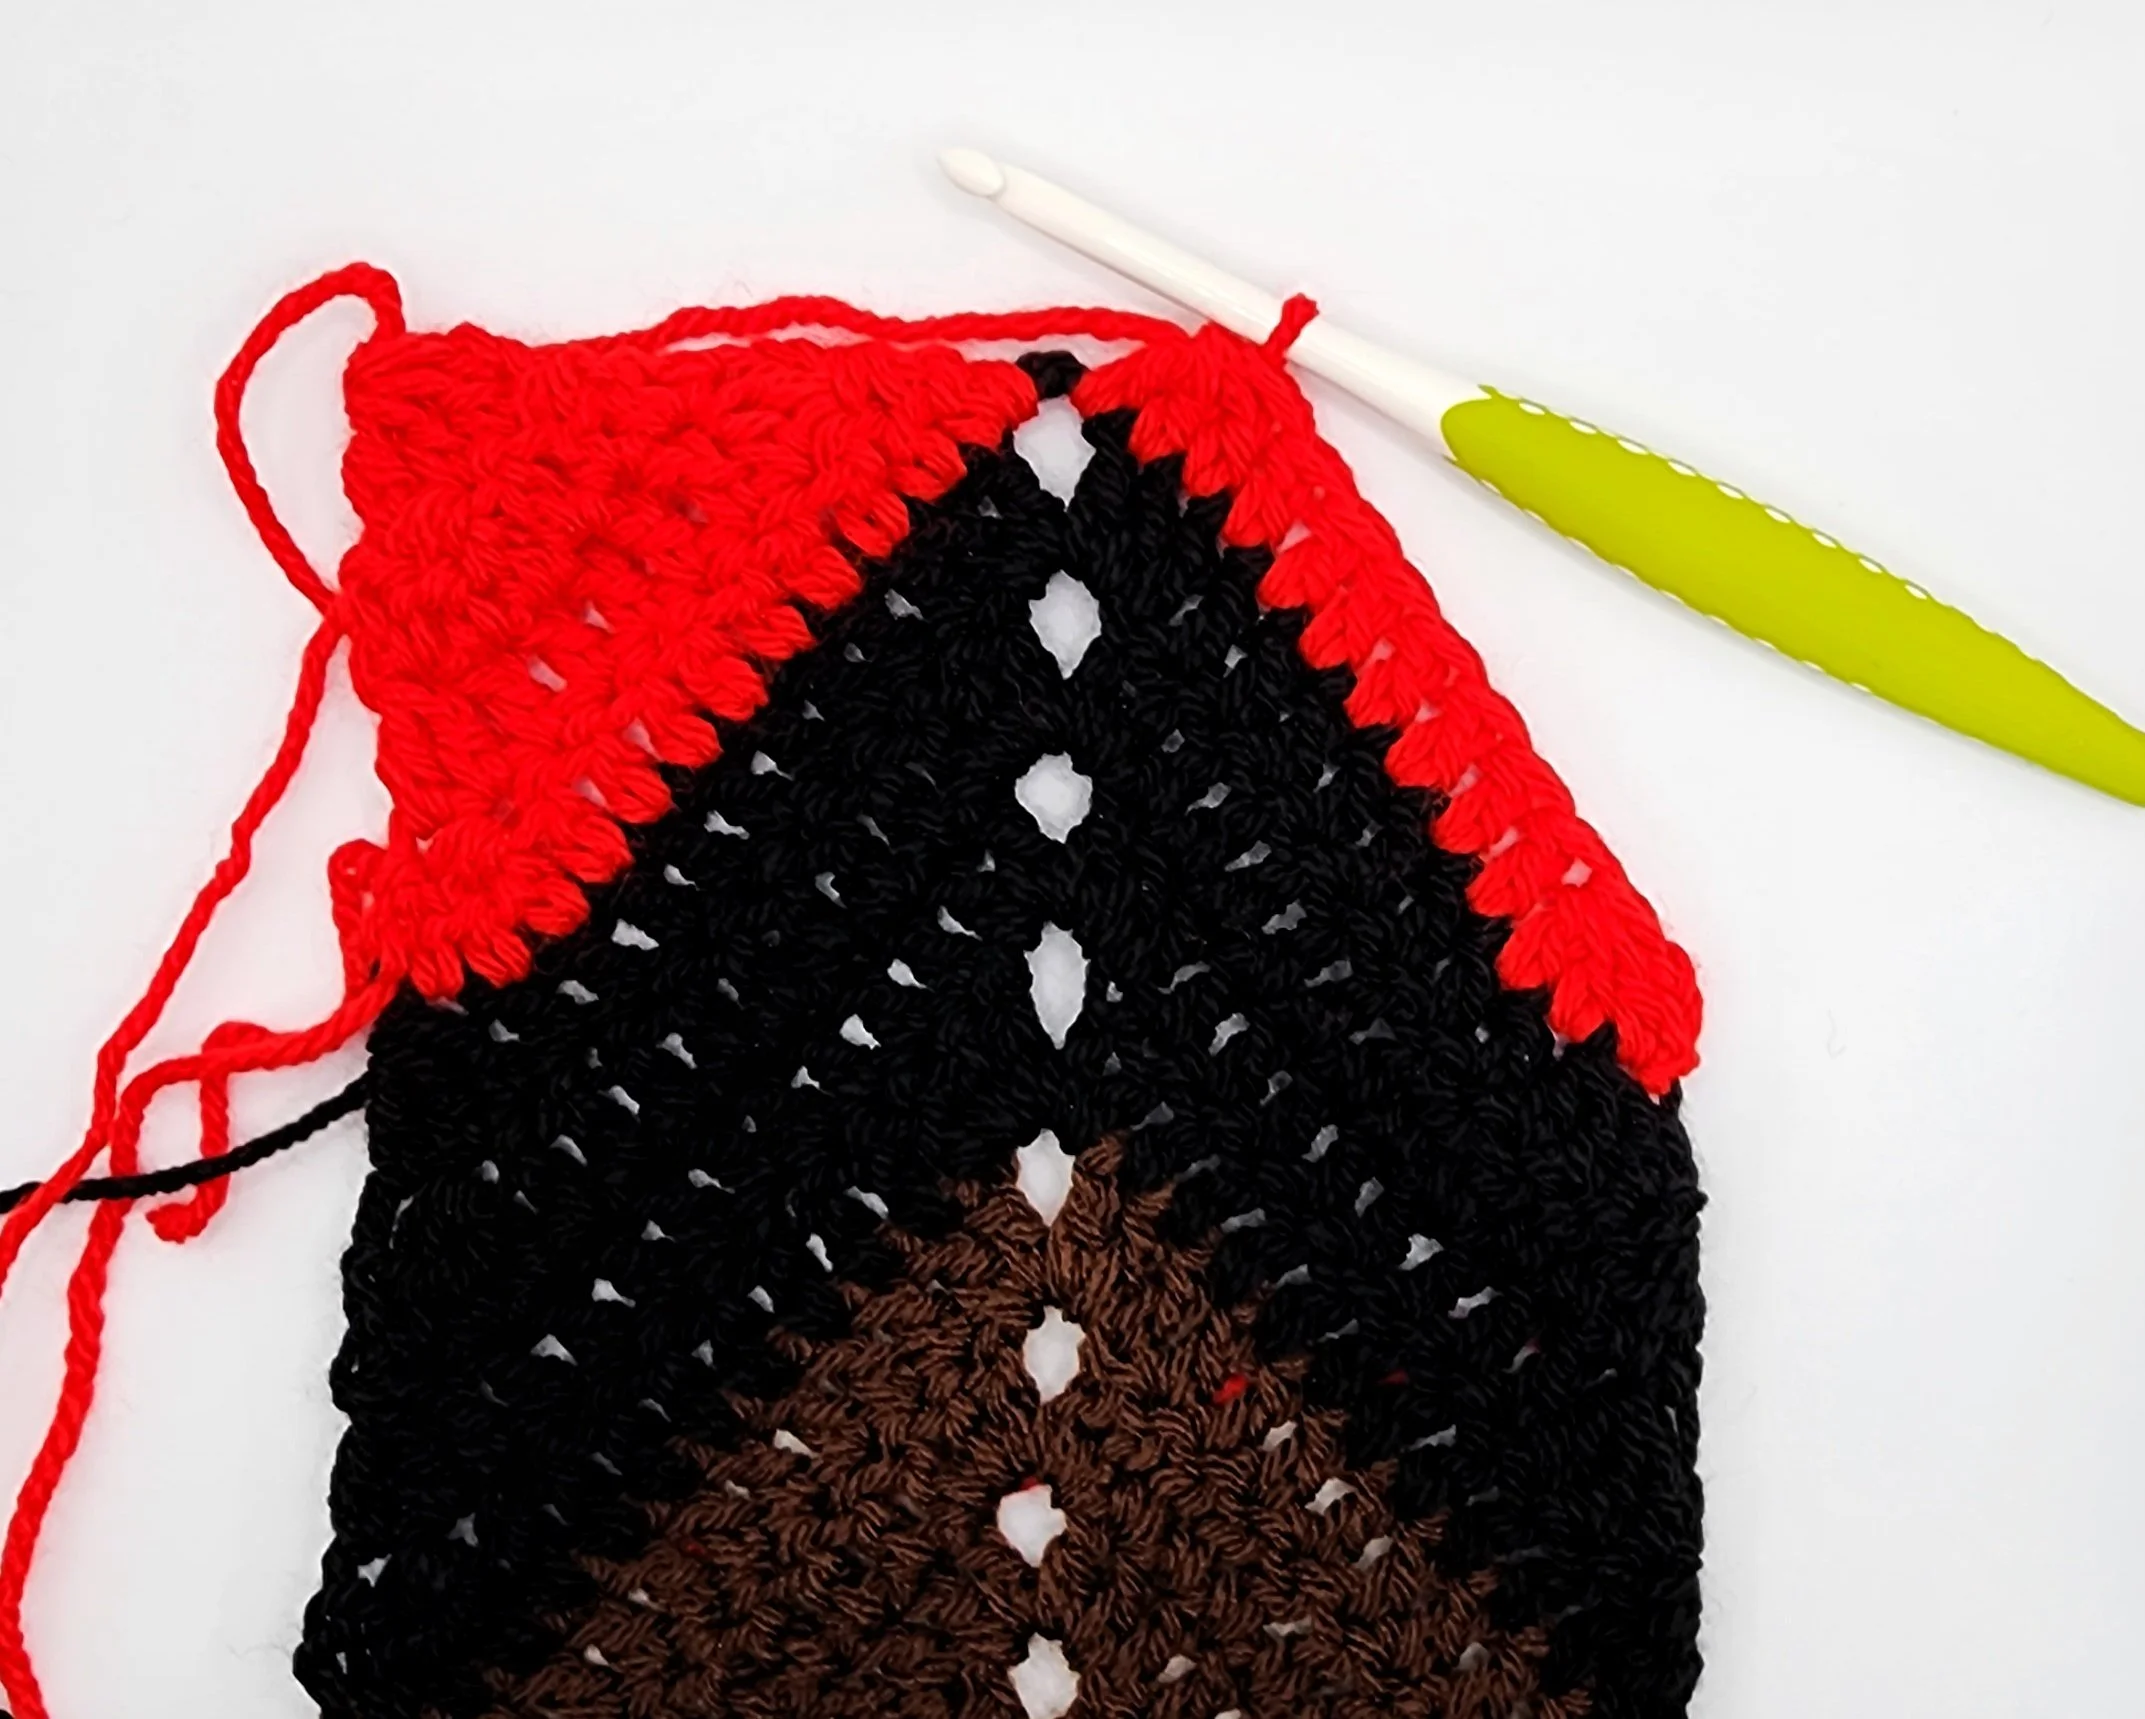
Finish off. Attach yarn to the first stitch of Row 21 to begin the second triangle.
Row 22b: Ch 2. Beginning in the same stitch, dc3tog, dc 7. Dc3tog (the last leg of the dc3tog will be in the center ch sp.) (9)
Row 23b: Ch 2 & turn. Dc2tog, dc 5, dc2tog. (7)
Row 24b: Ch 2 & turn. Dc3tog, dc, dc3tog. (3)
Row 25b: Ch 2 & turn. Dc3tog. (1)
Do not finish off.
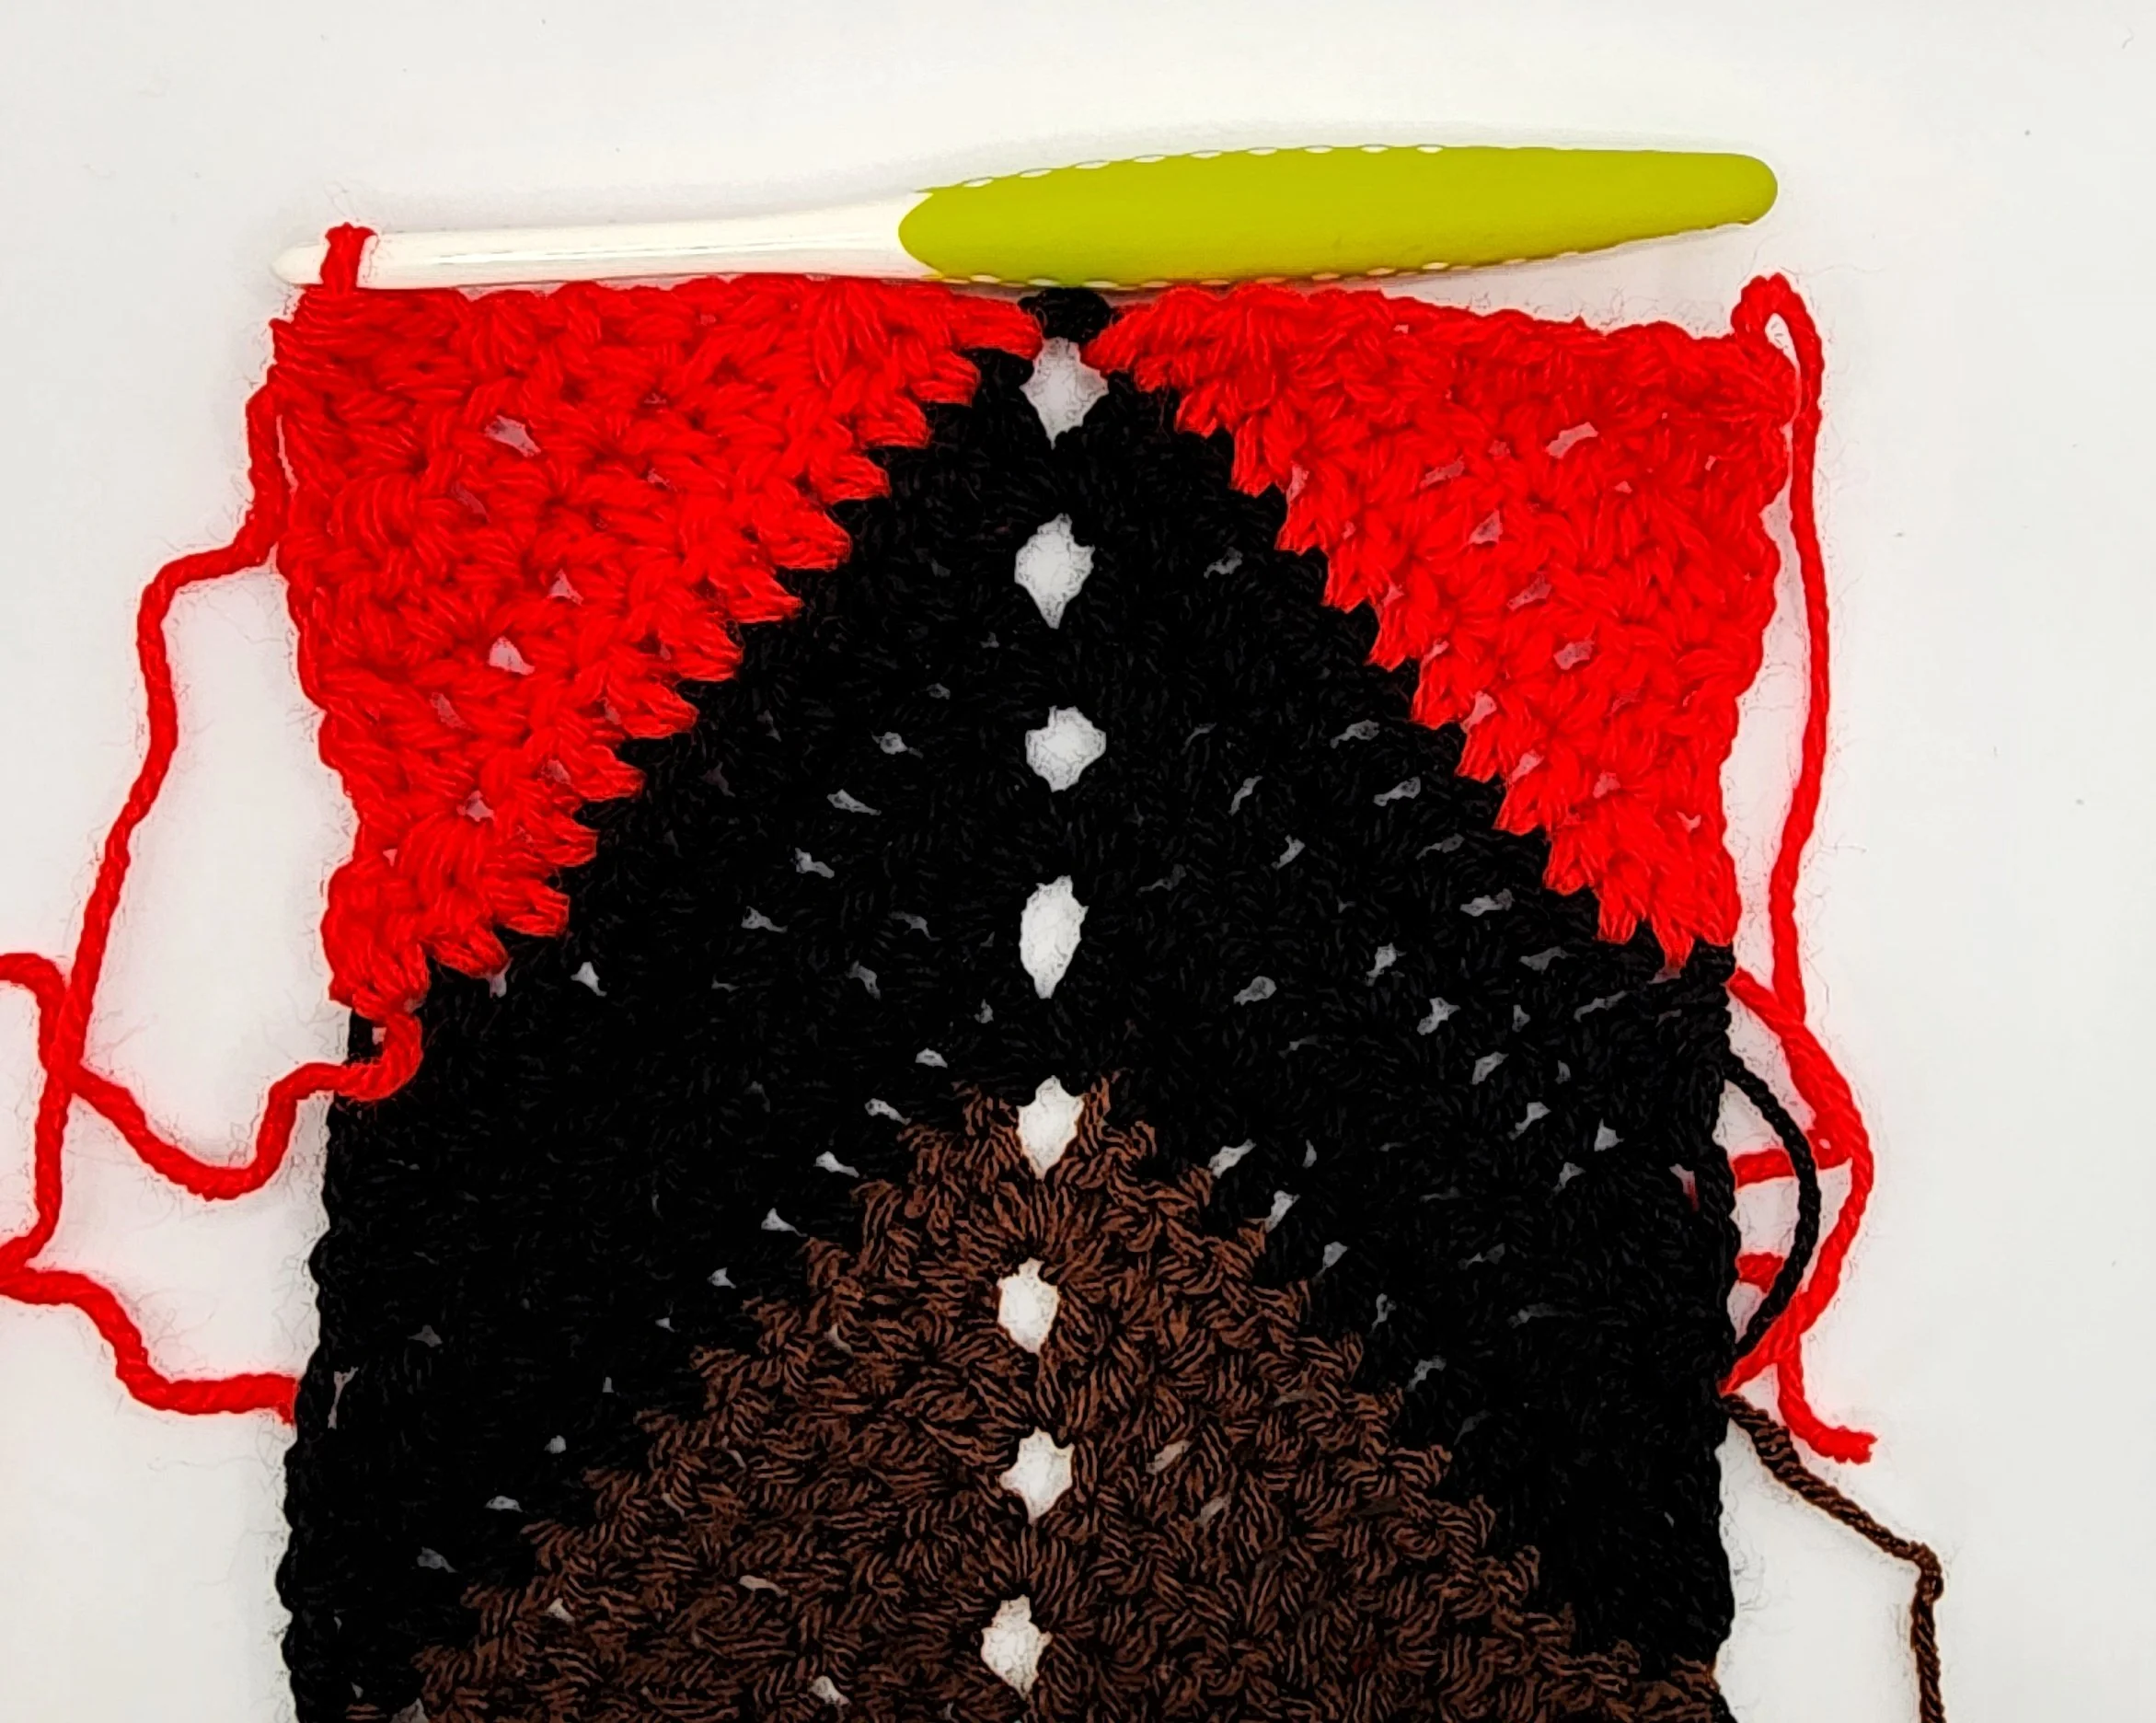
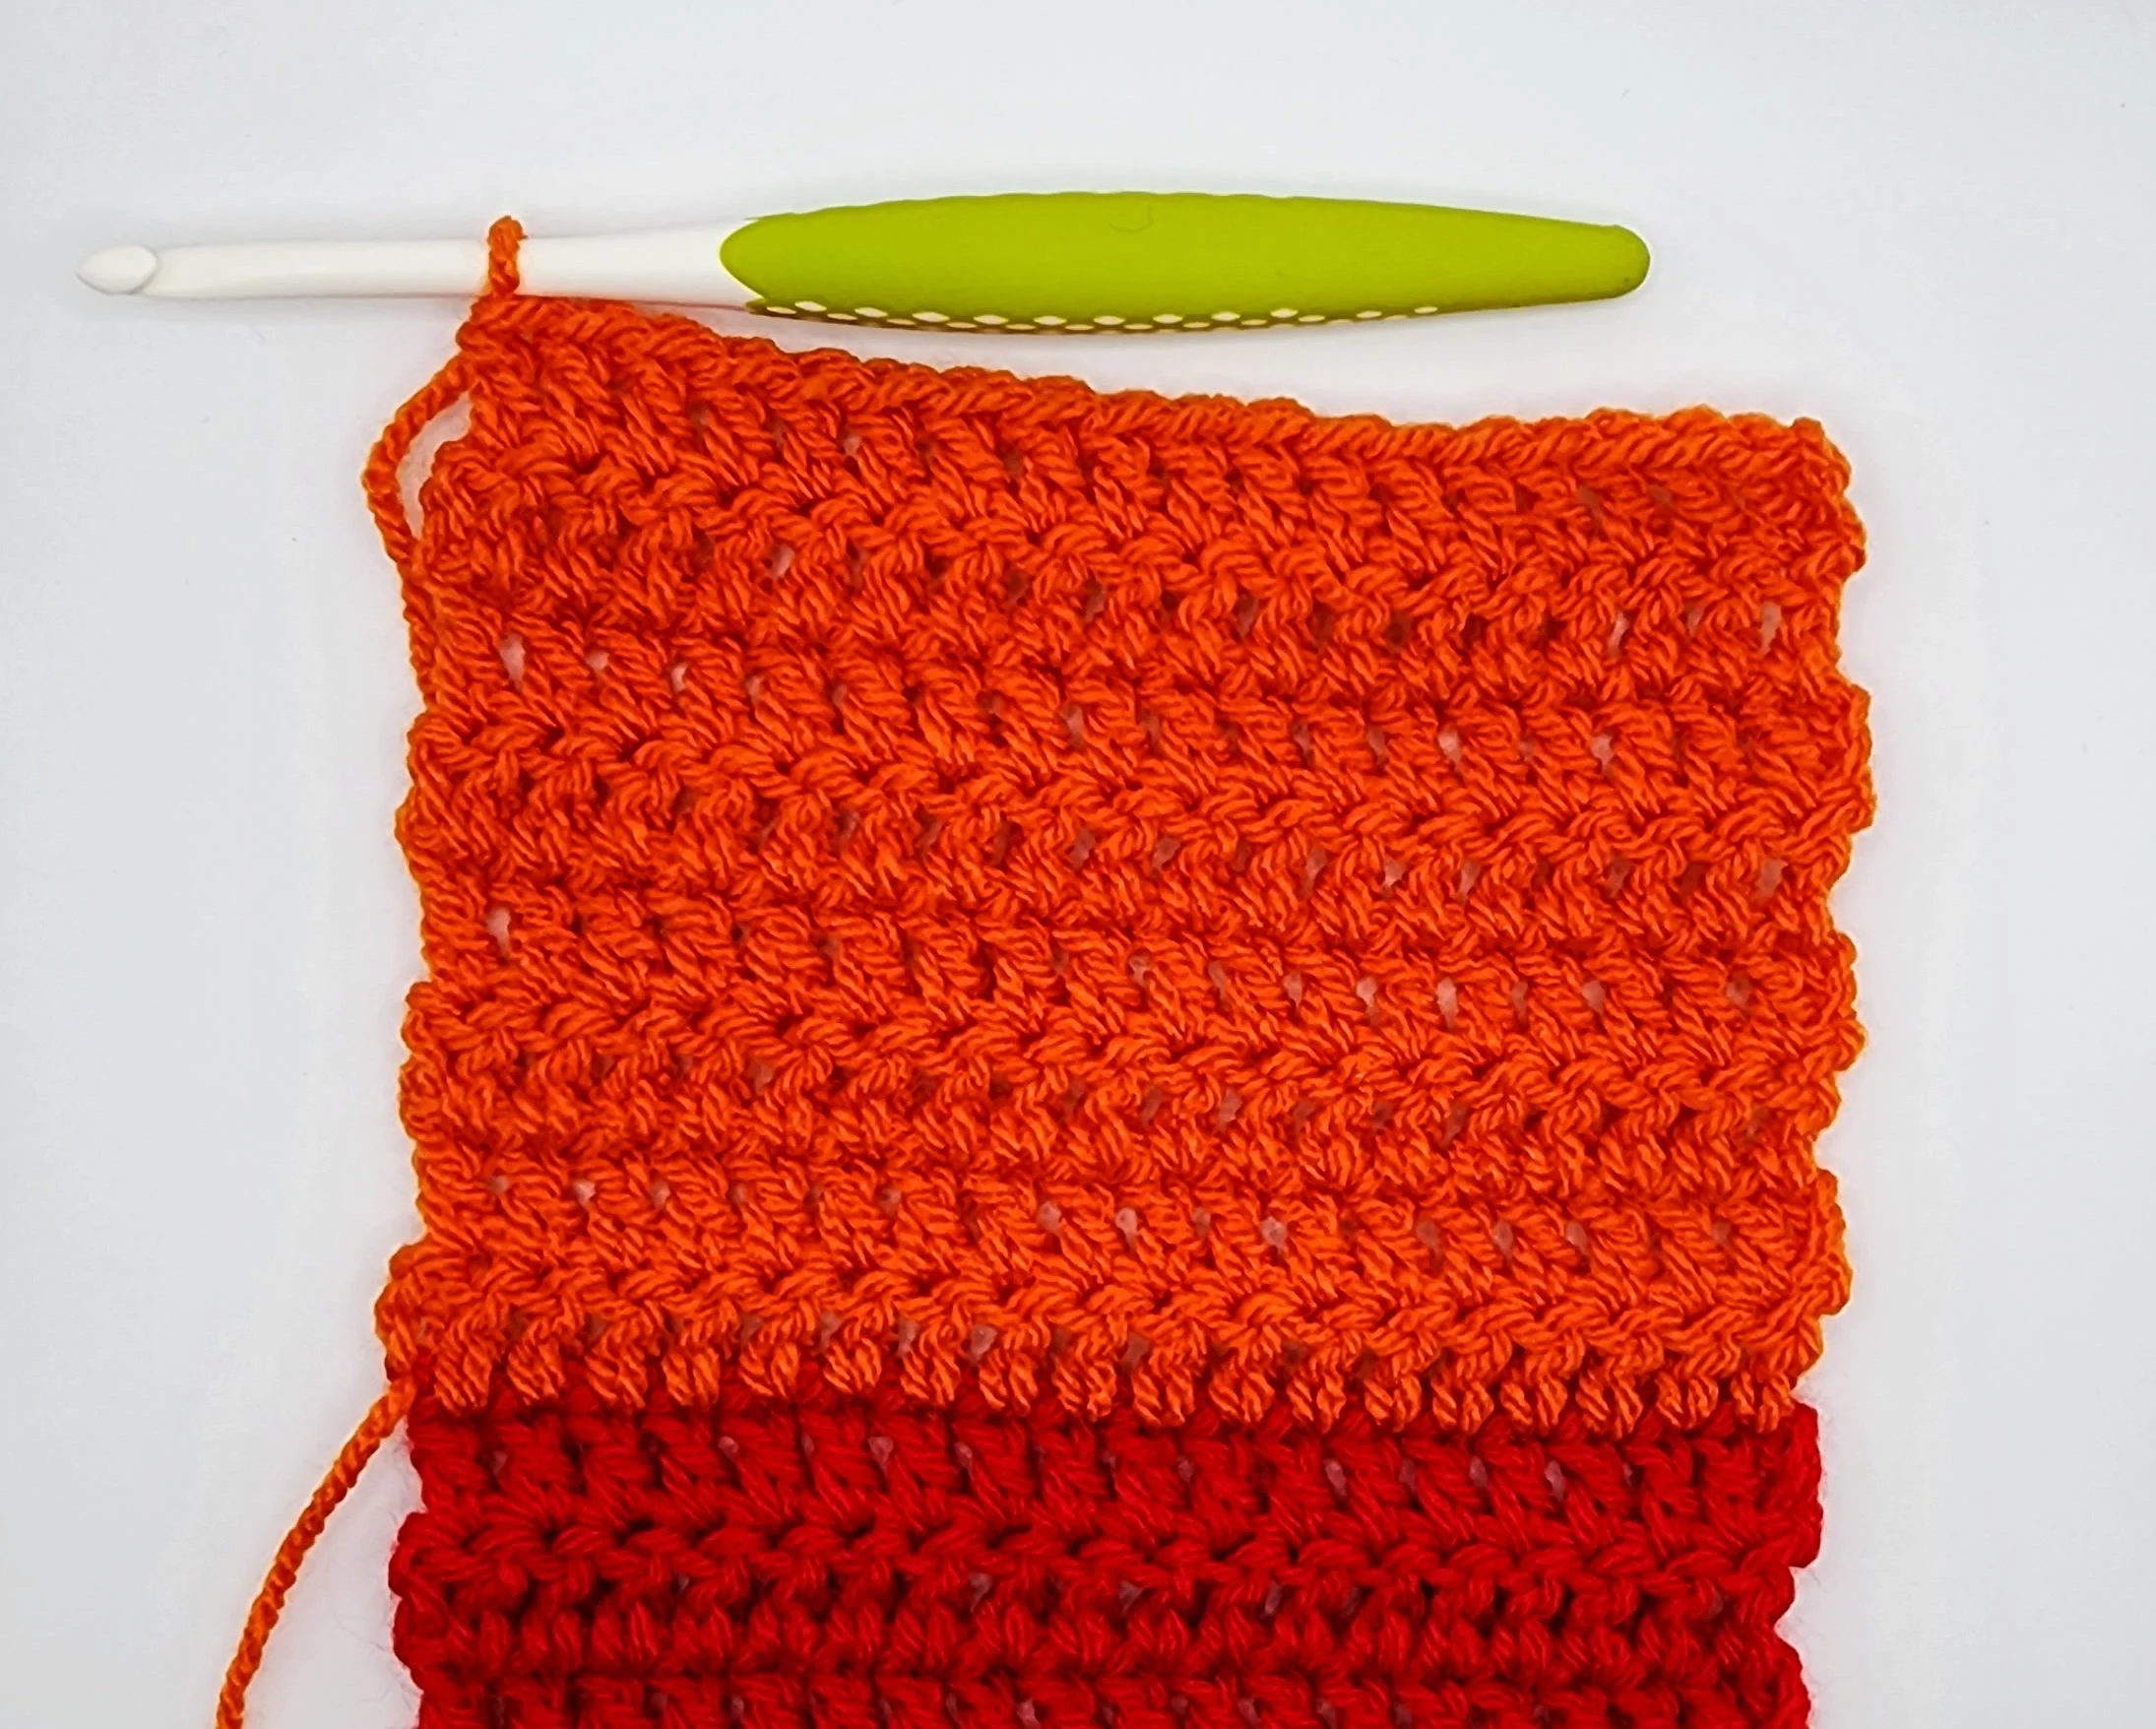
Stripes
Row 26: Ch 2 & turn. Evenly make 18 dc stitches across the top of the piece, making the 9th and 10th stitches in the ch space of Row 12. (18)
Rows 27-31: Ch 2 & turn. Dc 18. (18)
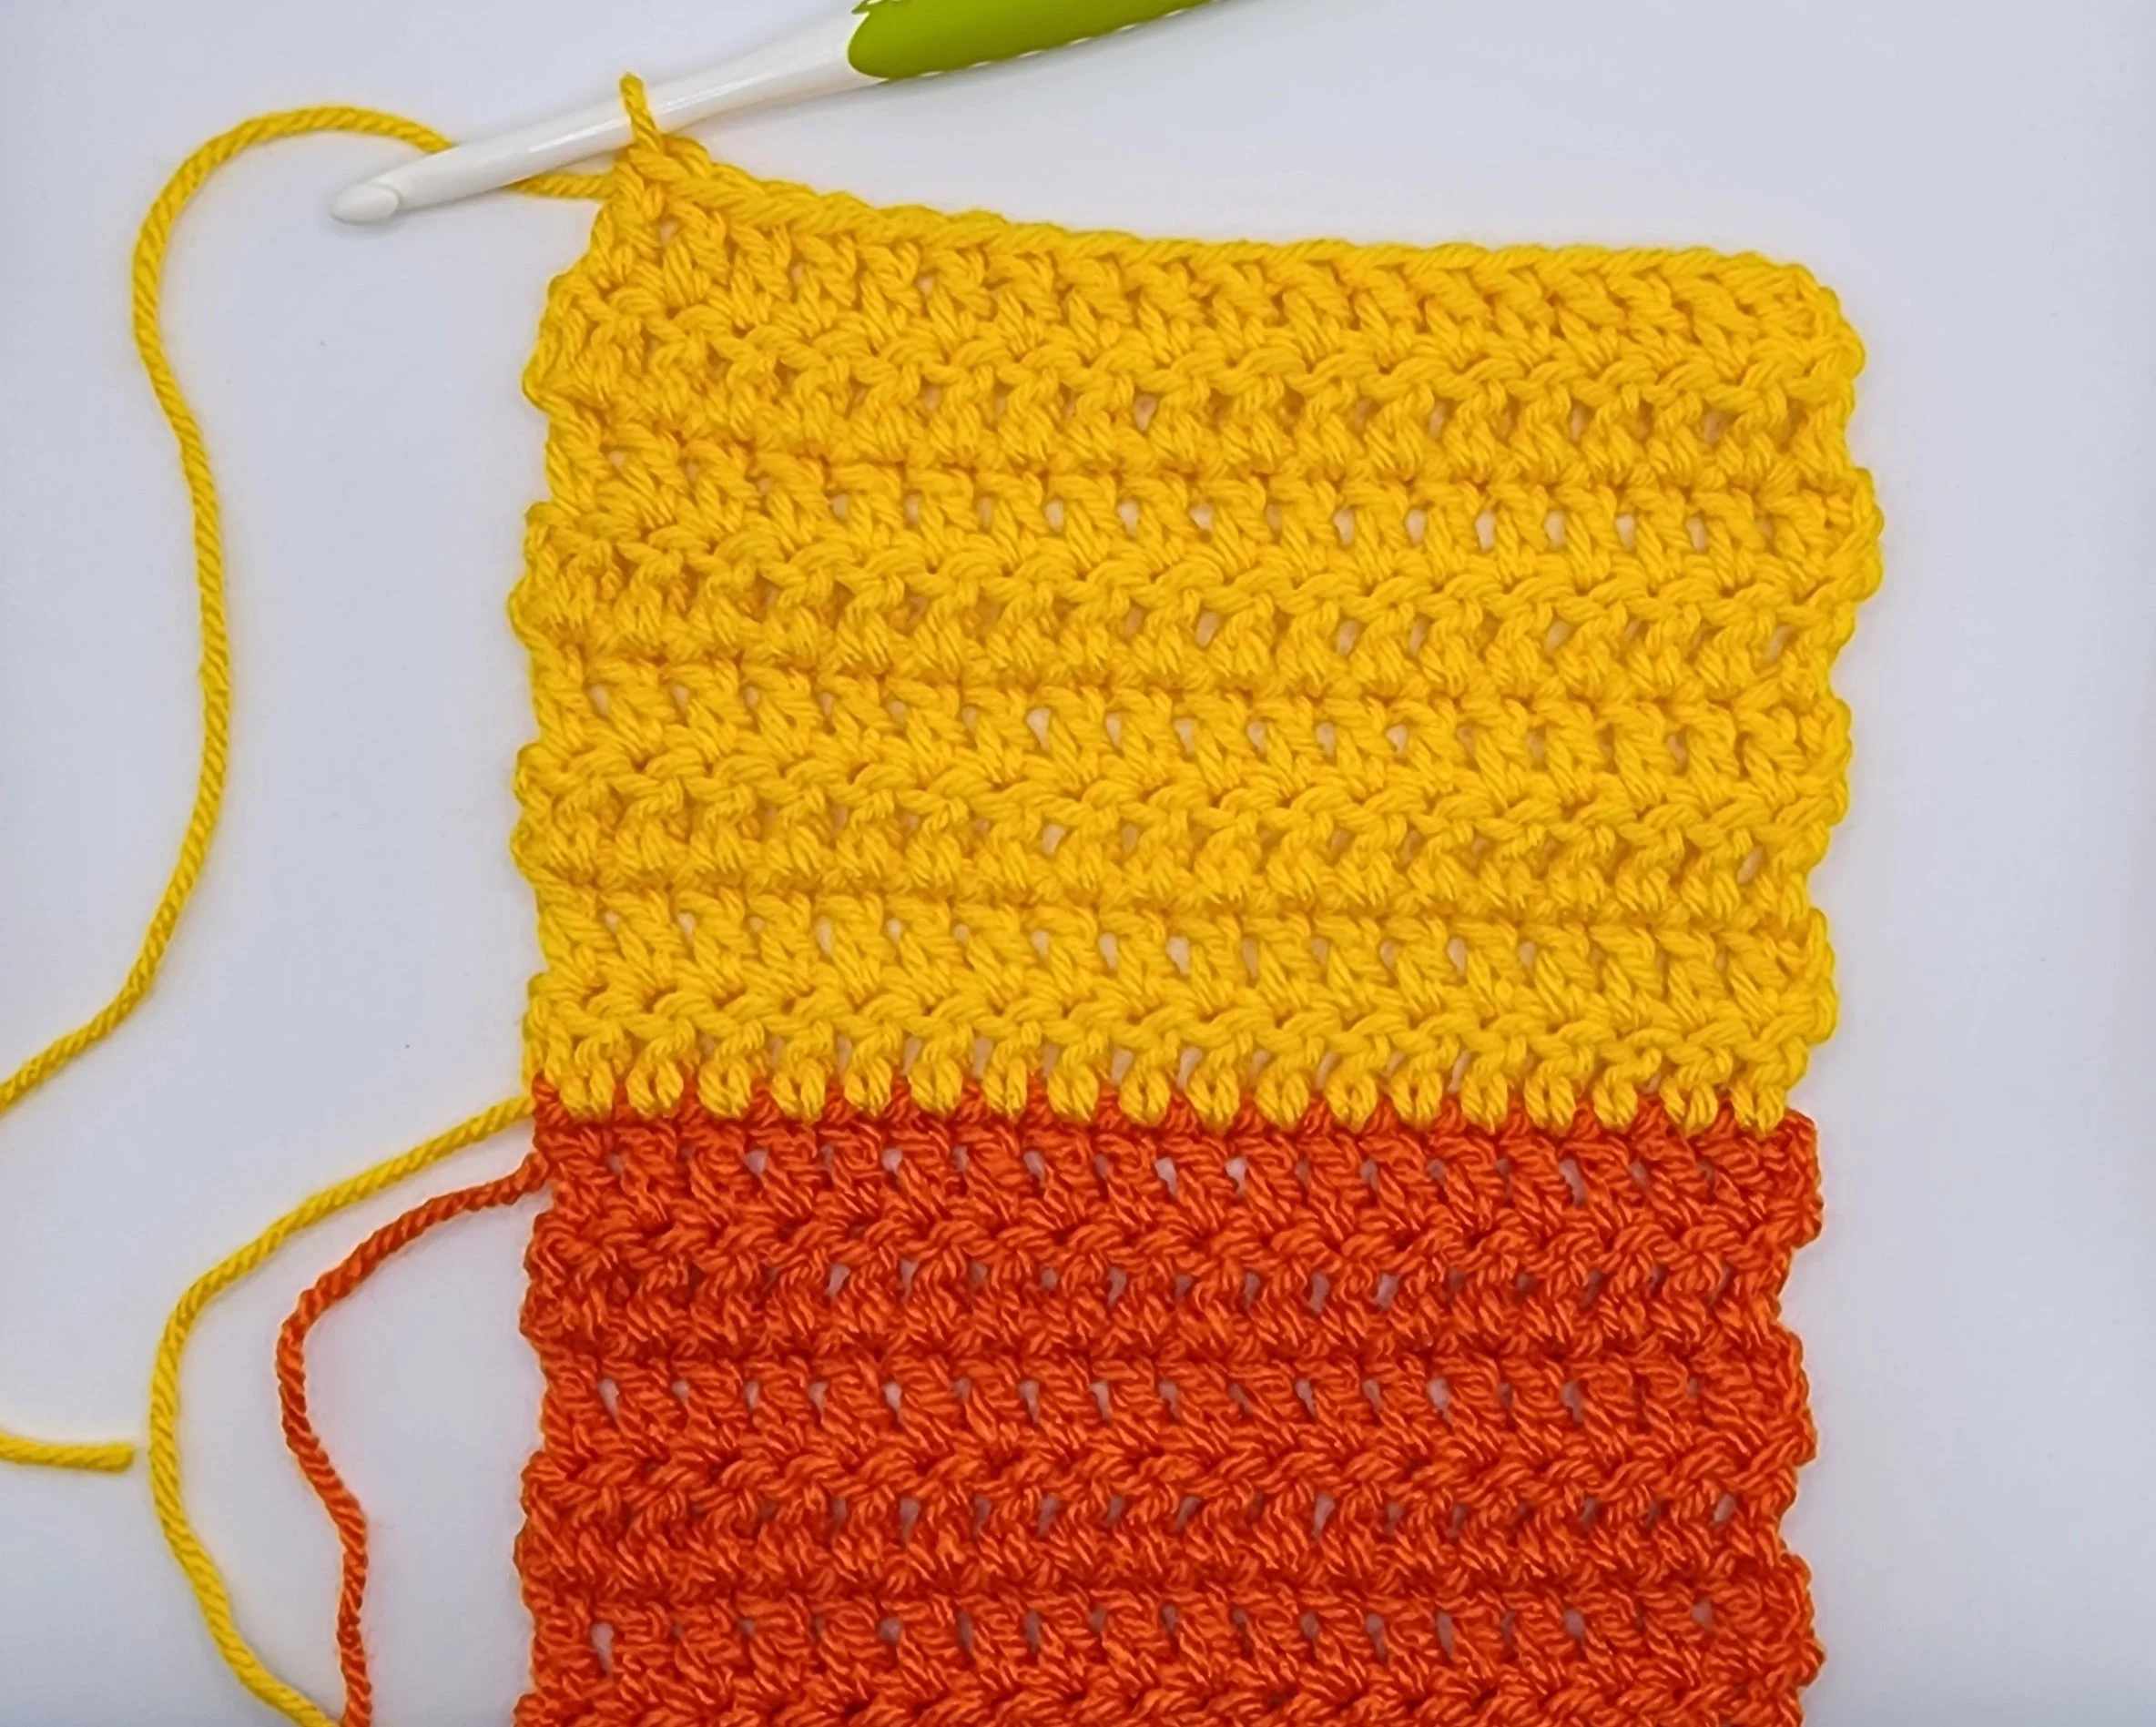
Change to Orange.
Rows 31-38 (8 rows): Ch 2 & turn. Dc 18. (18)
Change to Yellow.
Rows 39-46 (8 rows): Ch 2 & turn. Dc 18. (18)
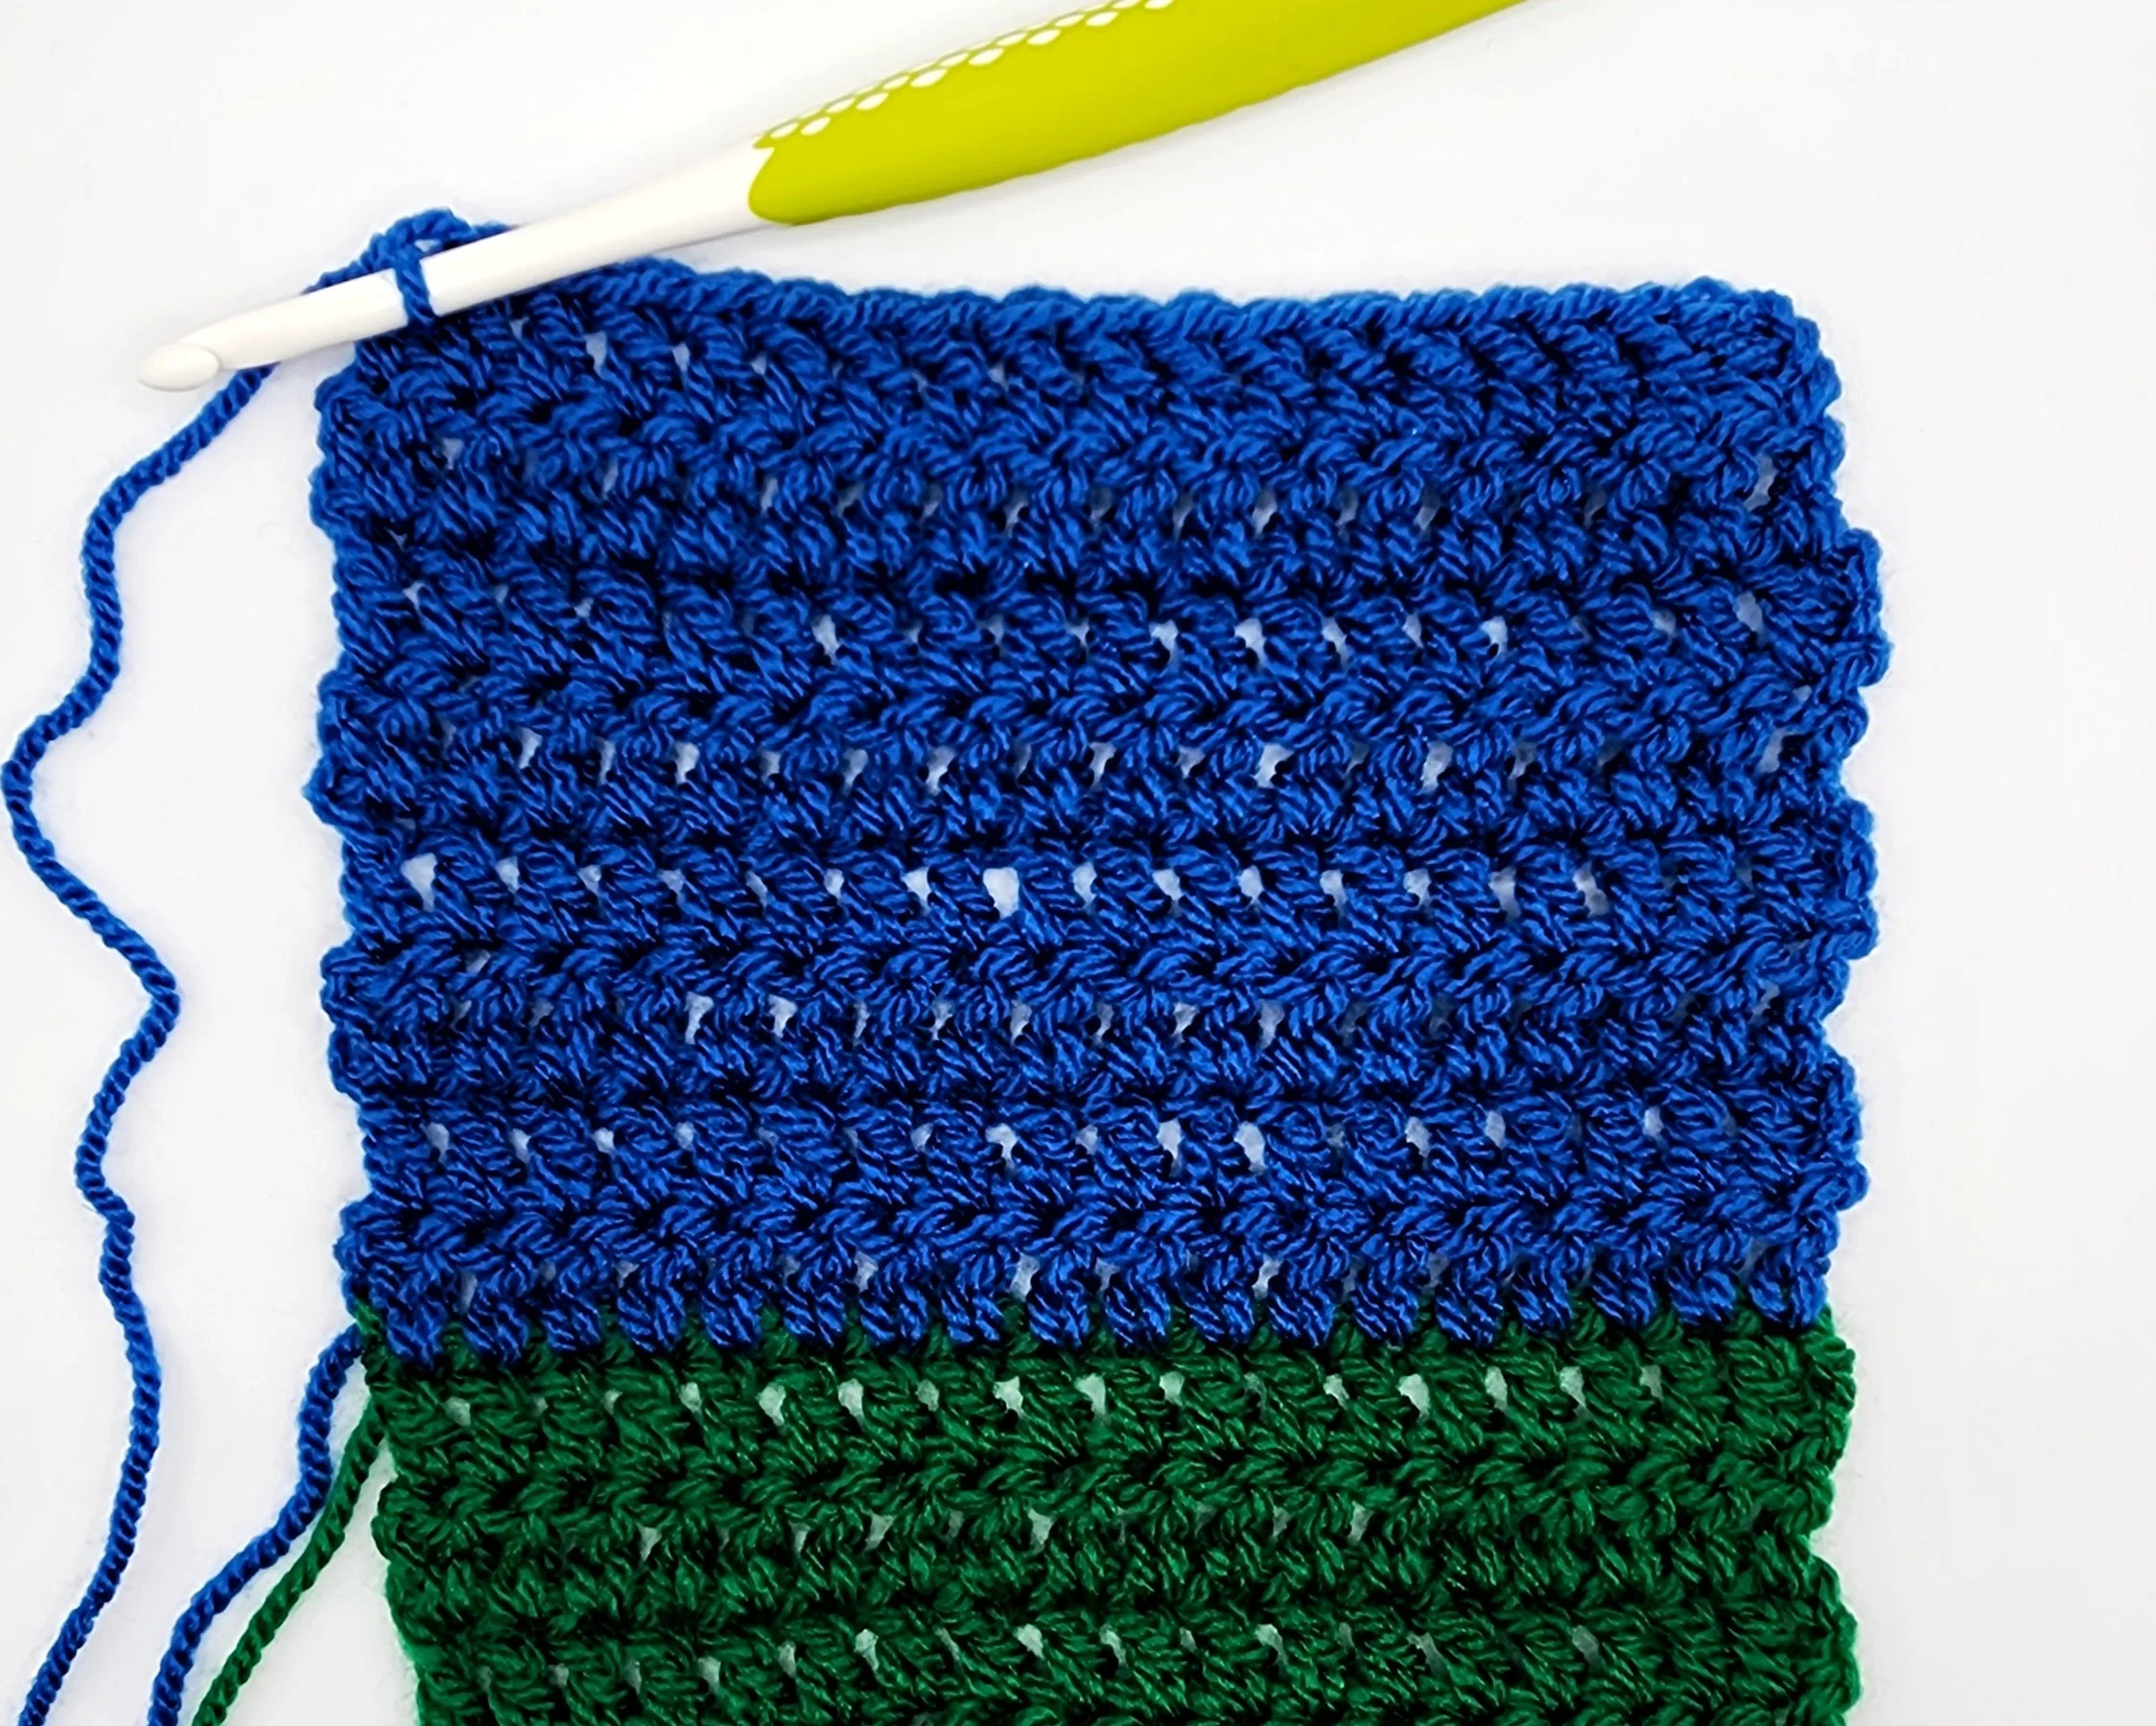
Change to Green.
Rows 47-54 (8 rows): Ch 2 & turn. Dc 18. (18)
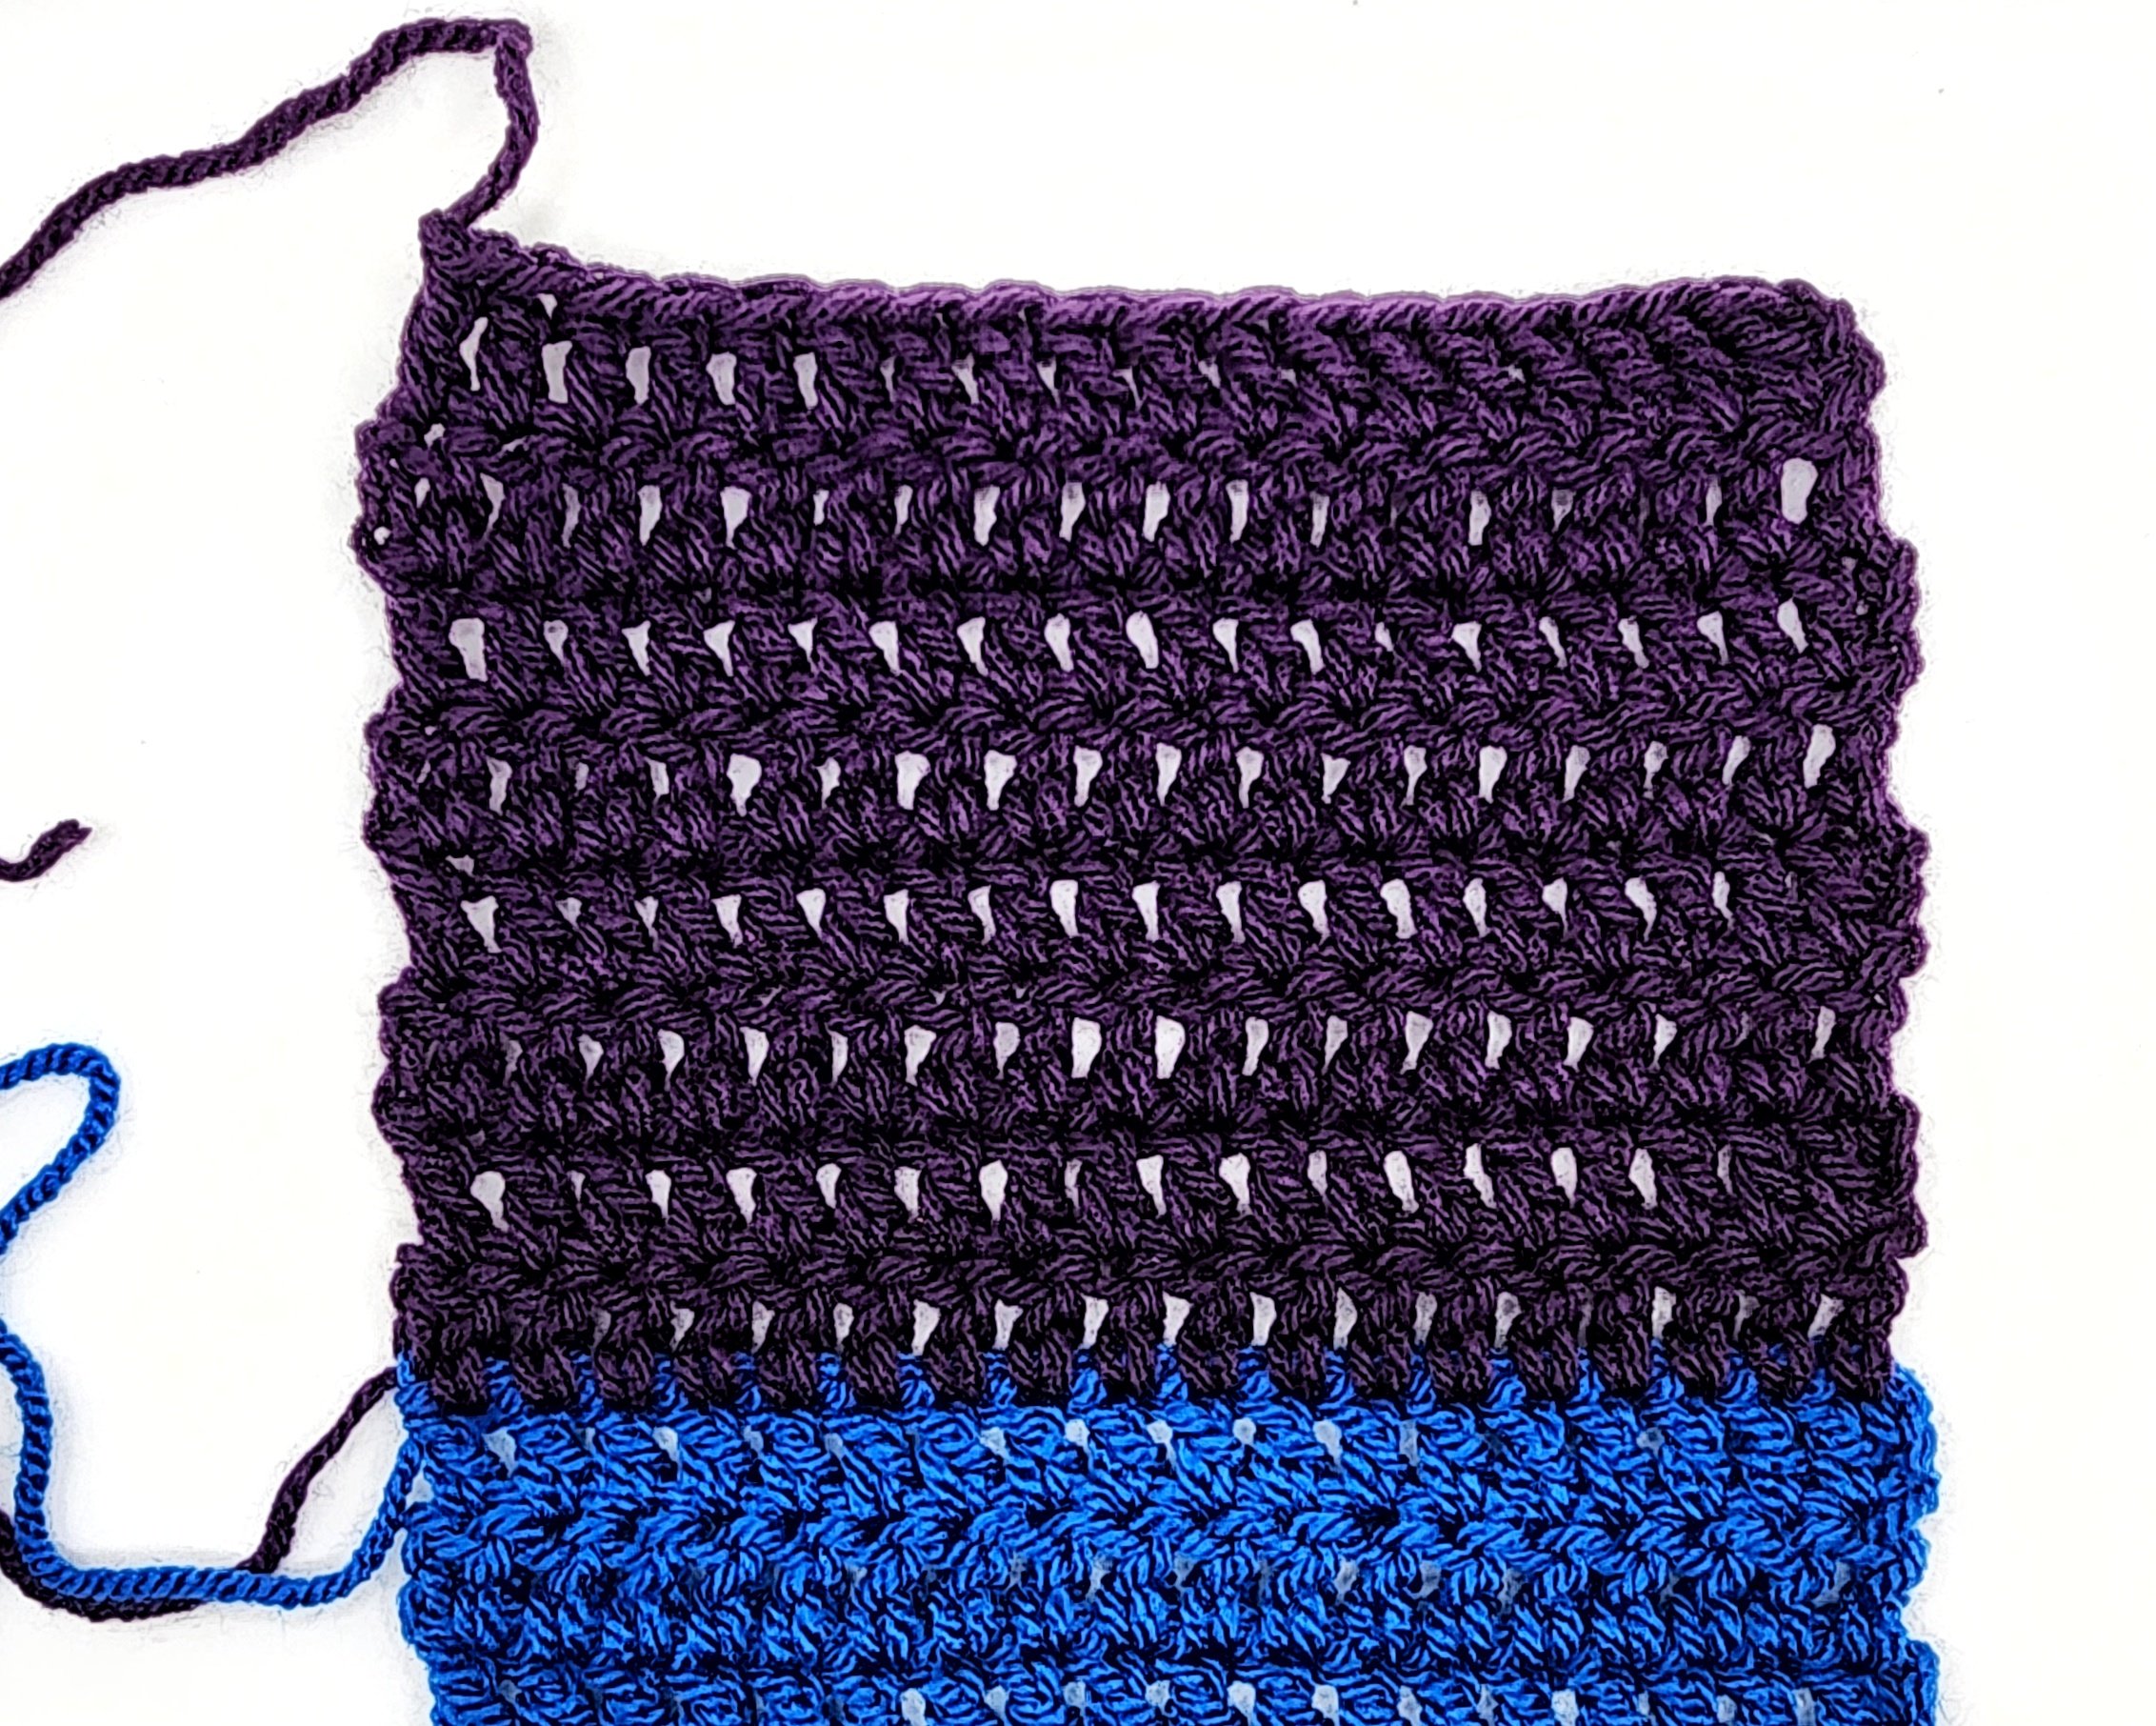
Change to Blue.
Rows 55-62 (8 rows): Ch 2 & turn. Dc 18. (18)
Change to Purple.
Rows 63-70 (8 rows): Ch 2 & turn. Dc 18. (18)
Finish off and weave in ends.